
Wear something that gives your artist easy access to the placement, that you won't mind getting ink or ointment on, and that you'll be comfortable sitting in for however long your session runs. That's the whole answer. The rest of this guide breaks it down by placement so you know exactly what to put on before you walk in.
In this article
- The three rules for any session
- What to wear by placement
- What to avoid
- Pre-session prep beyond clothing
- Frequently asked questions
The Three Rules for Any Session
These apply regardless of placement.
Comfort over style. A long session means sitting or lying in the same position for one, three, sometimes five or more hours. Tight jeans, structured clothing, and anything with an awkward waistband or shoulder seam will make that uncomfortable fast. Soft, loose, and breathable is the standard.
Access without awkwardness. Your artist needs clean, unobstructed access to the area being tattooed. That means you shouldn't be holding fabric out of the way, adjusting clothing every ten minutes, or contorting yourself to keep covered. Good outfit choices let the clothing do the work.
Wear something expendable. Tattooing involves ink, ointment, and weeping plasma. All three can transfer to fabric. Wear old clothes in dark colors that you're genuinely indifferent to. This is not the session for your favorite shirt.
What to Wear by Placement
Arm (sleeve, forearm, inner bicep, outer bicep)
A loose tank top or a loose short-sleeved shirt covers everything here. Tank tops give the best all-around access for full sleeve work: nothing to bunch up or shift at the shoulder. For forearm or bicep tattoos, a short-sleeved shirt works too as long as you can push the sleeve up easily and it won't fall back down mid-session. Inner bicep sessions often require you to hold your arm in an extended position for long periods, so avoid any top that pulls or restricts at the armpit.
Back (full back, upper back, lower back, shoulder blade)
A zip-up hoodie or button-down shirt worn backwards is the standard move. Put it on with the opening at your back, and you can face forward in the artist's chair while leaving your entire back exposed. You stay covered from the front (no awkward table draping required), and your artist has unobstructed access. Bring the shirt specifically for transit and take it off in the studio; your artist will have you situated properly before starting.
Chest and sternum
A button-down shirt you can unbutton as low as needed, or a zip-up hoodie you can open fully, works well. For women, a string bikini top or a strapless bralette that can be untied or repositioned gives the artist access without requiring full removal. For sternum work specifically, anything with thin adjustable straps you can slide to the sides is preferable to anything with fixed wide straps or a built-in bra structure that's harder to maneuver.
Ribs and side
A loose t-shirt or tank top that rolls up easily and stays rolled is the minimum. A string bikini top works better: the ties can be adjusted to keep fabric completely out of the way without you having to hold it. Rib sessions often run long and the position is uncomfortable; reducing any extra friction points from clothing is worth thinking about in advance.
Hip and lower abdomen
Low-rise sweatpants or shorts with a soft, foldable waistband that rolls down easily. Bikini bottoms with side ties give full adjustability and are a solid choice for women doing hip or lower abdomen placements. Avoid anything with a rigid waistband, thick elastic, or hardware like buttons and zippers, which sit exactly where the artist is working and make the session more complicated than it needs to be.
Thigh and outer hip
Loose shorts are the simplest option. For thigh work that extends toward the inner thigh, athletic shorts with a relaxed inseam are better than tight-fitting styles. Loose sweatpants that roll up to mid-thigh can work, but shorts are more reliable: rolled fabric has a habit of slipping back down at inconvenient moments.
Calf, shin, and knee
Again, loose shorts. For calf and shin work specifically, sweatpants that roll smoothly past the knee are also fine, just make sure the roll holds. Ankle work follows the same logic: shorts or easily rolled pants, and no tight socks or sock lines that leave impressions on the skin.
Foot and ankle
Sandals or slip-on shoes. You'll take your footwear off in the studio, but you don't want to be wrestling with laces or pulling at tight shoes around a fresh tattoo when you leave. The bandage or film your artist applies afterward won't tolerate anything tight over it. Plan for easy on and off, and for the fact that your foot may be slightly swollen by the time you're done.
Neck and behind the ear
Wear your hair up if it's long, pulled back completely out of the way, not just clipped loosely. A low collar or scoop neck keeps fabric away from the site. No necklaces. Anything that creates friction near the neck or ear area is worth removing before the session starts.
Head (scalp, temple, occipital)
Whatever you normally wear. Any hat or headwear comes off entirely, and your artist will position you based on the site. Clothing is largely irrelevant for head work. Focus on being well-rested and having eaten before you come in. Head sessions are demanding regardless of what you're wearing.
What to Avoid
A few things that cause consistent problems regardless of placement:
New or expensive clothes. Already covered above, but worth repeating. Ink and ointment stains don't always wash out.
Tight anything near the tattoo site. Tight waistbands, sock lines, bra straps, and tight sleeves can all compress a fresh tattoo or disrupt the bandage your artist applies. Think about what you'll be wearing when you leave, not just while you're in the chair.
Complicated fastenings. Anything with fiddly buttons, zippers at awkward angles, or ties that have to be redone around a bandaged area. Keep exit logistics simple.
Strong perfume or heavily scented body lotion. Not a clothing issue, but related to how you arrive for your session. Strong scents in a small studio space can affect both you and your artist over a long session. Unscented is the standard practice.
Pre-Session Prep Beyond Clothing
Clothing is the practical layer. If the placement is a painful one (ribs, sternum, spine, ankle, inner bicep), the most impactful thing you can do before you arrive is apply numbing cream. It takes 90 to 120 minutes to reach full effectiveness, which means you apply it before you leave home, wrap it in cling film, and arrive to your session already numb.

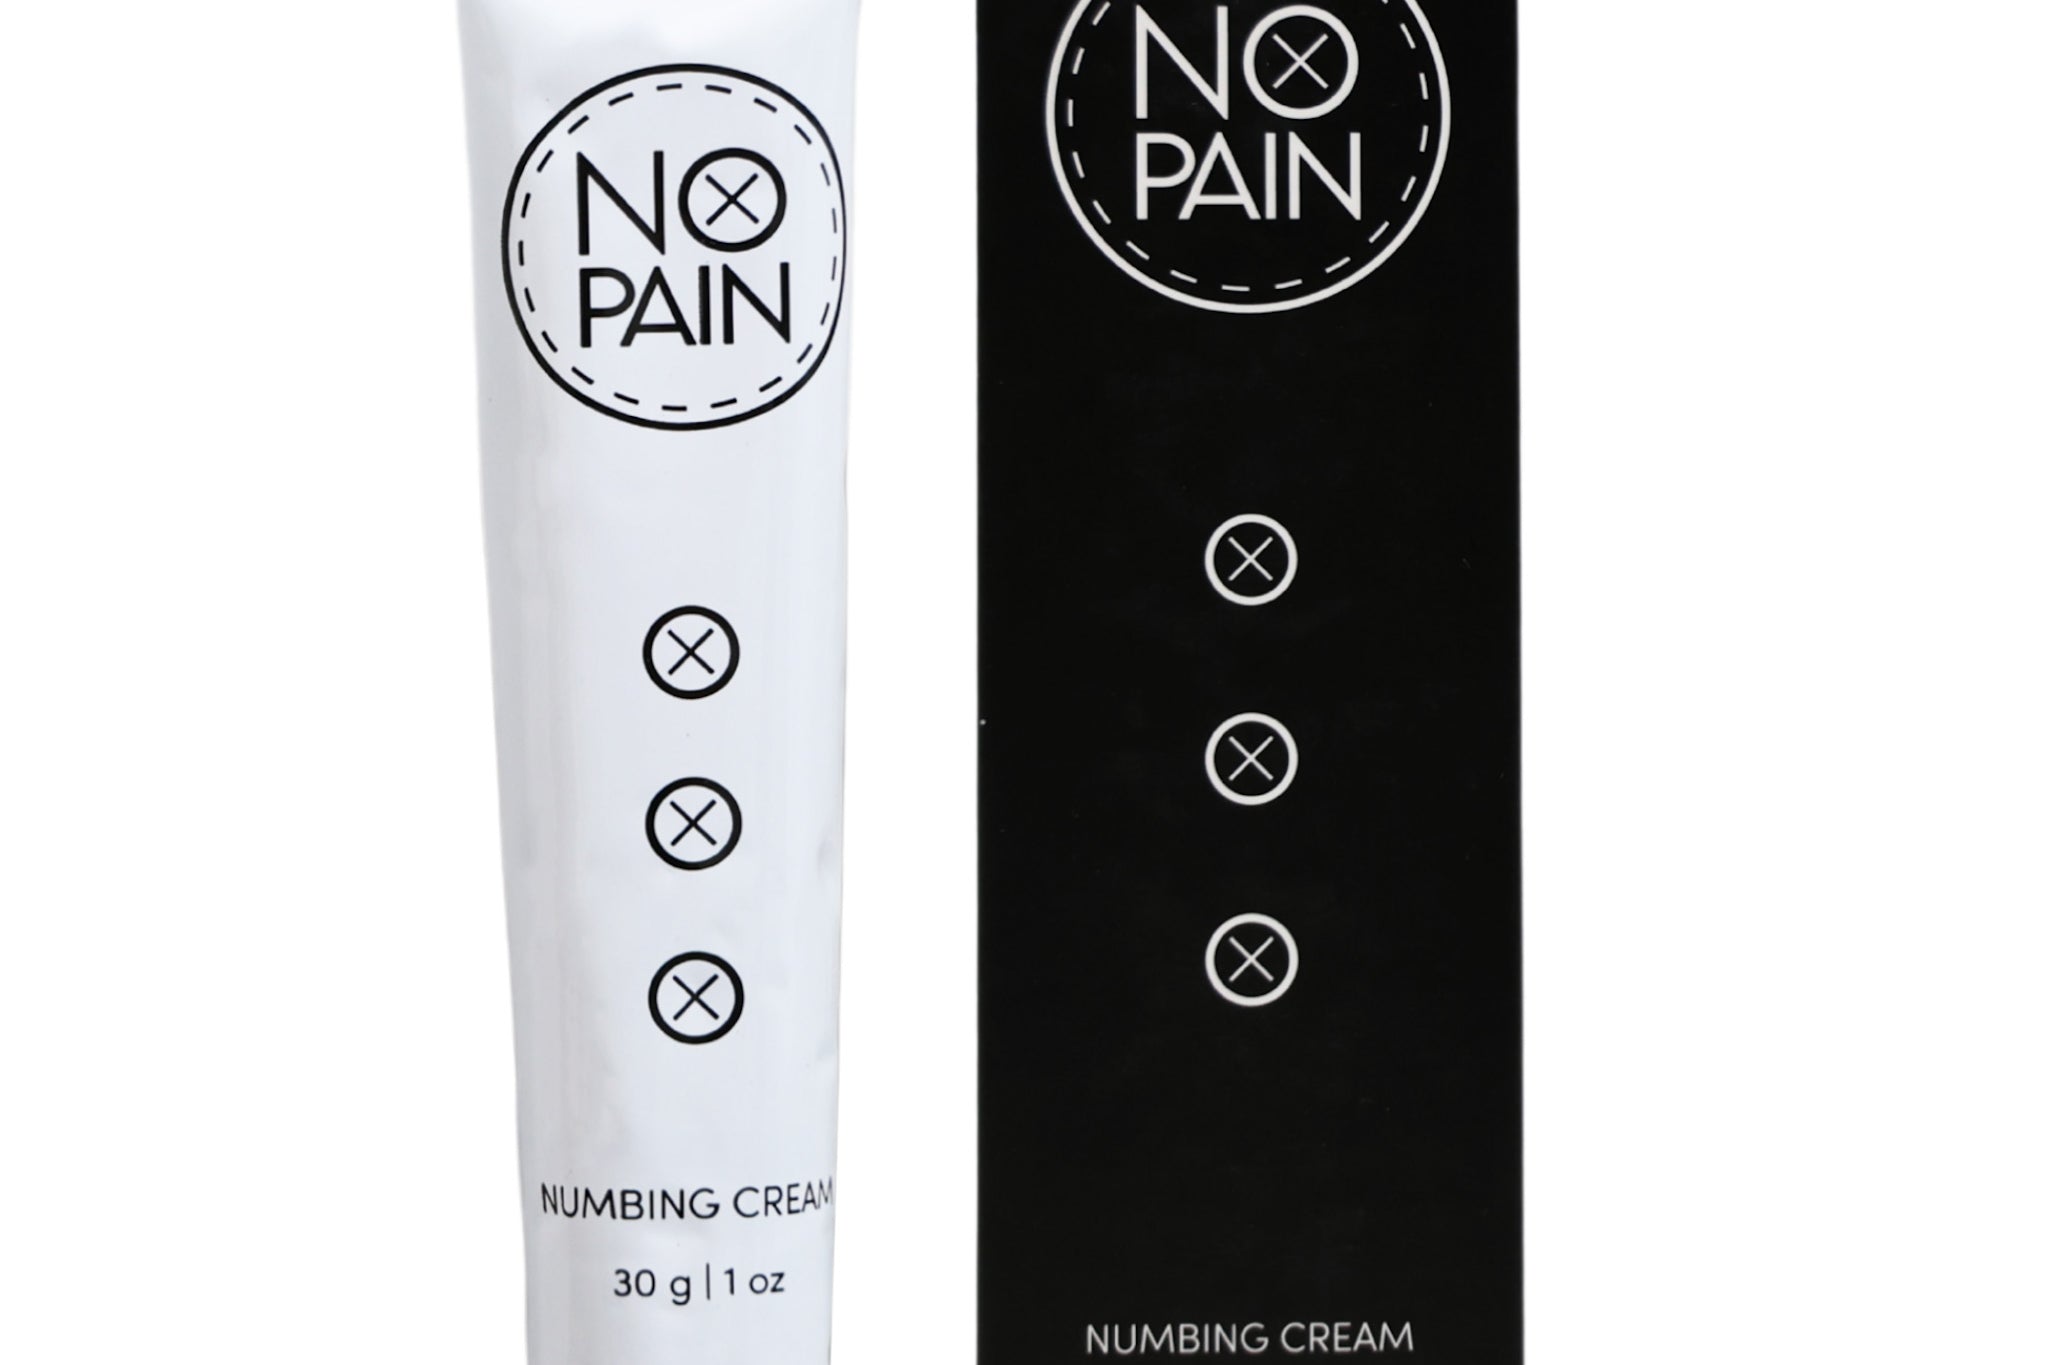
Maximum-strength lidocaine cream in a thick, slow-absorbing base. Apply at home, wrap with cling film, arrive numb. Covers the first two to four hours of your session.
The clothing choice and the numbing plan work together. If you're wearing a button-down backwards for a back piece, you also want to have applied the cream to your back before putting the shirt on. If you're getting a rib tattoo and wearing a bikini top with adjustable ties, you apply the cream to your ribs, wrap the area, and tie the top over the wrap for the drive in. Both the outfit and the numbing application deserve the same advance thought. For the full step-by-step on timing and application, the tattoo preparation guide covers it in detail.
Frequently asked questions
What should I wear to a tattoo appointment on my ribs?
A loose top you can roll or hold up easily, or a string bikini top with adjustable ties. The tie style is better for long sessions because it keeps the fabric out of the way without you having to hold it or bunch it. Wear something on the bottom you're comfortable sitting in for a while; rib sessions are typically one of the longer placements because of the detail involved and the need to work around your breathing.
What should I wear for a back tattoo?
A zip-up hoodie or a button-down shirt worn backwards, opening at your back and closed at the front. You stay covered facing forward while your artist has full access to your back. Bring the shirt specifically for the session; take it off and put it on backwards once you're in the studio. For a lower back or sacrum tattoo, low-rise sweatpants or shorts with a rollable waistband complete the outfit.
Can I wear a bra for a chest or sternum tattoo?
It depends on the placement. For upper chest work that doesn't extend into the strap line, an adjustable-strap bra or a strapless style can work with the straps repositioned. For sternum or underboob work, a front-clip bra you can open, or a bikini top with adjustable ties, gives your artist the access they need without requiring full removal. Your artist will tell you at the start of the session exactly how to position things. Don't stress this one too much in advance.
Does it matter what shoes I wear?
For foot and ankle tattoos, yes. You'll take them off, and you need to get them back on afterward over a freshly bandaged foot. Sandals, slides, or loose slip-ons are the practical choice. For any other placement, shoes don't matter much, and just don't wear anything you'd struggle to remove quickly if you need to raise a leg or reposition during the session.
Should I wear dark colors to my tattoo appointment?
It's a reasonable idea for anything near or around the tattooed area. Tattoo ink is concentrated and transfers readily to light fabric. Plasma and the ointment your artist uses can also stain. Dark colors hide the evidence more forgivingly. Beyond color, the material matters too: thin synthetic fabrics stain more readily and permanently than cotton. Old cotton clothing in dark colors is the standard recommendation.
What if I'm getting a tattoo on a hard-to-dress-for placement?
Ask your artist before your appointment. Most shops are used to this question and can tell you exactly how to handle clothing for the specific spot you're getting done. Placements like the armpit, inner thigh, behind the knee, and behind the ear all have specific positioning requirements that affect what you wear and how you'll sit. Your artist has done it many times and can give you a practical answer in two sentences. When in doubt: ask.
For Sessions That Run Long
The Comfort Bundle includes numbing cream for before your session and numbing spray for mid-session top-ups on broken skin. For longer sessions on painful placements, it's the practical choice.
Shop the Comfort Bundle →For Longer Sessions | 100% money-back guarantee.