


Congratulations! You’ve just taken the first step toward a better tattoo experience. Whether you’re a first-timer or a seasoned collector, the difference between a grueling session and a comfortable one comes down to two things: Product Quality and Application Technique.
My name is Mike, and I founded No Pain Tattoo because I was tired of "the other guys" selling products that didn't work. I personally test every batch we manufacture on high-sensitivity areas like my elbows and knees to ensure our formula delivers.
Part 1: The 11-Step "No Pain" Protocol
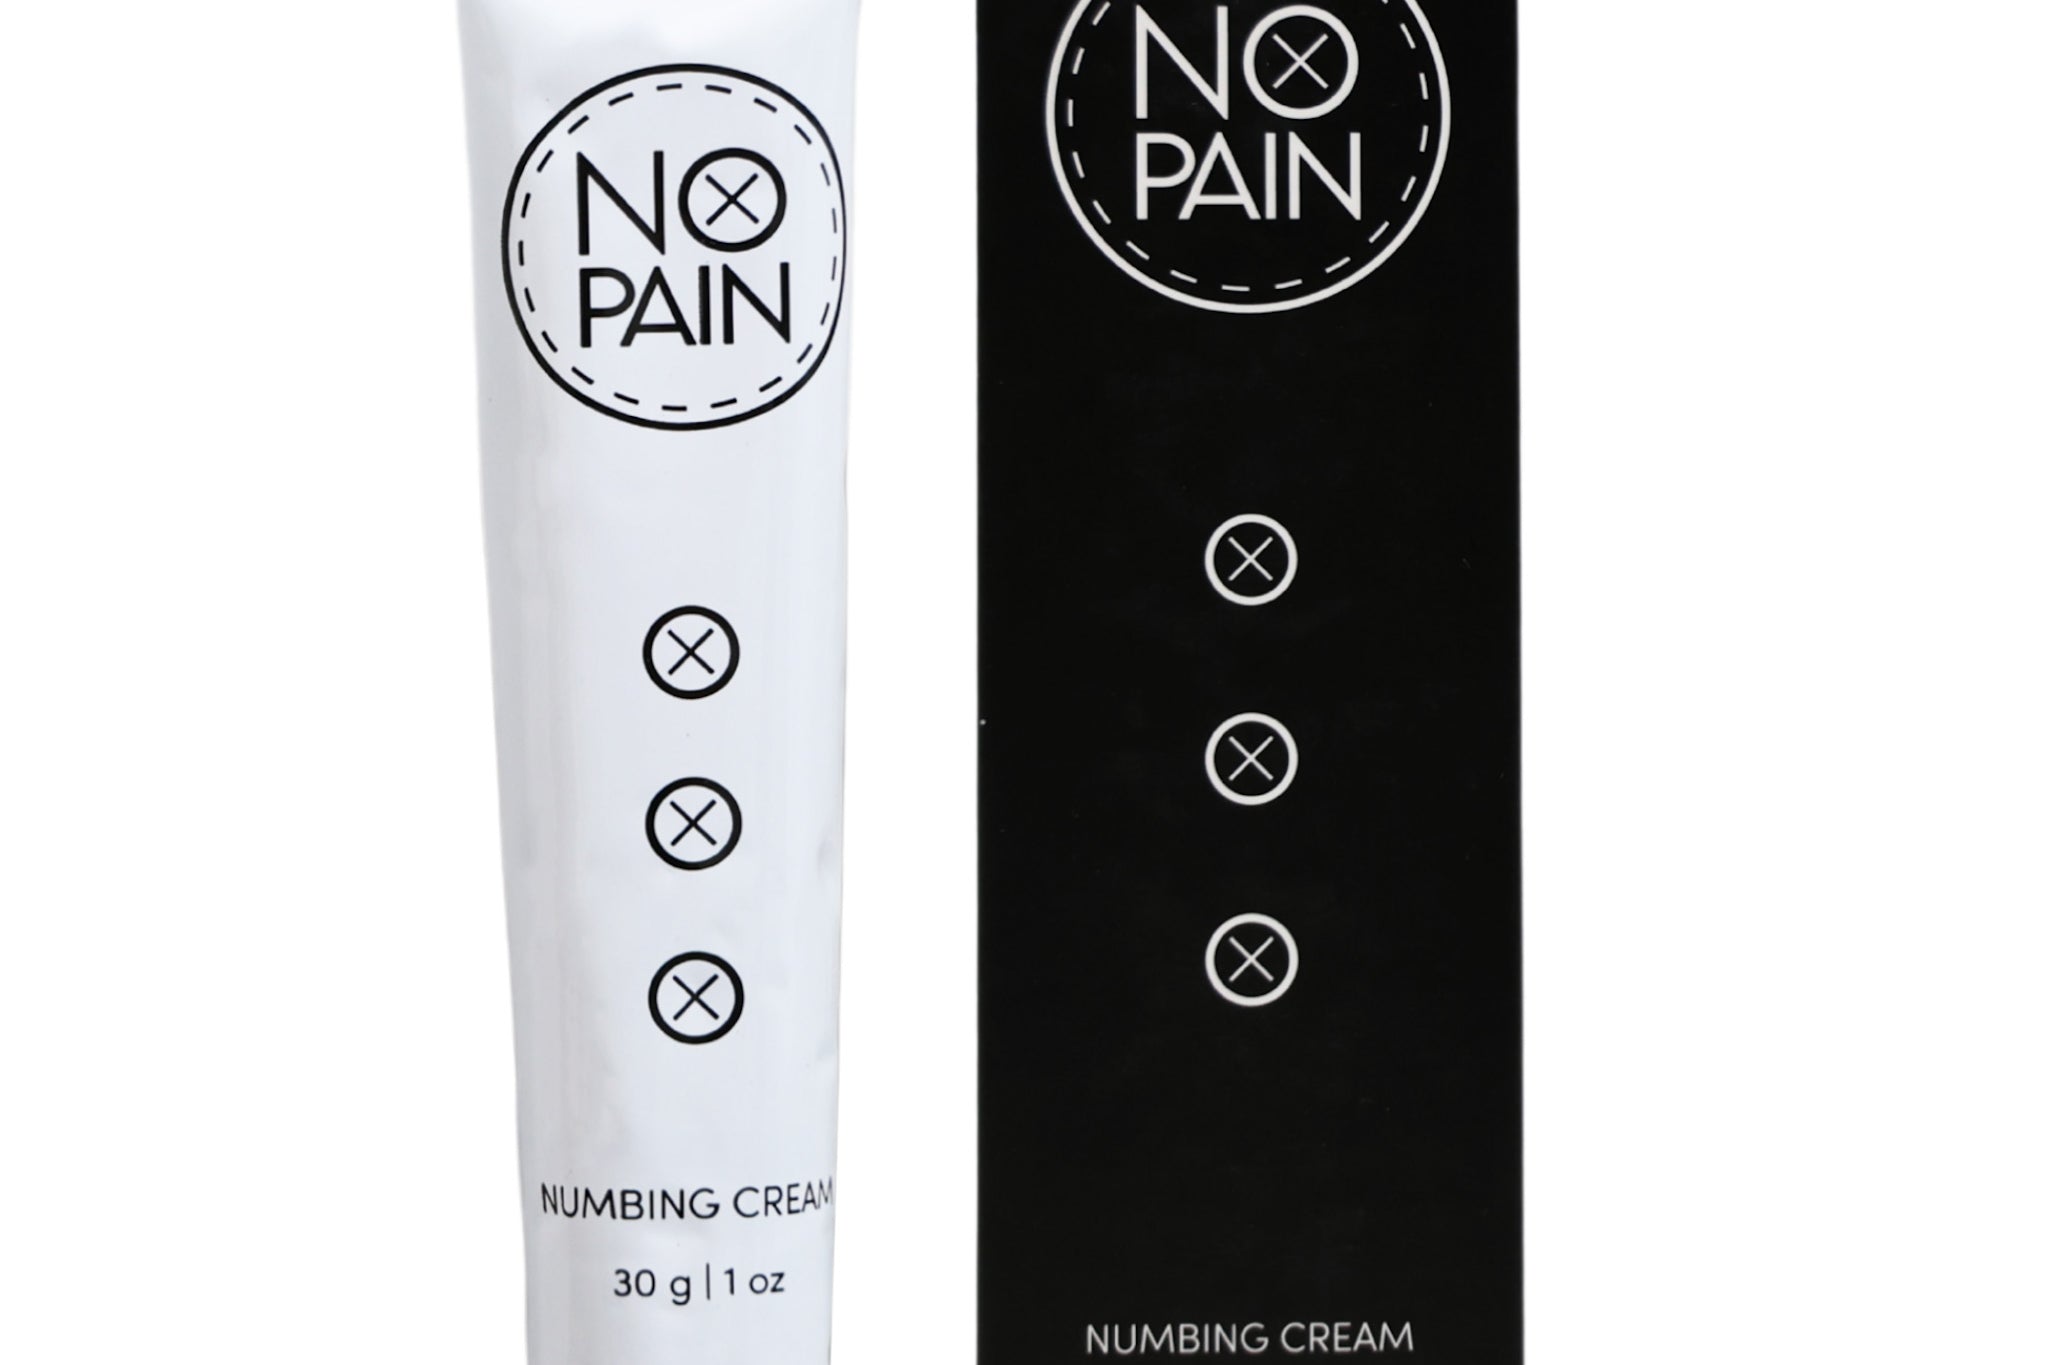
To get the most out of your No Pain Tattoo Numbing Cream, follow these steps precisely.
-
The Patch Test (24 Hours Prior): Apply a small amount to your arm to check for skin sensitivity. Check the Patch Test Guide here.
-
The 48-Hour Rule: Do not drink alcohol for 48 hours before your session. Alcohol thins the blood which can "push" the cream out of your skin. It also and causes inflammation which increases pain.
-
The Prep Cleanse: Wash the area with an unscented, dye-free soap and warm water for at least 60 seconds. Really get the area clean.
-
The Sanitize (Optional): If you’re going to wipe the are area with alcohol, do it NOW. (Do NOT wipe with alcohol after the cream is removed). If you’re unsure about this step, ask your artist.
-
The Base Layer: Rub a thin layer of cream into the skin to "prime" your pores.
-
The Frosting Layer: Apply a second, generous layer. Do NOT rub it in. It should look like thick white frosting on a cake.
-
The Wrap: Wrap the area tightly with plastic wrap (cling film). Ensure it is airtight but not so tight that it constricts blood flow.
-
The 120-Minute Rule: Wait exactly 90 to 120 minutes. This allows the lidocaine to penetrate the deep dermis where the needle travels.
-
The Removal: Take the wrap off only when you are at the shop and ready to start.
-
The Wipe: Wipe away excess cream with a clean, dry paper towel. Do NOT use alcohol at this stage.
-
The Session: Begin your tattoo. If your session goes over 3 hours, have your Numbing Spray ready for mid-session boosters.
Click Here for Video Instructions
Part 2: Troubleshooting (Why Numbing Sometimes Fails)
If you’ve used numbing cream before and it "only lasted 30 minutes," it wasn't a product failure—it was a biological or application barrier. Here is how to fix it:
1. The "Invisible Shield" (Pore Blockage)
If you have used a moisturizer, cleanser, or exfoliant containing coconut oil (or any fatty substance) in the 24 hours before your session, you have blocked your pores.
-
The Result: The lidocaine cannot penetrate the oily barrier. I’ve tested this personally; one side of my body with a coconut scrub didn't numb, while the side washed with plain soap worked perfectly.
-
The Fix: Only use mild, non-fatty soaps like our Cleansing Foam or Dial Antibacterial & Sensitive before application.
2. The Alcohol Timing Mistake
Wiping the skin with alcohol after you remove the plastic wrap is a major mistake. Alcohol causes the pores to instantly constrict and can "shock" the active ingredients out of the nerve endings.
-
The Fix: Sanitize before the cream goes on. Only use a dry wipe after the wrap comes off.
3. The "Ginger Factor" (Genetics)
It is a documented medical fact that people with red hair (specifically of Irish/Scottish descent) carrying the MC1R gene are more resistant to local anesthetics.
-
The Fix: If you have red hair or a high tolerance, you must use the full 120-minute wrap and should always have the Comfort Bundle (Cream + Spray) on hand.
4. Heavy-Handed Artists & Trauma
If an artist is causing unnecessary trauma or "chewing up" the skin, the excess bleeding can physically wash the lidocaine out of your system.
Part 3: Mid-Session & Aftercare
Once the skin is open, the rules change.
-
Mid-Session Boosters: If the cream starts to wear off, do not re-apply it. Instead, use the Numbing Spray. The Pro Tip: Clean the area of all blood, plasma and ink (which is sticky!), spray, and wrap with plastic for 10 minutes before continuing.
-
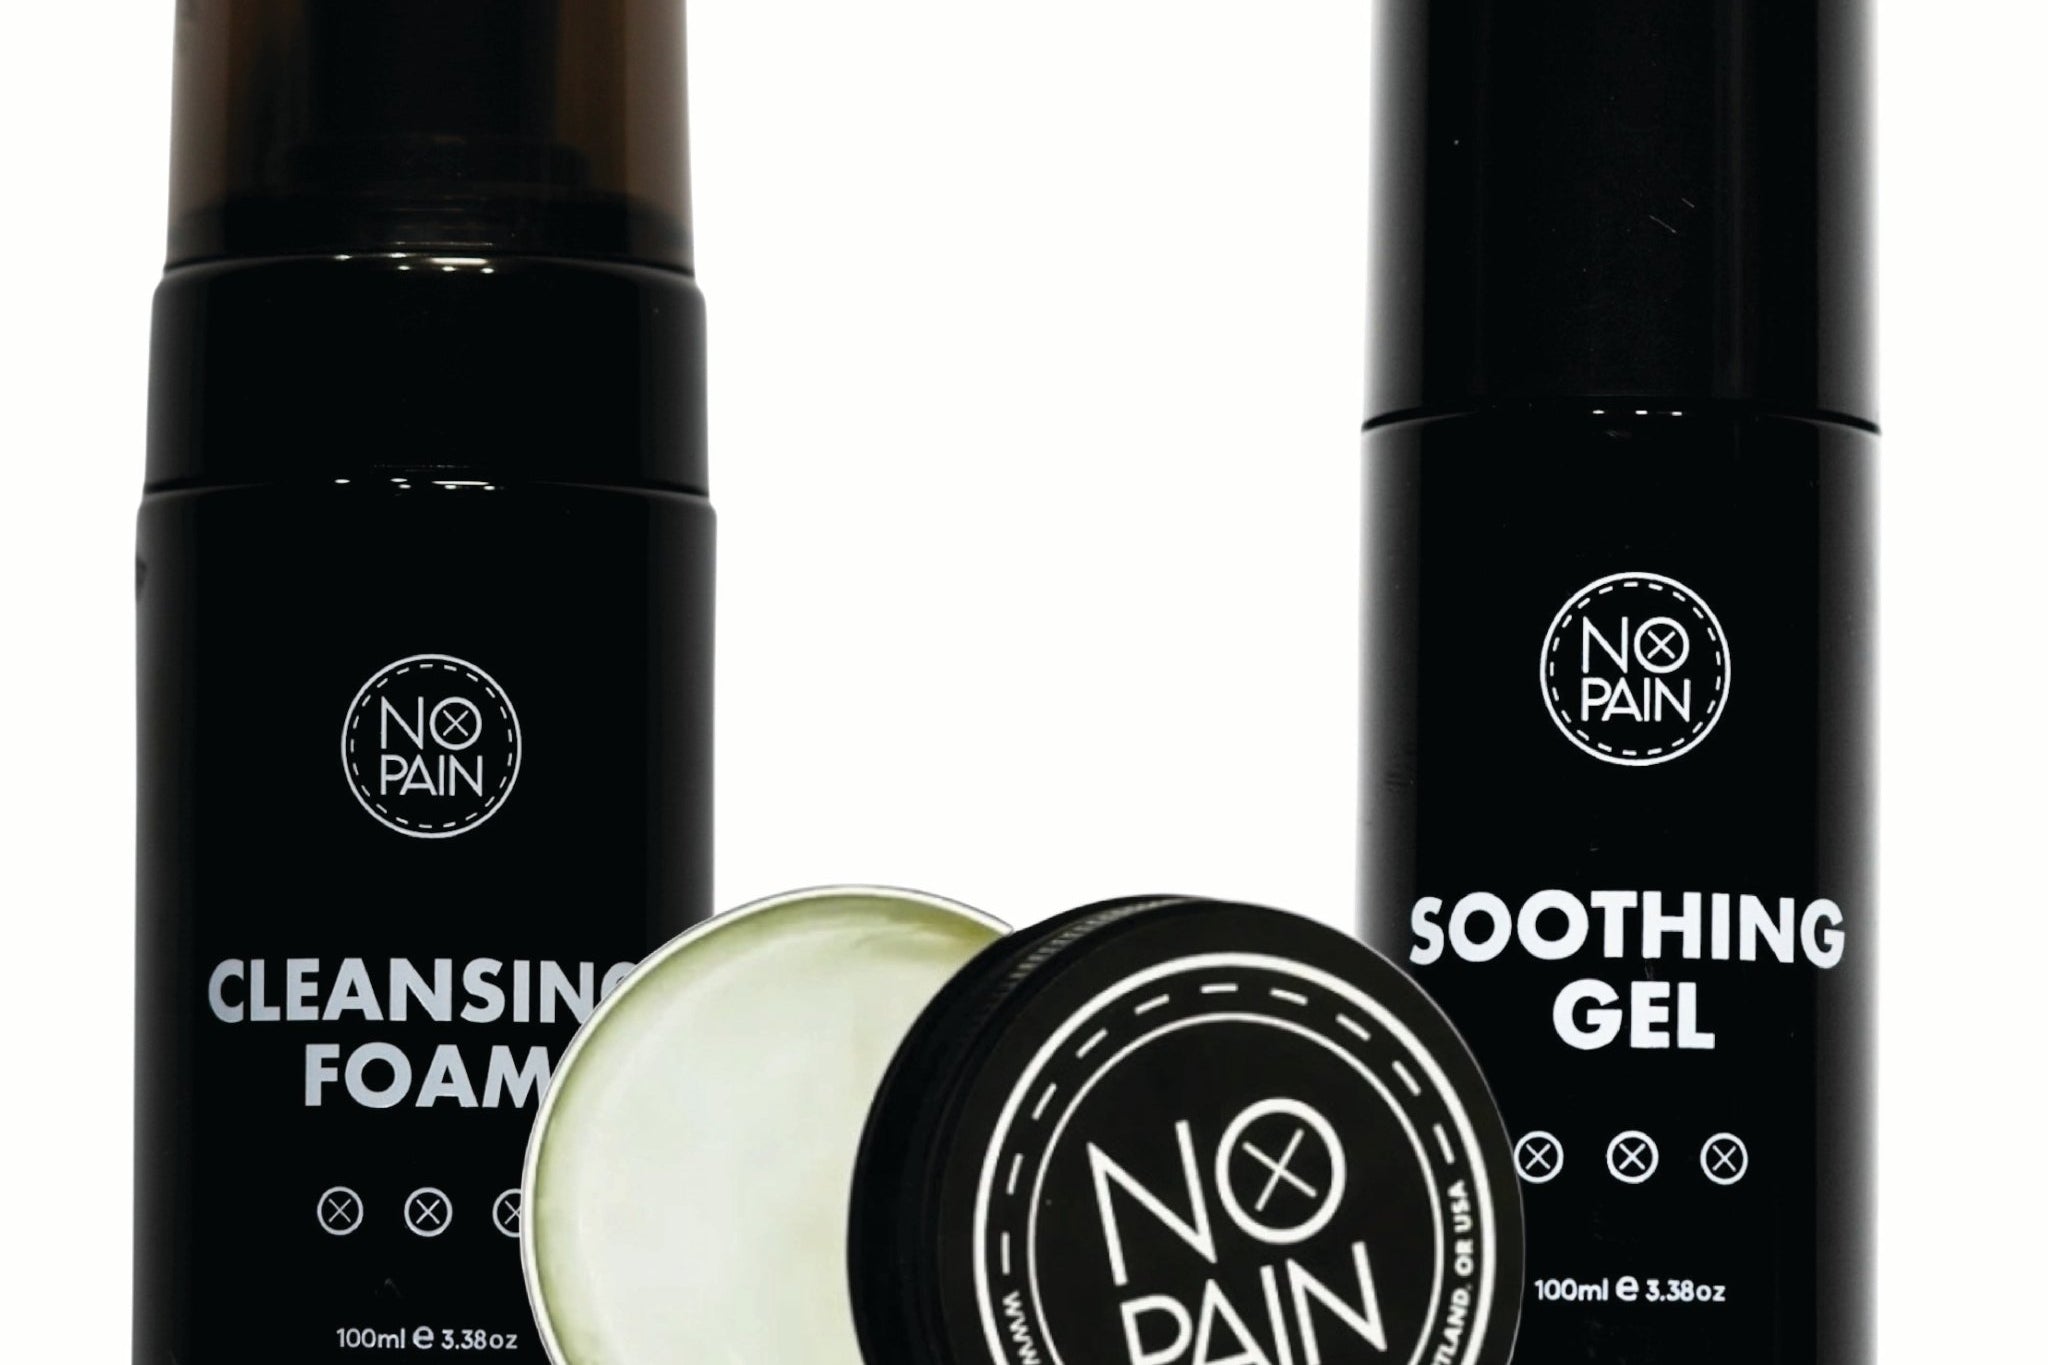
The Perfect Heal: Your tattoo is an investment. Protect it with our Aftercare Bundle. Use the Cleansing Foam to kill bacteria, the Soothing Gel to stop the redness, and the Aftercare Balm to lock in the color.
-
Check out: Is It Normal for a New Tattoo to Be Raised? A Guide to Bumps and Texture
Summary Checklist for a Pain-Free Day:
-
[ ] Your artist knows you’re using numbing cream.
-
[ ] No alcohol for 48 hours prior.
-
[ ] Wash thoroughly.
-
[ ] Sanitize with alcohol before cream.
-
[ ] Apply thick "frosting" layer.
-
[ ] Wrap for 90-120 minutes.
-
[ ] Wipe dry (No alcohol after wrap!).
Questions? We are a US-based company with real customer service. Contact us anytime if you need help prepping for your session.
Ready to get started? If you haven't secured your aftercare yet, grab the Full Numbing and Aftercare Bundle now!