

How to Use No Pain Tattoo Products: Numbing Cream & Aftercare Instructions
Step-by-step instructions for every No Pain Tattoo product — numbing cream, numbing spray, Final Mile Gel, cleansing foam, soothing gel, and aftercare balm. Each section covers when to use the product, how to apply it, and what to expect.
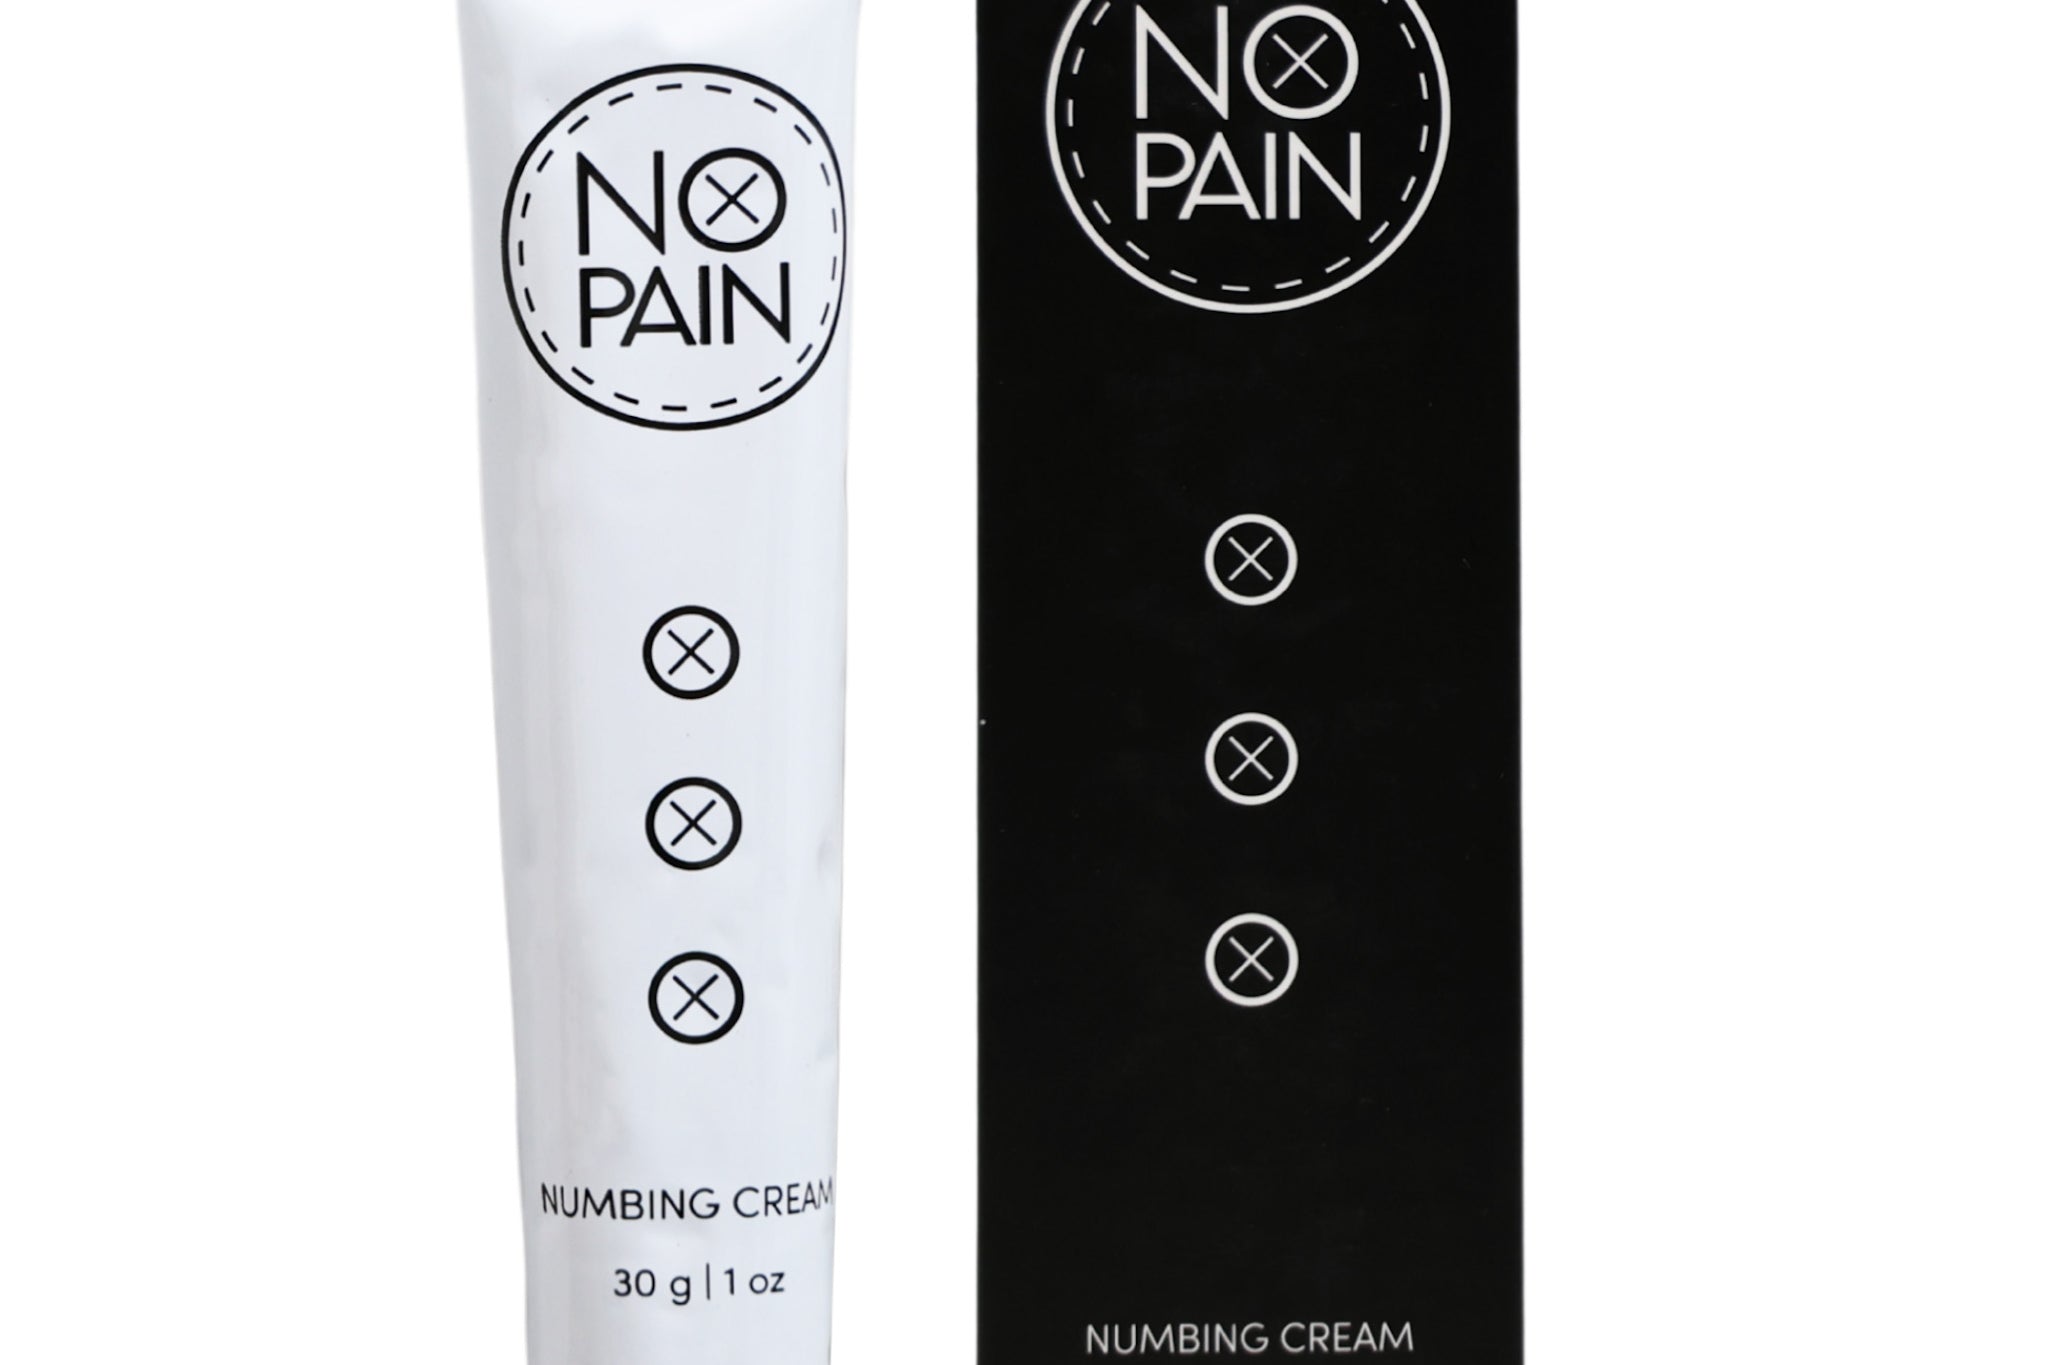
Numbing Cream
Click Here For Full Video Instructions
The Day Before Your Appointment
Two things to do before your session:
- Spot test the cream: Apply a small amount of No Pain Tattoo Numbing Cream on a discreet patch of skin (inner bicep or thigh). Watch for unusual redness or irritation. Mild redness is normal; discontinue if you see a stronger reaction.
- Avoid alcohol for 24 hours before: Alcohol thins your blood and reduces the effectiveness of topical anesthetics.
How to Apply No Pain Tattoo Numbing Cream
Apply 90–120 minutes before your appointment.
- Cleanse and thoroughly dry the skin area to be tattooed.
- (Optional) Wipe with an alcohol pad and let dry.
- Prime: Apply a thin layer of cream and rub it in completely.
- Saturate: Apply a thick second layer (2–3mm) over the same area. Do not rub this layer in — it should sit on top of the skin like frosting on a cake.
- Cover tightly with plastic wrap. Make sure the entire area is sealed — this keeps the cream moist and drives the Lidocaine into the skin.
- Wait 90 minutes for shorter or lighter sessions, 120+ minutes for longer or more intense sessions.
- Wipe off with a paper towel. Your artist begins immediately after.
Numbing Spray
How to Use No Pain Tattoo Numbing Spray
The No Pain Tattoo Numbing Spray is a mid-session anesthetic for use after the outline is complete and the skin is broken. Unlike the pre-session numbing cream that works on intact skin, the spray contains Lidocaine and Epinephrine, which provides rapid relief on broken skin and also reduces bleeding and swelling.
(For more on how it works: Tattoo Numbing Spray: A Guide to Mid-Session Pain Relief.)
How to Apply
- Prep: Ask your artist to wipe down the area where numbing is needed.
- Apply: Spray a layer directly onto the broken skin.
- Cover: Wrap the area with plastic wrap for 12+ minutes to let the anesthetic penetrate.
- Wipe: Gently wipe off any excess before your artist resumes.
- Reapply as needed — no need to re-wrap on subsequent applications.
Final Mile Gel
No Pain Tattoo Final Mile Gel
Use Final Mile Gel during your session, after the outline is complete and the skin is broken. It's thicker than the spray and works well for targeted spots — the crook of an elbow, a bony ridge, or anywhere precision matters. Apply, wrap, wait, continue. It can be reapplied.
How to Apply
- Wipe the broken-skin area clean.
- Apply a thin, even layer of Final Mile Gel over the tattooed section.
- Cover with plastic wrap for 10–20 minutes.
- Wipe off any excess before your artist continues.
- Reapply as needed. No waiting period on subsequent applications.
Provides 20–30 minutes of targeted numbing per application.
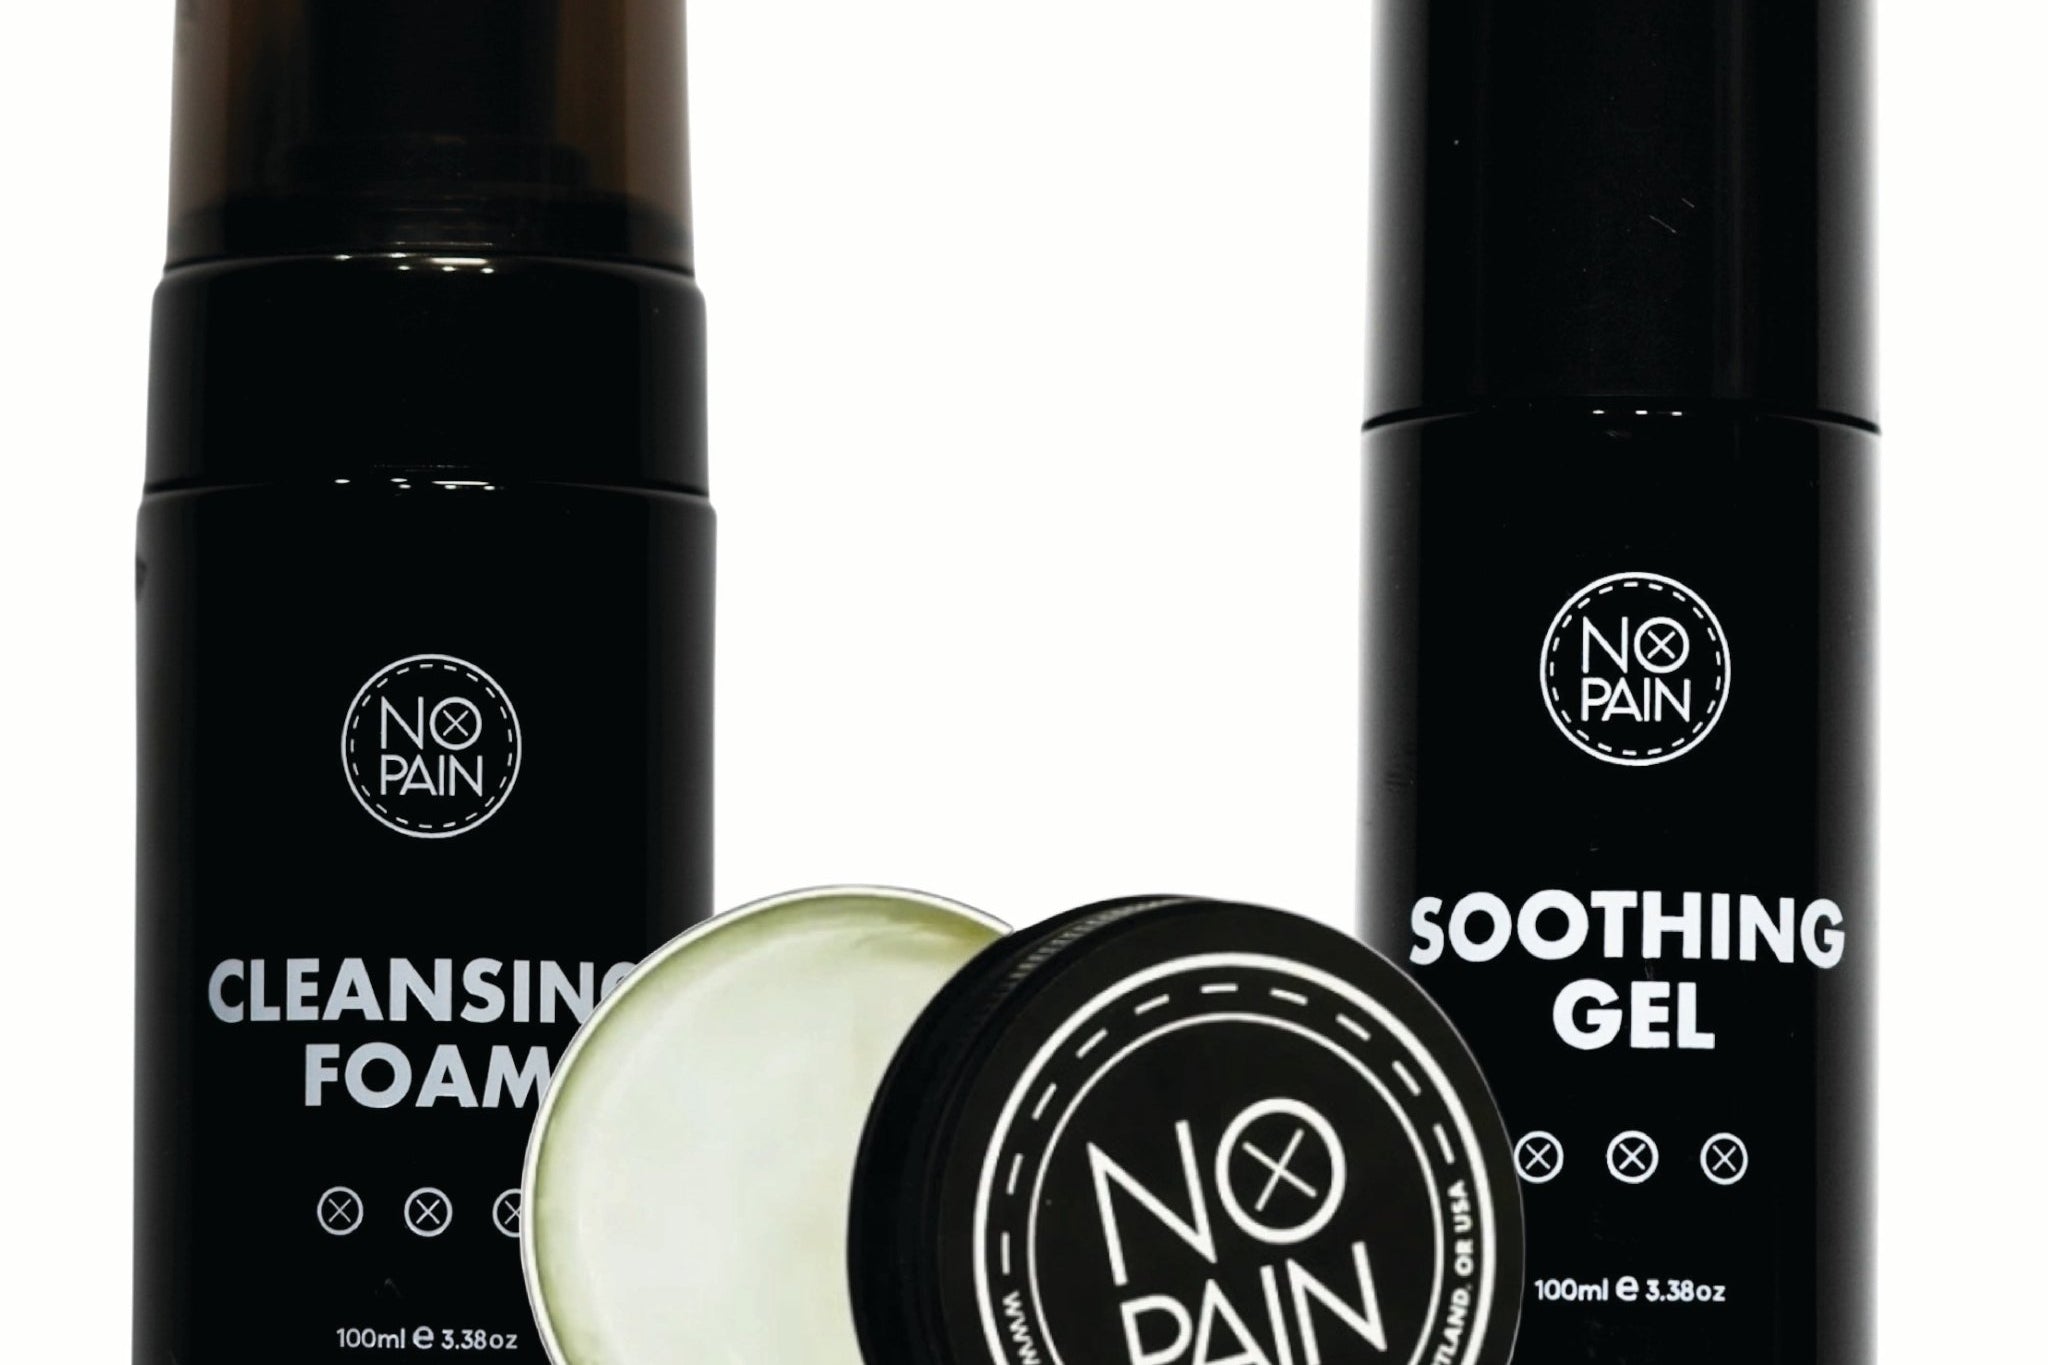
Cleansing Foam
No Pain Tattoo Cleansing Foam
Use the Cleansing Foam for your first wash after the session, and 2–3 times daily throughout the entire healing process. It's a gentle, antimicrobial foam that removes plasma and bacteria from the surface without stinging or over-drying the skin.
How to Apply
- Wash your hands before touching the tattoo.
- Wet the tattoo with lukewarm water.
- Pump a small amount of Cleansing Foam onto your fingertips.
- Lather gently over the tattoo in soft circular motions. Do not scrub.
- Rinse thoroughly with lukewarm water until all foam is gone.
- Pat dry with a clean paper towel.
Soothing Gel
No Pain Tattoo Soothing Gel
Use Soothing Gel immediately after removing your bandage and during the first 3–5 days of healing while the tattoo is still red and inflamed. It's a lightweight, water-based gel that cools on contact and reduces irritation without sealing the wound or trapping heat.
How to Apply
- Cleanse the tattoo with No Pain Cleansing Foam.
- Pat dry with a clean paper towel.
- Apply a thin, even layer of Soothing Gel over the tattooed area.
- Allow to air dry — do not cover.
- Reapply as needed throughout the day.
Also helps maintain elasticity in joints and high-movement areas (elbows, knees, wrists, feet).
Aftercare Balm
No Pain Tattoo Aftercare Balm
Switch to Aftercare Balm around day 4–5, once the initial redness settles and the skin starts to dry and peel. It's a breathable, fragrance-free balm that keeps the skin hydrated and prevents heavy scabbing through the peeling phase. Use it instead of Aquaphor or other petroleum-based products.
How to Apply
- Wash the tattoo with No Pain Cleansing Foam.
- Pat dry completely with a clean paper towel.
- Apply a very thin layer of Aftercare Balm. A little goes a long way — thin enough that it doesn't feel greasy.
- Repeat 2–3 times daily, or as advised by your artist.
FAQ
Can You Apply Numbing Cream After Your Tattoo Has Started?
If you start your tattoo without pre-applying numbing cream, applying it partway through won't work as well. Numbing cream requires intact skin and 90–120 minutes of activation time. Once the skin is broken, you'll get better results from the Numbing Spray or Final Mile Gel, both of which are formulated for broken skin.
If you pre-applied cream before the session and it starts wearing off, your artist can reapply during a break. On broken skin it absorbs faster — typically 20–40 minutes. Ask your artist to wipe the area first and cover with plastic wrap to maximize effectiveness.
Do I need both the Cream and the Spray?
For sessions scheduled for 3 hours or more, we recommend using both. Start with the Numbing Cream for a pain-free start, then bring the Numbing Spray for your artist to apply if you start feeling discomfort mid-session. This combination is available in our Comfort Bundle and is the most reliable way to finish a long session without stopping early.
How does the numbing cream work?
The active ingredient is Lidocaine, a local anesthetic that temporarily blocks pain signals from reaching the brain. When applied to intact skin and covered with plastic wrap, the Lidocaine penetrates the dermis and numbs the nerve endings in that area. It's the same class of anesthetic used in medical settings for minor procedures. At 5% concentration — the maximum FDA-approved for over-the-counter topical use — it provides 2–4 hours of effective relief when applied correctly.
Can Numbing Cream be Reapplied?
Yes, and it works faster on broken skin. Once the skin is already open from tattooing, numbing cream absorbs much more quickly — you'll typically feel renewed relief within 20–40 minutes instead of 90–120. Ask your artist to wipe and dry the area before reapplying, then cover with plastic wrap.
Can I Use Numbing Cream if I Have Sensitive Skin?
If you have sensitive skin or known allergies, do a patch test at least 24 hours before your appointment:
- Apply a small amount of numbing cream to a discreet area of skin you plan to have tattooed.
- Watch for unusual reactions — excessive redness, swelling, or irritation. Mild redness is normal; a rash or significant discomfort is not.
- Consult a doctor before use if you have a history of skin conditions or sensitivities to topical anesthetics.
- Read the ingredients — check for sensitivities to Lidocaine or common preservatives.
Why Should You Spot Test First?
A spot test 24 hours before your appointment tells you how your skin responds to the cream before you apply it to a large area right before your session. Apply a small amount to the intended tattoo area and check for any reaction. Even a product that works well for most people can cause mild redness in some — that's normal. Significant irritation or a rash is a sign to stop and consult your doctor.
Can I use your aftercare products on a tattoo that has been numbed?
Yes. No Pain Tattoo numbing products are water-based and don't affect the healing process. Once your session is done, start the aftercare routine immediately — beginning with the Cleansing Foam for that first wash. Our No Pain Tattoo Aftercare Bundle is designed to work from that first wash forward. (Related: A Guide to Tattoo Aftercare)
Should You Let Your Tattoo Artist Know You're Using Numbing Cream?
Yes — tell your artist before your appointment. It helps them know what to expect and lets them give you accurate advice on timing and application. Most artists are comfortable working with tattoo numbing cream, but knowing in advance means no surprises. Bring it up during your consultation if you have one.
What's the difference between the Soothing Gel and the Aftercare Balm?
They're designed for different stages of healing.
- The No Pain Tattoo Soothing Gel is for the first 3–5 days. It's a lightweight, water-based gel that provides cooling relief, reduces inflammation, and soothes the irritation of a fresh tattoo without clogging pores.
- The No Pain Tattoo Aftercare Balm is for the peeling and long-term phase (day 4–5 onward). It's a richer balm that provides lasting moisture to prevent heavy scabbing, relieve itching, and keep the tattoo looking vibrant.