

Whether you’re an apprentice wondering how to start tattooing, a client who wants to test the placement of your next piece, or you're curious about how to make a tattoo on paper translate to skin, mastering the art of the stencil is key. The stencil is the blueprint for a great tattoo, and knowing how to make a tattoo stencil is a fundamental skill.
While professional artists often use thermal printers, creating a high-quality stencil at home is surprisingly easy with the right materials and technique. This is your DIY guide to using tattoo transfer paper to create a flawless stencil, just like the pros.
What You'll Need
-
Tattoo Transfer Paper: This is the key ingredient. It’s a multi-layered sheet, similar to carbon paper, designed for creating stencils.
-
Your Design: A clean, clear line drawing of your tattoo, printed or drawn on regular paper at the exact size you want.
-
A Ballpoint Pen or Stylus: A hard, fine point is needed to create enough pressure for a clean transfer.
-
Stencil Application Gel: A product specifically designed to make the stencil stick to the skin.
-
A Clean, Shaved, and Disinfected Skin Area.
Step-by-Step Guide to Creating Your Stencil
Step 1: The Trace
This is where you transfer your design onto the stencil paper.
-
Place your transfer paper on a hard, flat surface. The paper usually has a top white sheet, a protective middle sheet (which you'll remove), and a bottom carbon sheet.
-
Lay your printed design on top of the white sheet and tape it in place to prevent slipping.
-
Using your ballpoint pen, firmly and carefully trace over every single line of your design. Consistent pressure is crucial. This action transfers the purple carbon ink onto the back of your white sheet.
-
Once finished, remove your design. You will now have a perfect purple stencil on the back of the white sheet. Carefully cut it out.
Step 2: Skin Preparation
A perfect stencil needs a perfect canvas.
-
Wash and Shave: Wash the skin area thoroughly. Then, shave it with a new, disposable razor, even if you don't see any hair.
-
Disinfect: Use an alcohol swab to clean the skin and remove any oils. Let it dry completely.
Step 3: The Transfer
-
Apply Stencil Gel: Apply a thin, even layer of stencil application gel to the skin. Don't use too much, or your stencil lines will blur and "blow out."
-
Apply the Stencil: Carefully place your stencil, ink-side-down, onto the gel. Press down firmly and evenly over the entire design for about 30-60 seconds.
-
The Reveal: Slowly peel the paper away. A crisp, purple outline of your design should now be on your skin.
-
Let it Dry: This is a critical step. Let the stencil dry completely for at least 10-15 minutes. This helps "lock" it onto the skin and prevents it from smudging easily.
From Blueprint to Permanent Art: The Next Steps
Creating a perfect stencil is the foundation of a great tattoo. The next, and most important, part of the process is the execution and the aftercare. A flawless design deserves a flawless heal. How to care for a new tattoo is what determines the final quality of the art.
-
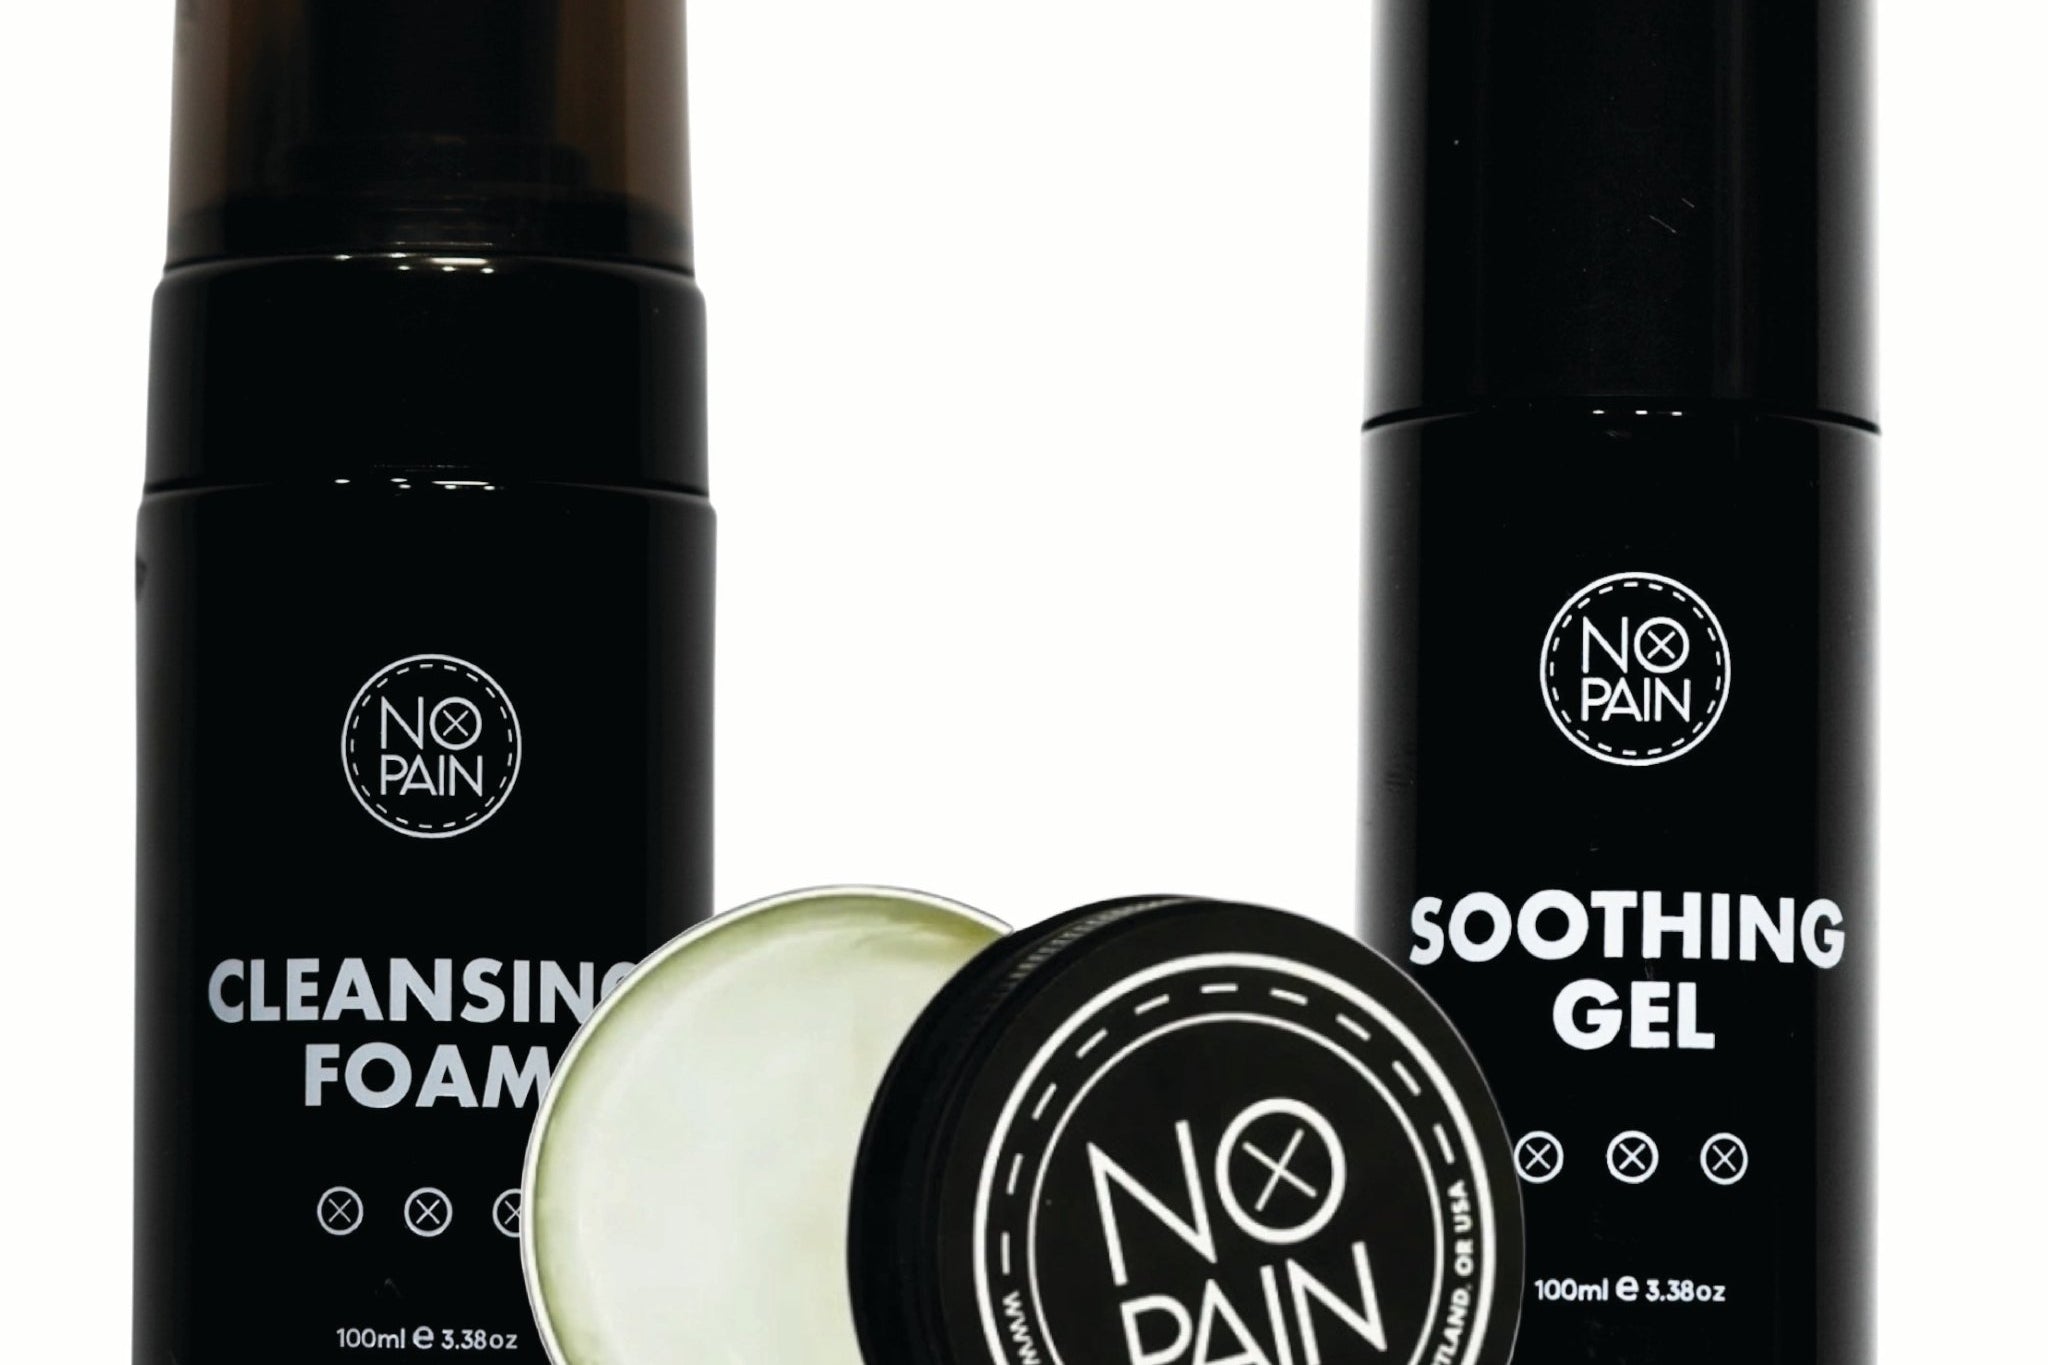
Once the tattoo is complete, a professional tattoo aftercare routine is essential. Our No Pain Tattoo Aftercare Bundle provides the complete system you need. The No Pain Tattoo Cleansing Foam is perfect for what to clean new tattoo with, while the Soothing Gel and Aftercare Balm will ensure it heals vibrantly and without complications.
Mastering the stencil process is a game-changer, giving you the power to bring your tattoo designs to life with professional-grade precision.