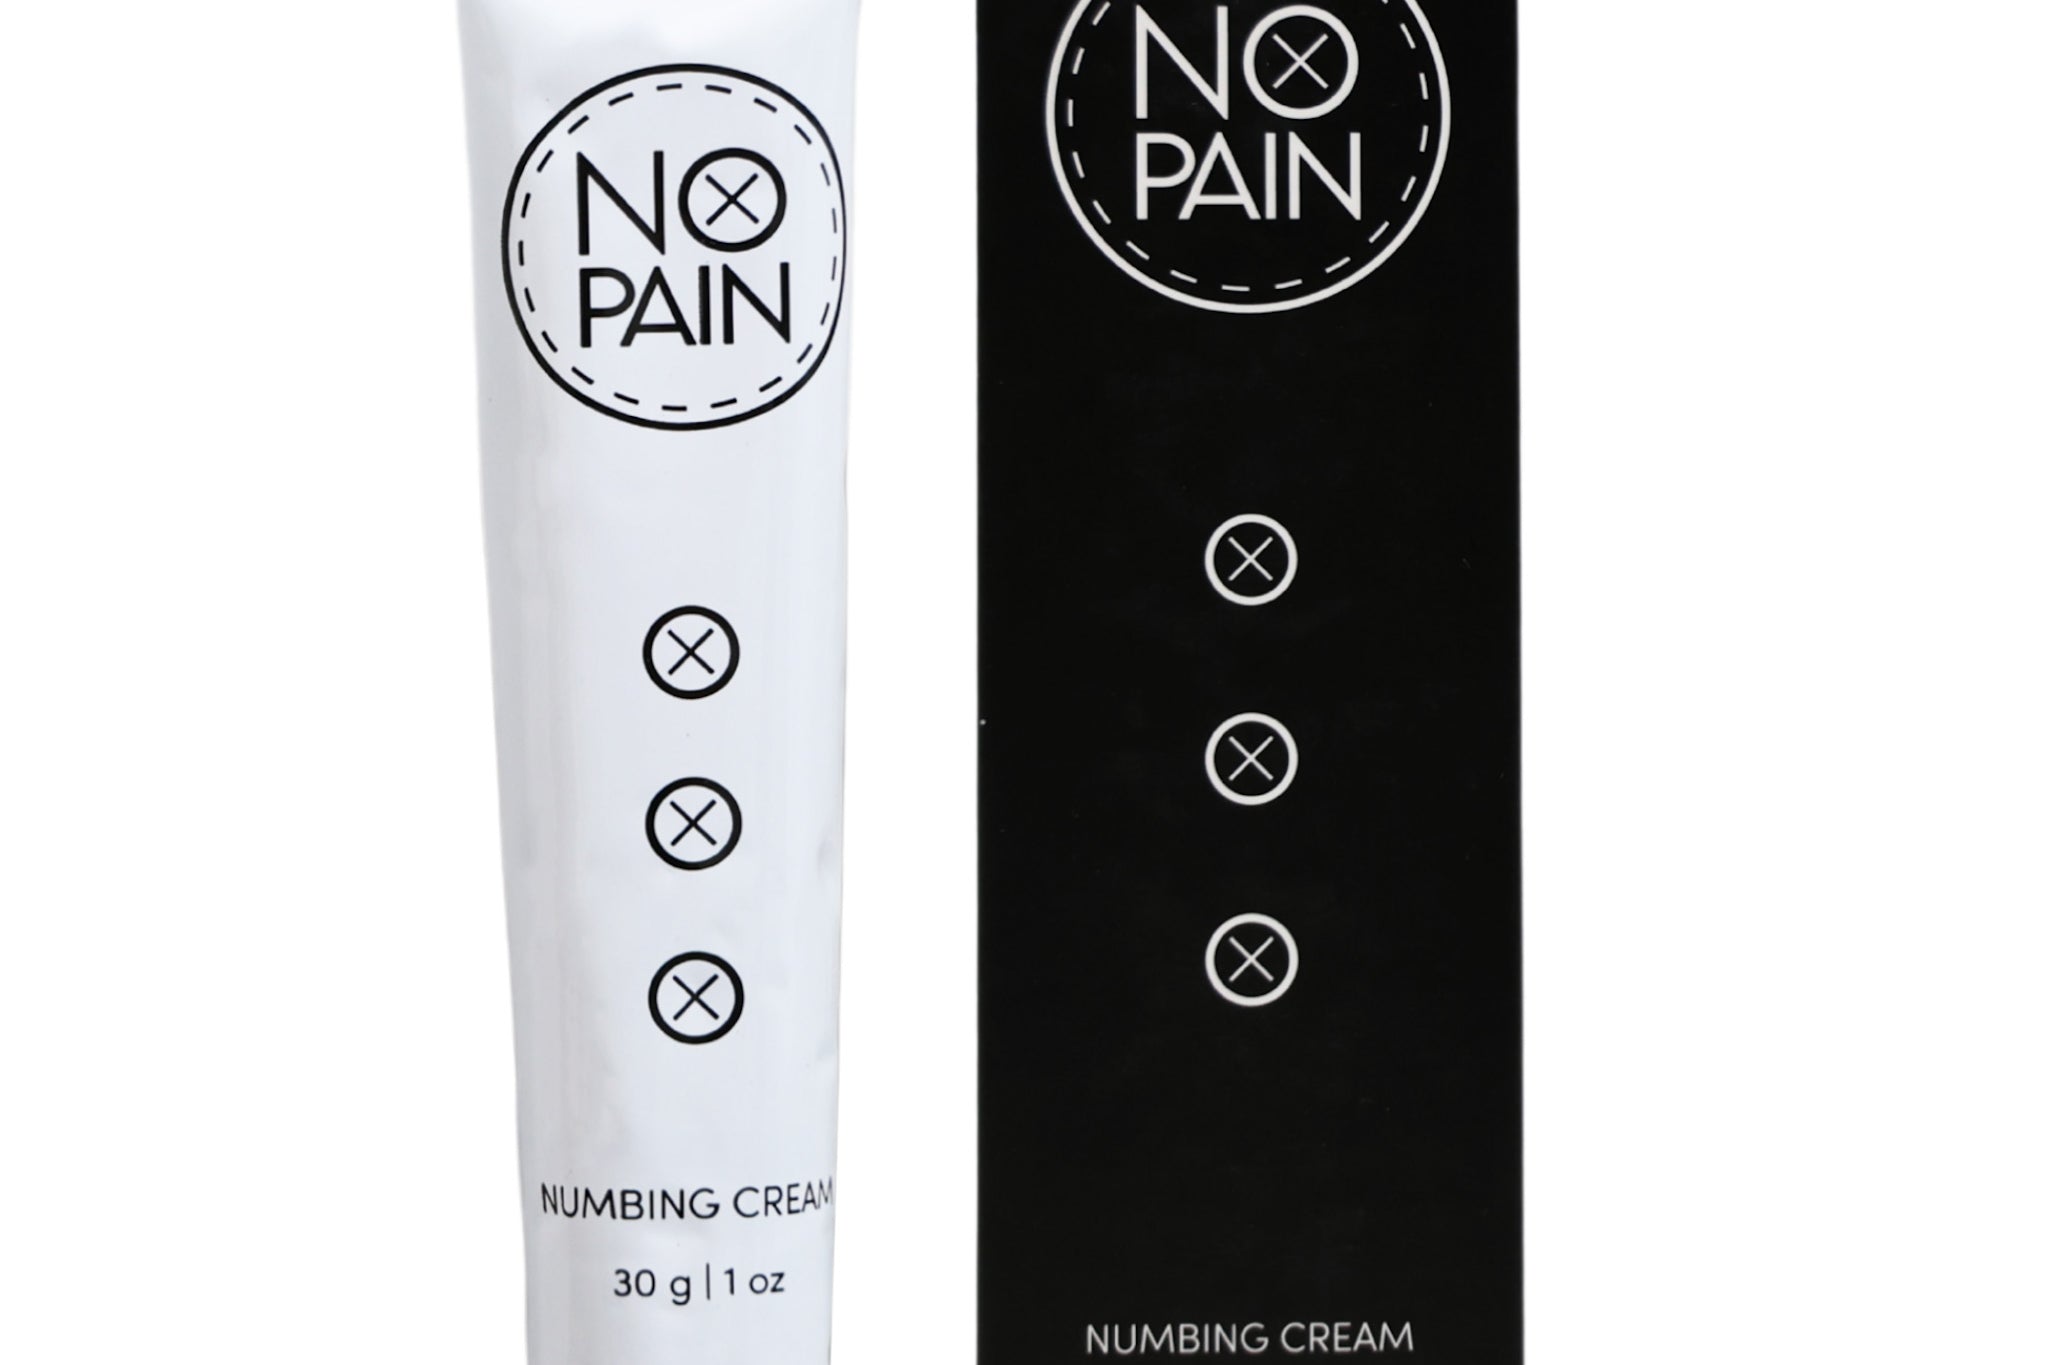


So, you've decided to take control of your tattoo experience. You've got your No Pain Tattoo Numbing Cream, and you're ready to trade pain for a peaceful, comfortable session. Smart move.
But to unlock the full potential of a pain-free tattoo, application is everything. Using it correctly is the difference between a good experience and a great one. Don't worry, it's easy. We'll walk you through the five simple steps to ensure you're perfectly numb when the needle starts buzzing.
Step 1: The Clean Slate (Skin Prep)
You can't build a great house on a shaky foundation. Before you do anything, you need to prep your skin.
-
Wash the Area: Use soap and warm water to gently wash the entire area you plan to have tattooed. This removes any dirt or natural oils that could prevent the cream from absorbing properly.
-
Pat Dry: Use a clean towel to pat the area completely dry. Don't rub aggressively, as this can irritate the skin.
Step 2: The Two-Layer Method
This is where the magic happens. A two-part application ensures the deepest possible numbing effect.
-
First Layer: Begin by applying a thin layer of the cream to the area and rubbing it in thoroughly, almost like a lotion. This creates a base layer that starts the absorption process.
-
Second Layer: Immediately after, apply a second, much thicker layer of the cream over the same area. We're talking about a layer that's about 1/8 of an inch thick—like you're frosting a cake. Don't rub this layer in. Let it sit on top of your skin to provide the numbing power.
Step 3: Seal the Deal (Wrap It Up)
This is the most critical step. Wrapping the area creates a warm environment that helps the active ingredients penetrate the skin deeply.
-
Use Plastic Wrap: Cover the entire area with a layer of plastic kitchen wrap. Make sure it's airtight but not so tight that it's uncomfortable. The wrap traps heat, which activates the cream and speeds up the numbing process.
-
No Peeking: Once it's wrapped, leave it alone! Don't lift the wrap to check on it. Trust the process.
Step 4: Timing is Everything
Patience is key. The numbing agents need time to work their magic.
-
Wait 60-90 Minutes: For maximum numbing effect, leave the cream on and wrapped for at least 60 to 90 minutes before your tattoo appointment begins. For notoriously painful areas like the ribs, feet, or ditch of the arm, leaning toward the 90-minute mark is a great idea.
Step 5: The Reveal
Right before your artist is ready to start, it's time to remove the cream.
-
Wipe It Clean: Remove the plastic wrap and use a clean paper towel to wipe off all of the cream.
-
Final Prep: Your artist will then clean and prep the area one last time as they normally would, and you'll be ready to go. You'll be amazed at how numb the skin feels.
Pro Tips for a Flawless Numbing Experience
-
Do a Patch Test: If you have sensitive skin, test a small amount of the cream on your skin a day before your appointment to ensure you don't have a reaction.
-
Talk to Your Artist: Let your artist know you'll be using a numbing cream. They can factor the removal time into your session prep.
-
Know Your Session Length: The numbing effect typically lasts for 3-5 hours. Plan accordingly for longer tattoo sessions.
That's it. By following these steps, you're setting yourself up for the most comfortable tattoo experience of your life. It's time to relax and enjoy watching your new artwork come to life—without the wincing.
Ready to ditch the pain? Grab your No Pain Tattoo Numbing Cream today!