A tattoo on the ribs or side of the body is a powerful and beautiful choice. The way a design can flow with the natural curve of the torso creates a truly stunning piece of art. But this popular placement comes with a reputation for being not only one of the most painful to get, but also one of the most challenging to heal.
How long does it take for a tattoo to heal on your ribs? The timeline can be longer and the process more difficult than on a stable spot like your arm. The constant motion from breathing and friction from clothing can easily irritate a new tattoo, making a flawless tattoo aftercare routine absolutely essential.
This is your complete guide to the tattoo healing stages for a rib tattoo, explaining what to expect and how to care for a new tattoo in this notoriously difficult location.
The Unique Healing Challenges of a Rib Tattoo
Why is this placement so tricky to heal?
-
Constant Movement: Your rib cage is in constant motion, expanding and contracting with every single breath you take. This continuous stretching puts a lot of stress on the healing skin.
-
High Friction Zone: Your arms, clothes, and even your bedsheets are constantly rubbing against your sides. This friction can irritate the tattoo, cause scabs to come off prematurely, and lead to a patchy heal.
-
Intense Swelling and Soreness: Because a rib tattoo is so painful to get, the initial inflammatory response is often more intense. A very sore tattoo with significant swelling is common for the first few days.
Your Week-by-Week Rib Tattoo Healing Guide
Week 1: The Inflammation and "Breathing" Stage
-
What to Expect: The first few days will be the most uncomfortable. The area will be very swollen, red, and tender. You will be acutely aware of the tattoo with every breath you take.
-
Your Action Plan: Your goal is to manage the inflammation and keep the area impeccably clean.
-
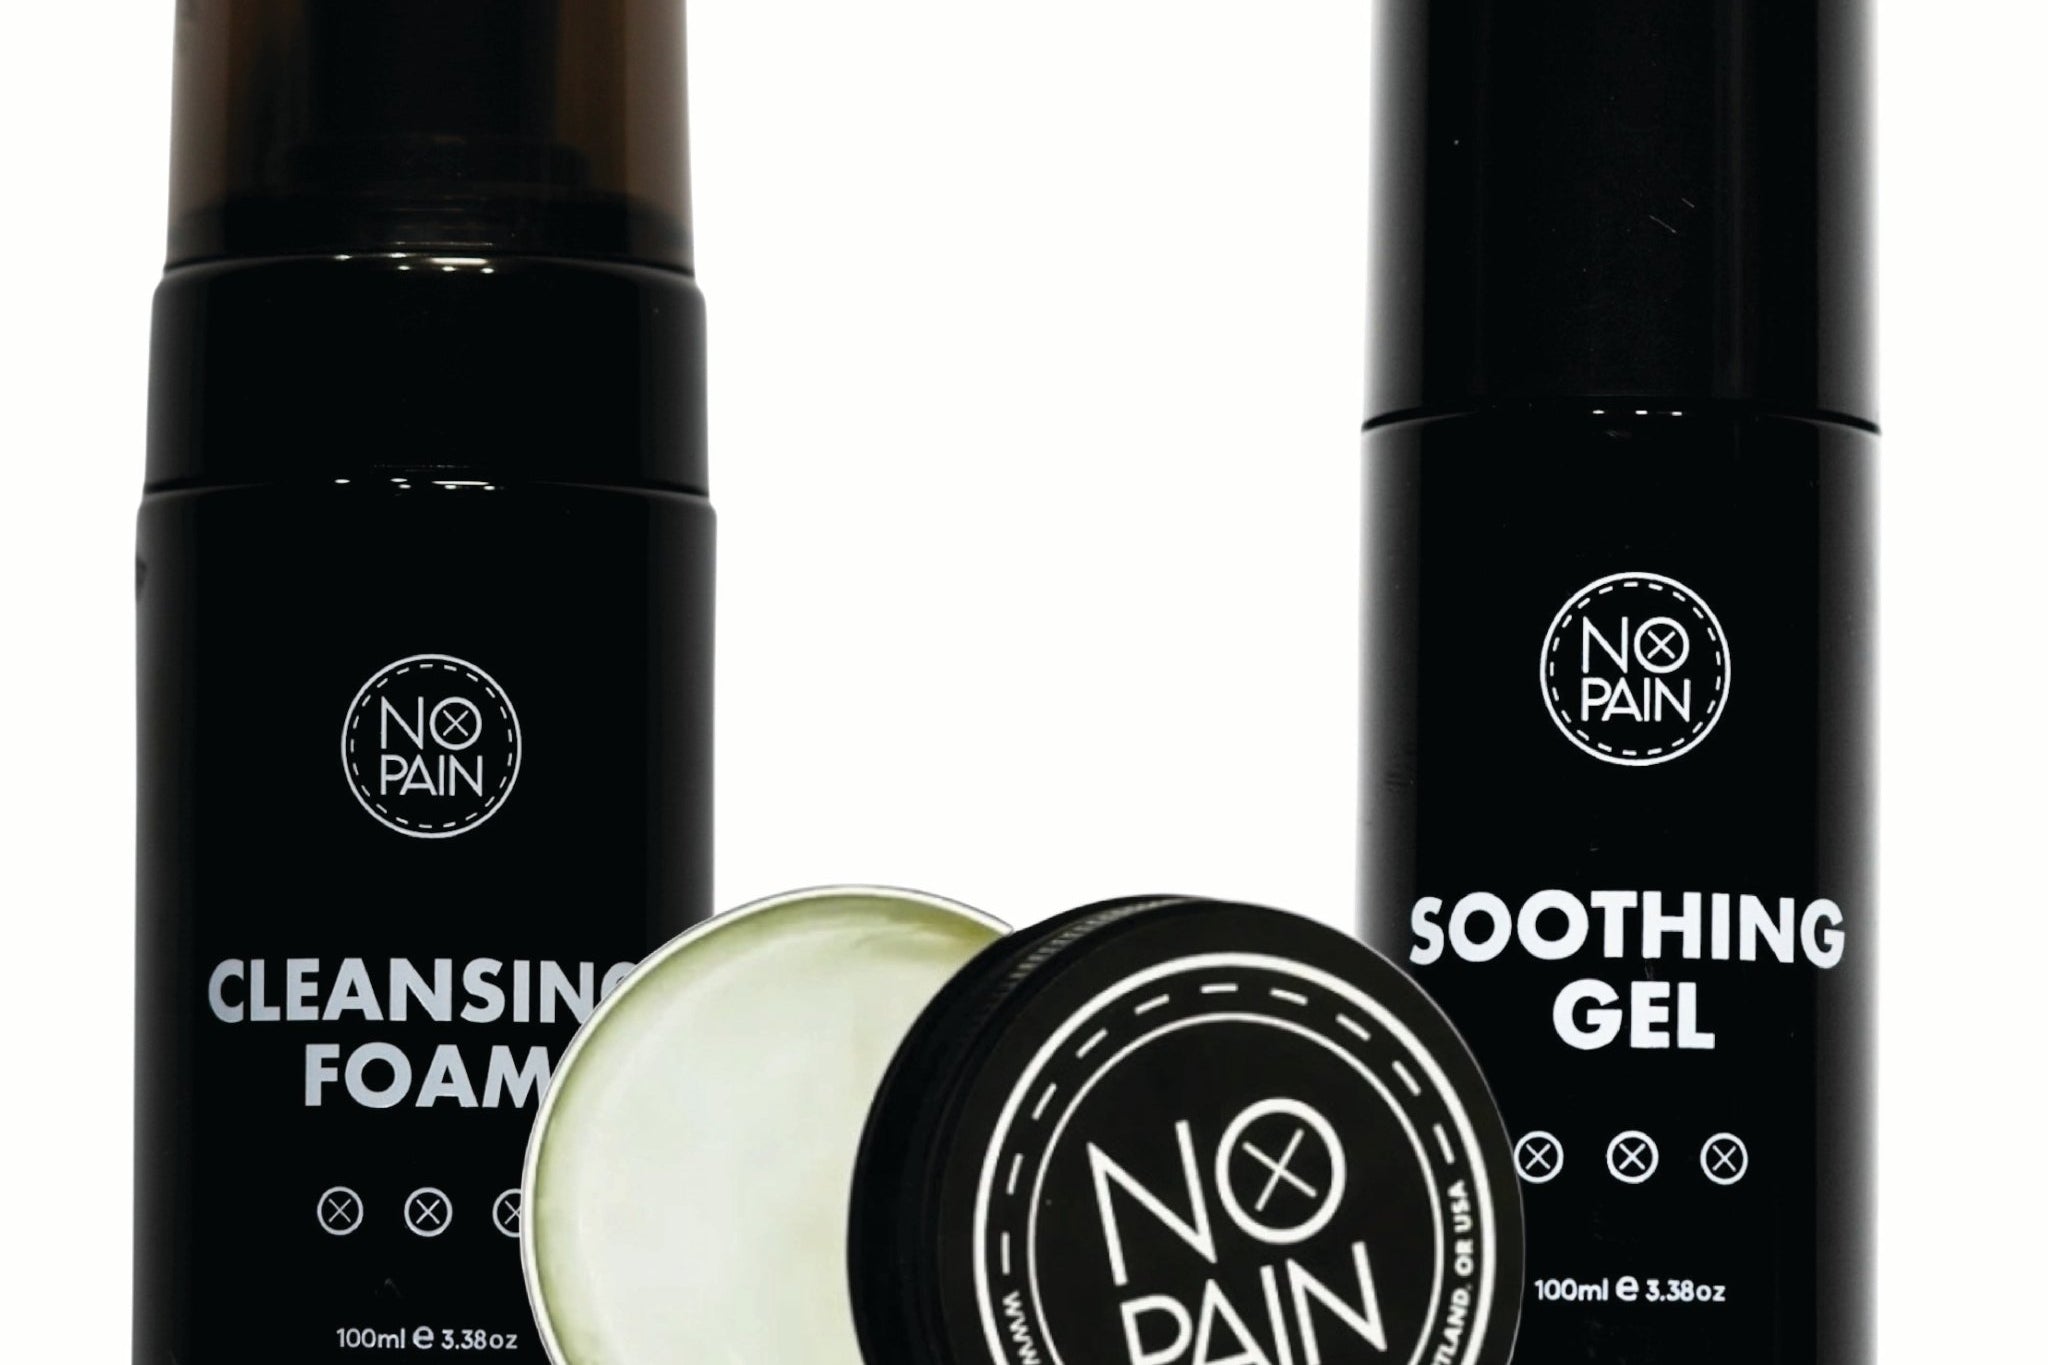
Clean Gently: You must gently wash the area 2-3 times a day. Our No Pain Tattoo Cleansing Foam is perfect for this, as its gentle foam formula can clean the incredibly tender skin without the need for any harsh rubbing.
-
Soothe the Burn: After cleaning, apply a layer of our No Pain Tattoo Soothing Gel. Its cooling formula is designed to calm the intense post-session inflammation.
-
Weeks 2-3: The Critical Friction and Peeling Stage
-
What to Expect: This is when the peeling will begin, and the itch will be at its most intense. This is also when the friction from your clothing poses the biggest threat. You'll be constantly asking, "is my tattoo healing properly?"
-
Your Action Plan: Your goal is to protect the peeling skin and keep it deeply moisturized.
-
Wear Loose Clothing: Ditch the tight shirts. Wear the softest, loosest-fitting cotton clothing you own to minimize friction.
-
Moisturize to the Max: A dry, peeling tattoo on your ribs will be incredibly itchy and prone to cracking. Our No Pain Tattoo Aftercare Balm provides the deep, nourishing hydration needed to keep the skin flexible and prevent scabs from being rubbed off.
-
A Proactive Approach: A Better Heal Starts with an Easier Session
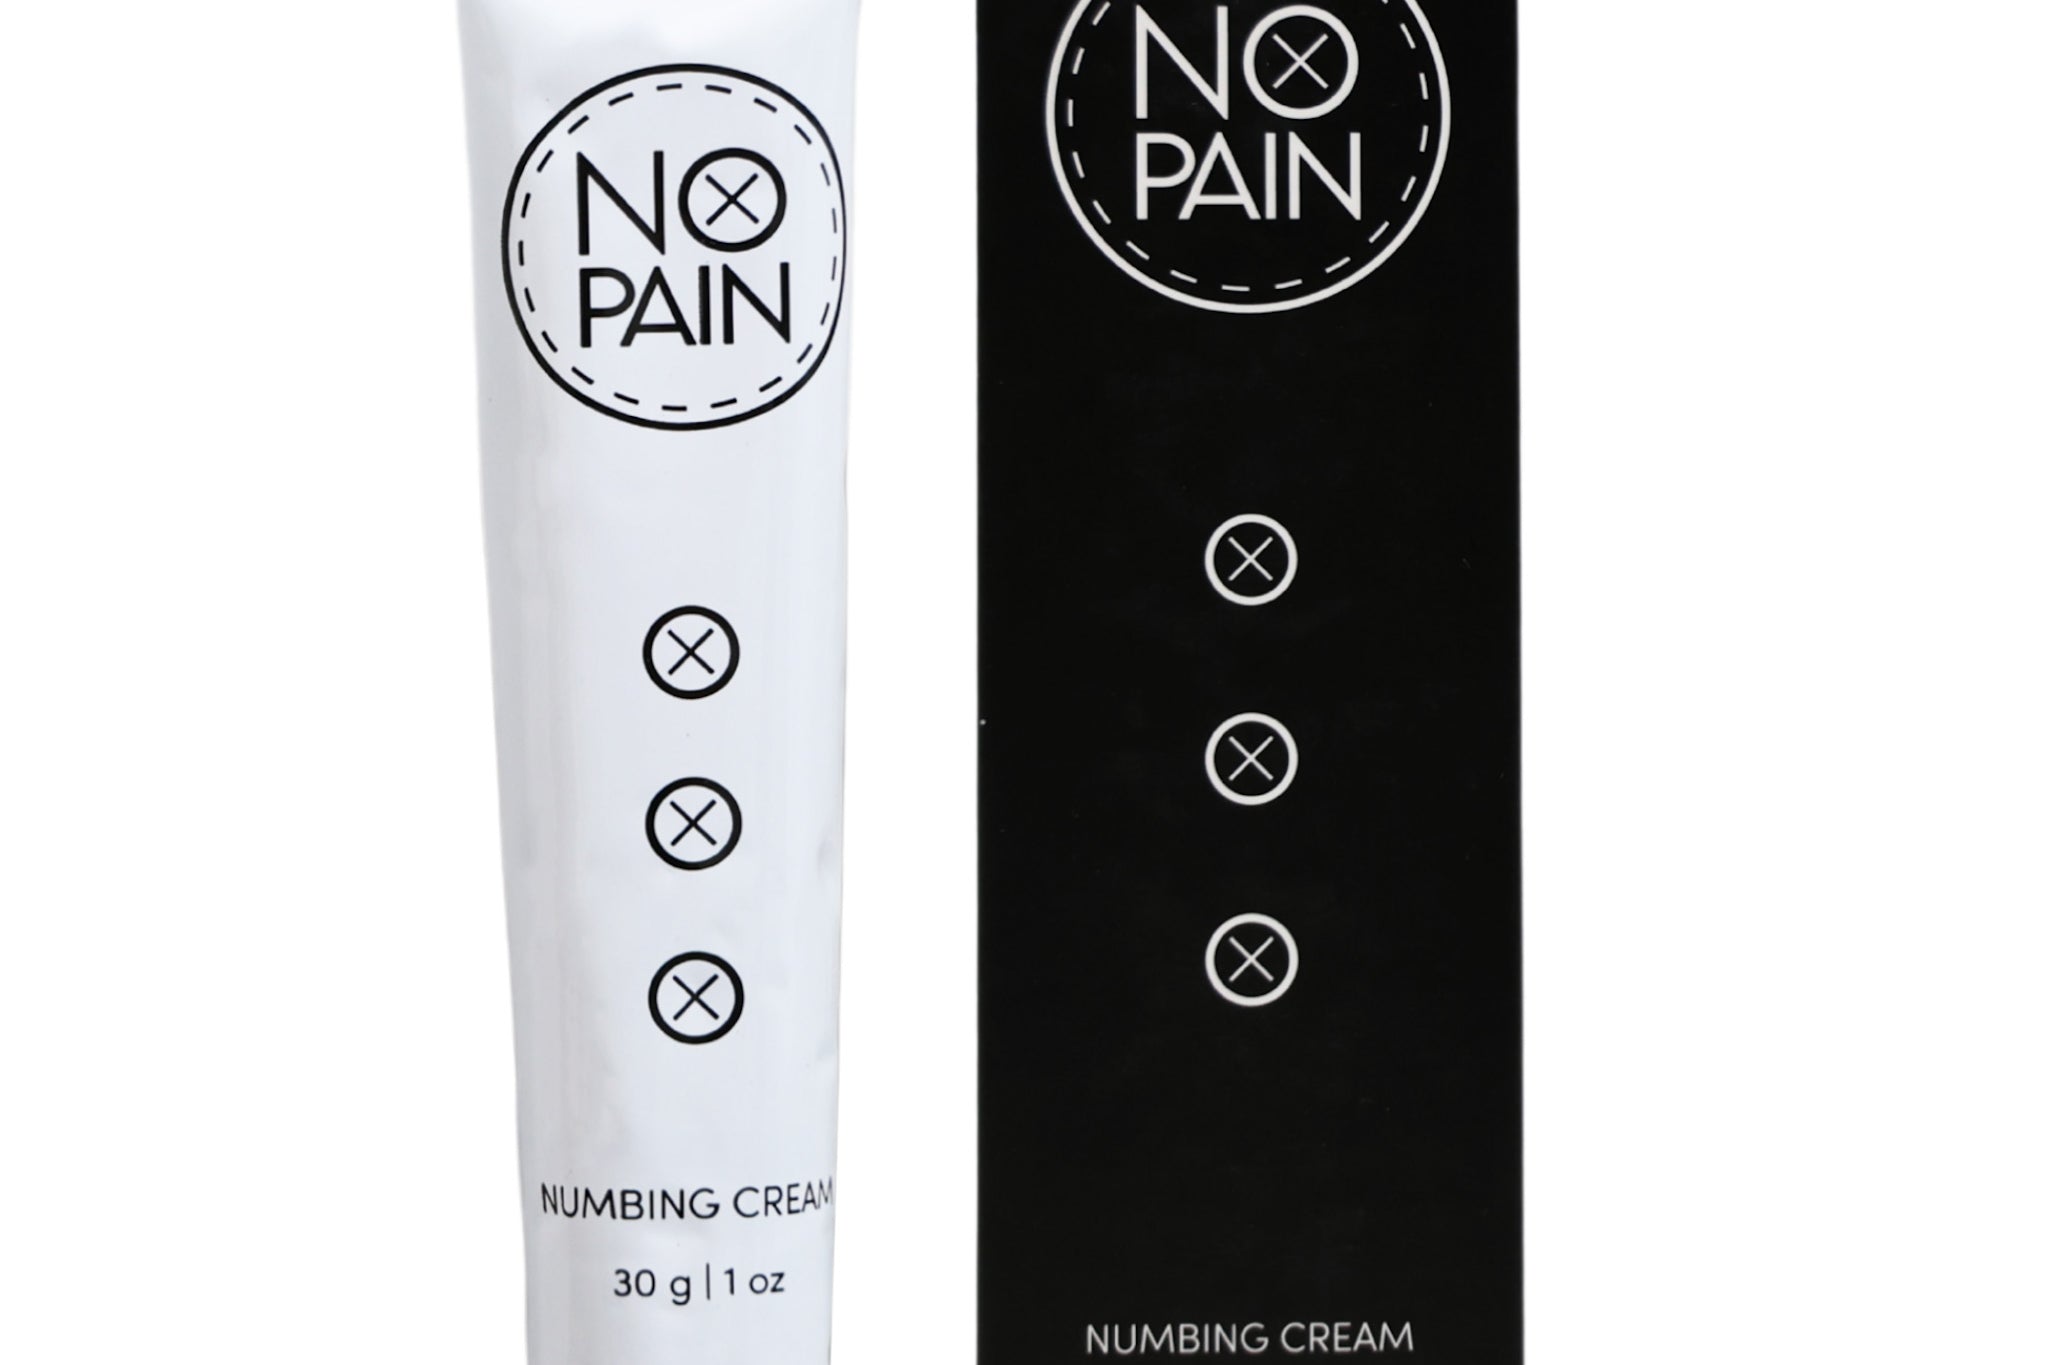
The amount of initial trauma directly impacts the intensity of the healing process. A less painful session, where your body is not in a constant state of "fight or flight," often results in less initial swelling and an easier start to the heal. This is why knowing how to prepare for tattoo pain is so important. Using our No Pain Tattoo Numbing Cream can make the notoriously painful rib session a calm and comfortable experience.
The Verdict: Healing a tattoo on your side or ribs is a true test of your aftercare discipline. It requires careful attention to cleaning, moisturizing, and clothing choices. By using a complete, professional system like our No Pain Tattoo Aftercare Bundle, you'll have all the tools you need to navigate the unique challenges of this placement and ensure your beautiful tattoo heals perfectly.


