

The hard part is over: you've chosen your artist, finalized your design, and bravely sat through the session. Now, you've been handed the most important job of all: the aftercare.
A great tattoo is a 50/50 partnership. Your artist creates the art; you are responsible for healing it. To make sure you get it right, we've created the ultimate, easy-to-follow aftercare checklist for 2025. Follow these steps, and you'll guarantee a vibrant, perfectly healed tattoo.
Phase 1: The First 24 Hours — The Critical Start
-
[ ] Listen to Your Artist. The first and most important step is to listen to the specific instructions your artist gives you. They know their work and what heals it best.
-
[ ] Leave Your Initial Bandage On. For 2-4 hours for traditional plastic wrap, or for the full 24 hours as often recommended for an adhesive bandage like Saniderm.
-
[ ] Perform the First Wash. This is crucial. After thoroughly washing your hands, gently remove the wrap and immediately wash the tattoo with lukewarm water and a specialized cleanser like our No Pain Tattoo Cleansing Foam to remove all plasma and excess ink.
-
[ ] Pat Dry and Let it Breathe. Use a clean paper towel to gently pat the area dry. Do not rub. Let it air dry for an additional 10-15 minutes.
-
[ ] Apply a Soothing First Layer. For this initial, inflamed stage, you want a product that soothes and calms. A thin layer of our No Pain Tattoo Soothing Gel is perfect for reducing that initial redness and "sunburn" feeling.
Phase 2: The First Two Weeks — The Healing Routine
-
[ ] Wash 2-3 Times Daily. Keep the tattoo clean to prevent infection. Gently wash it in the morning and at night with a cleanser designed for tattoos, like our No Pain Tattoo Cleansing Foam.
-
[ ] Moisturize with a Breathable Balm. After the first few days of using the gel, switch to a nourishing balm to prevent heavy scabbing. Apply a thin layer of our No Pain Tattoo Aftercare Balm 2-3 times a day, always after washing.
-
[ ] Wear Loose, Clean Clothing. Protect your tattoo from the friction and irritation of tight clothes.
-
[ ] Avoid Soaking. No baths, hot tubs, or swimming. Short (under 10 minutes), lukewarm showers only.
-
[ ] Avoid All Sun Exposure. Keep your new tattoo completely covered and out of the sun. A healing tattoo should not be exposed to UV rays.
-
[ ] DO NOT Pick or Scratch! Your tattoo will start to peel and itch around day 5-7. This is normal. Do not pick at the flakes or scratch the itch. This will pull your ink out. Use a bit of our Soothing Gel for relief if needed.
Phase 3: Long-Term Care — Protecting Your Investment
-
[ ] Moisturize Daily. Even after it's healed, keep your tattoo vibrant by moisturizing it daily with a quality balm. Healthy skin displays ink better. Check out our No Pain Tattoo Aftercare Balm for great longterm results.
-
[ ] Use Sunscreen Religiously. The sun is the #1 cause of tattoo fading. Once your tattoo is fully healed (after 3-4 weeks), apply a high-SPF sunscreen to it every single time it's exposed to the sun. This is a lifelong commitment.
The Ultimate Toolkit: Making It Easy
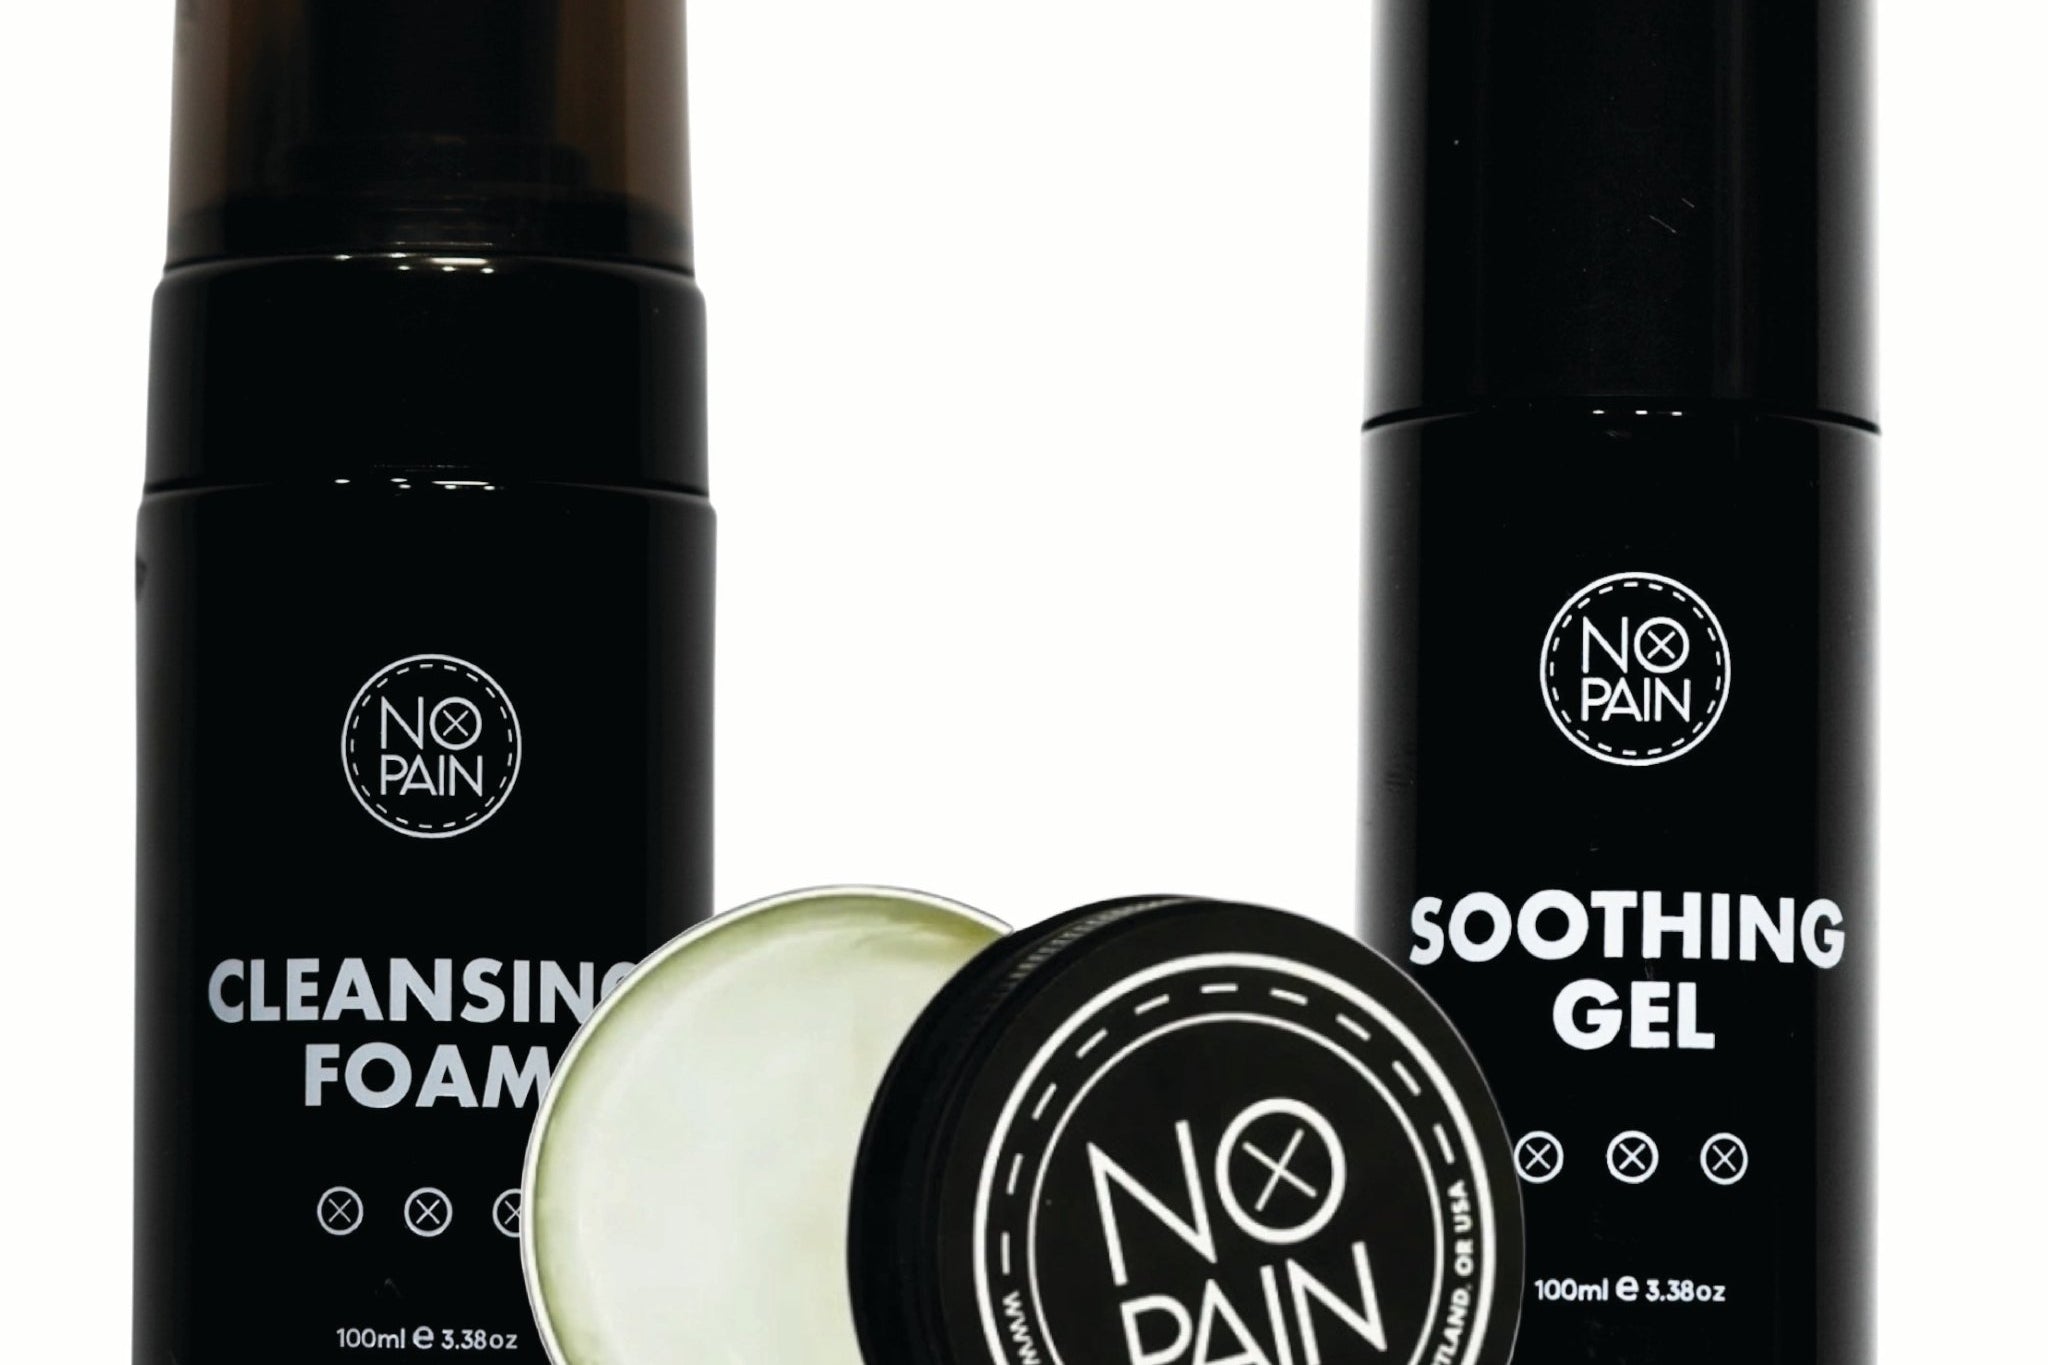
Following a checklist is simple, but it's even easier when you have all the right tools in one place. Our No Pain Tattoo Aftercare Bundle is the physical version of this checklist. It was designed to provide the perfect product for every stage of the healing process:
-
The Cleansing Foam for a clean, infection-free start.
-
The Soothing Gel for the initial inflammation and the maddening itchy phase.
-
The Aftercare Balm for deep, breathable moisture to prevent scabbing and for long-term vibrancy.
It takes all the guesswork out of the process, ensuring you have the professional-grade system you need to heal your art perfectly. A great tattoo is a partnership. Your artist created the masterpiece; this checklist is your guide to perfectly preserving it.