

You've done it. You've conquered one of the most famously painful spots in tattooing: the inner elbow, known to artists as "the ditch." But the challenge isn't over. In fact, the hardest part is just beginning. Healing a tattoo in the elbow ditch is a unique and notoriously difficult process that requires a level of care and attention far beyond that of a standard tattoo.
How long does it take for a tattoo to heal in a spot that's constantly moving? The timeline can be longer, and the risks are higher. This is your complete guide to the tattoo healing stages for the elbow ditch, explaining the unique challenges and the meticulous tattoo aftercare routine you must follow for a successful result.
The Unique Healing Challenges of the Elbow Ditch
Why is this placement so hard to heal?
-
Constant Movement: This is the #1 enemy. You bend your arm hundreds of times a day. Every single movement pulls and stretches the delicate, healing skin, putting it under constant stress.
-
Friction: The skin in the ditch is constantly rubbing against itself, which can cause severe irritation and prematurely remove flakes and scabs.
-
Thin, Stretchy Skin: The skin here is very thin and delicate, making it prone to heavy scabbing and cracking if it gets too dry.
Your Week-by-Week Elbow Ditch Healing Guide
Week 1: The Swelling and "Armor" Stage
-
What to Expect: Expect significant swelling and soreness. Because of the constant movement, your body's inflammatory response will be intense. As the week progresses, the area will form a scab that can feel like a tight, inflexible piece of armor over the joint.
-
Your Action Plan: Your goal is to manage the inflammation and keep the area impeccably clean.
-
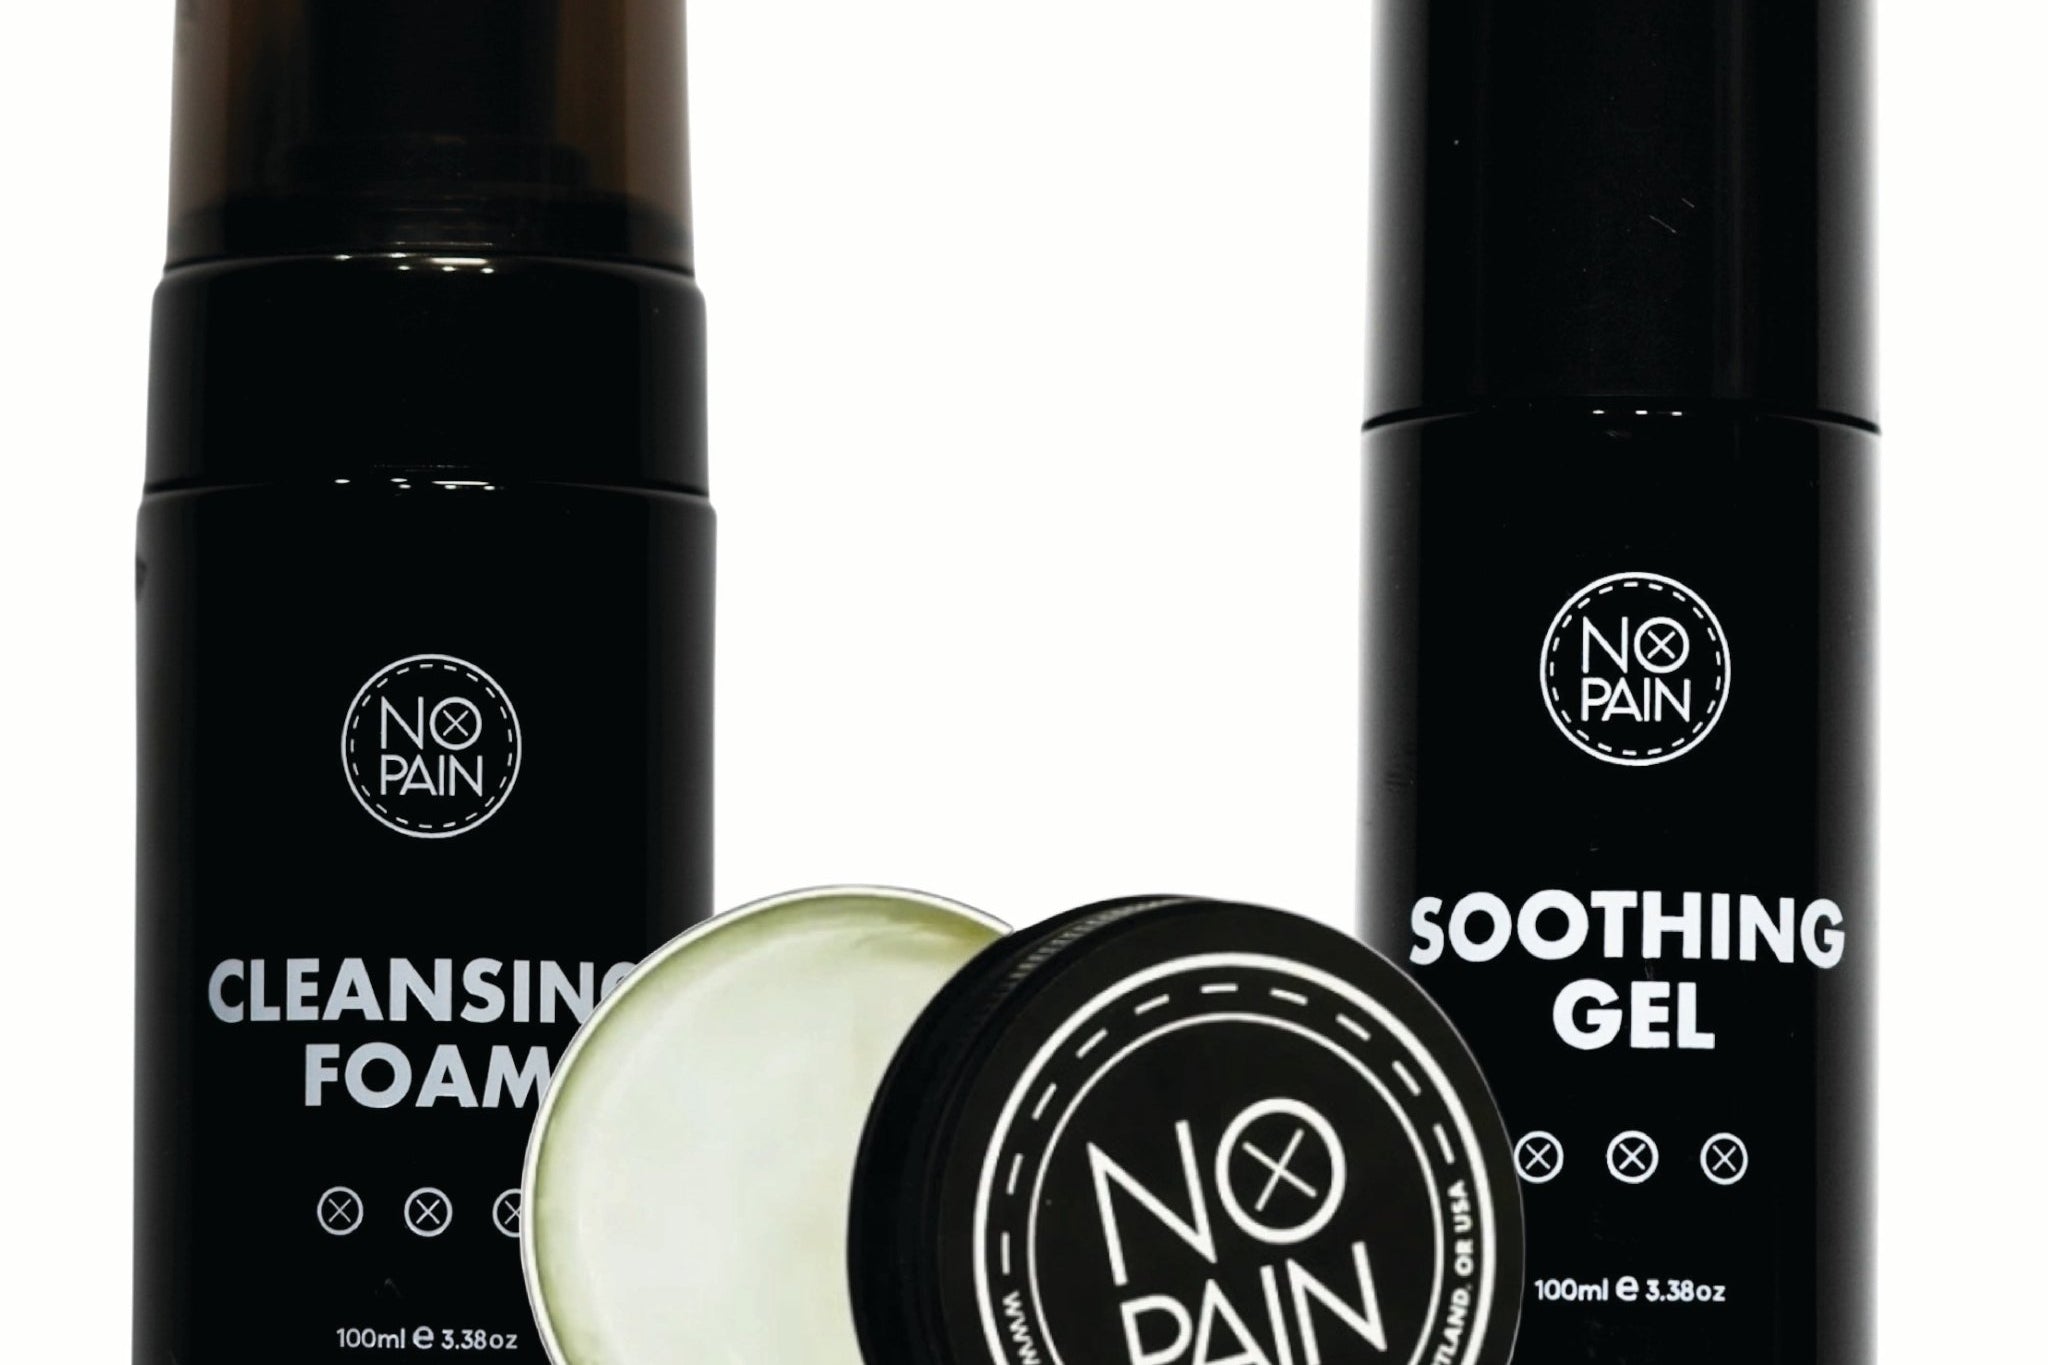
Clean Gently: You must gently wash the area 2-3 times a day. Our No Pain Tattoo Cleansing Foam is essential for what to clean new tattoo with in this tender spot.
-
Soothe the Burn: After cleaning, apply a layer of our No Pain Tattoo Soothing Gel. Its cooling formula is designed to calm the intense post-session inflammation.
-
Try to Keep Your Arm Straight: As much as possible, especially when resting, try to keep your arm extended to minimize creasing.
-
Weeks 2-3: The Critical Cracking and Itching Stage
-
What to Expect: The heavy scab will become very dry, tight, and incredibly itchy. The biggest risk during this phase is the scab cracking open from bending your arm. This is a painful setback that can lead to scarring and permanent ink loss.
-
Your Action Plan: Your mission is to keep the scab as flexible and hydrated as possible.
-
Moisturize to the Max: This is the most important step. A dry scab will crack. Our No Pain Tattoo Aftercare Balm is the perfect tool. It provides deep, nourishing hydration to keep the skin pliable. Apply a thin layer 3-5 times a day.
-
Resist the Itch! An itchy tattoo in the ditch is a true test of willpower. Do not scratch. A gentle pat or a fresh application of the Soothing Gel is your only safe relief.
-
A Proactive Approach: A Better Heal Starts with an Easier Session
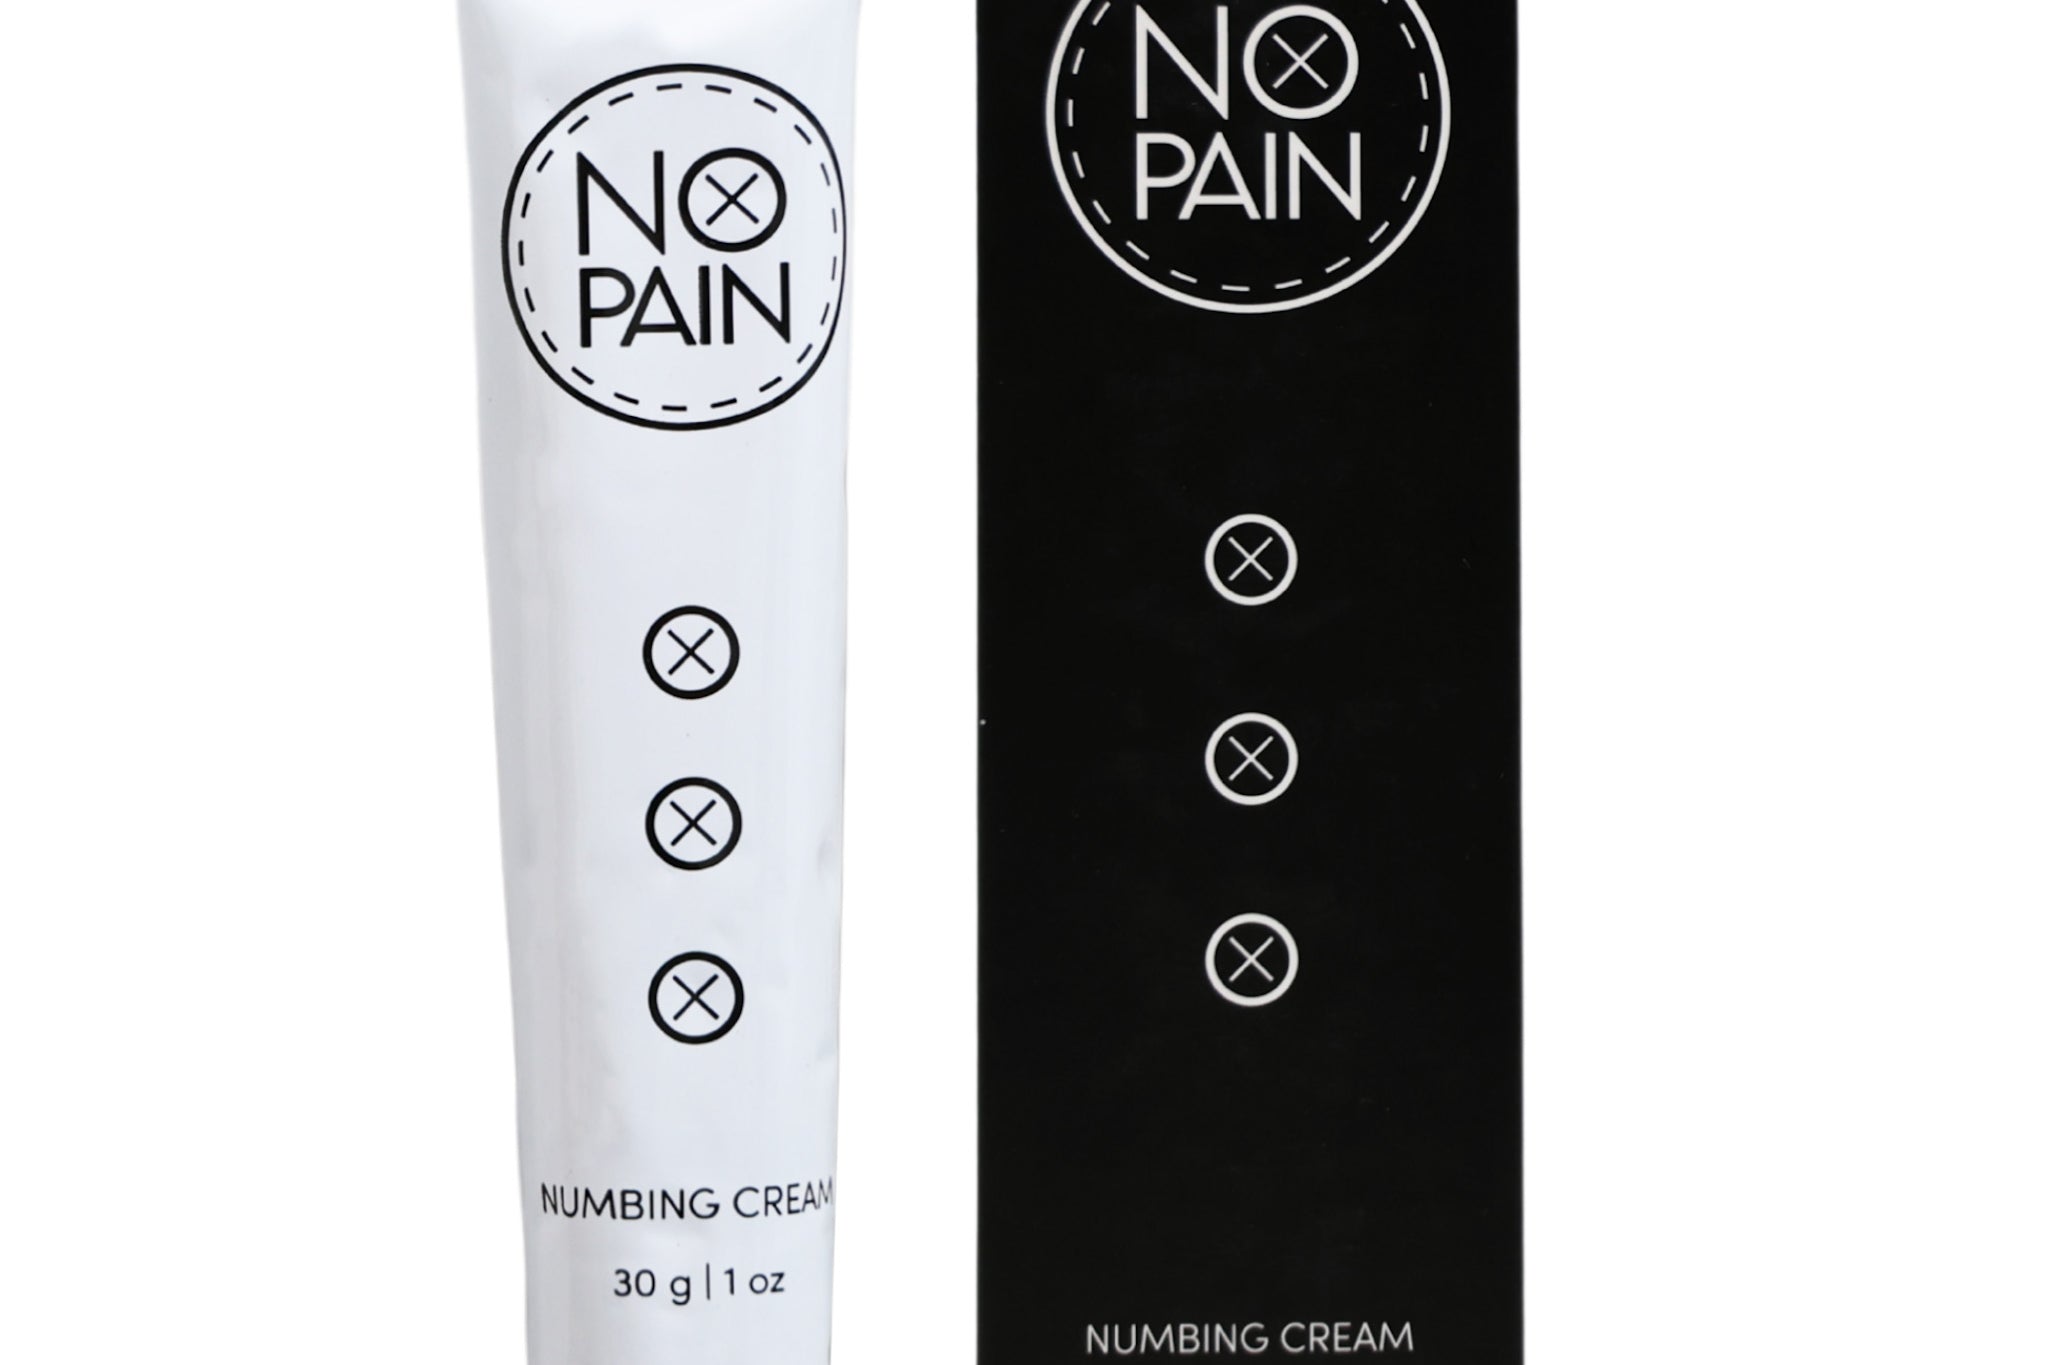
How bad do tattoos hurt in the ditch? The pain is a 10/10. A less traumatic session, where your body isn't in a constant state of "fight or flight," can result in less initial swelling. This is why knowing how to prepare for tattoo pain is so important. Using our No Pain Tattoo Numbing Cream can make the session a calm experience, giving your skin a less traumatic start to the difficult healing journey.
The Verdict: Healing a tattoo in the elbow ditch is a serious commitment that demands a flawless aftercare routine. Patience and a relentless focus on keeping the skin clean and flexible are the keys to success. By using a complete, professional toolkit like our No Pain Tattoo Aftercare Bundle, you'll have everything you need to navigate the unique challenges of this placement.