

A tattoo consultation is the planning session before any needle touches your skin. It's where your reference photos get turned into a real design plan, where you and the artist figure out whether you're a good fit for each other, and where the practical details (price, sessions, scheduling) get sorted out. Most people walk out more confident than when they walked in.
Here's what to expect, what to bring, and how to prepare.
How to Find the Right Artist
The consultation only works if you're sitting down with the right person. Style match matters more than location. A fine-line specialist two hours away is a better choice than a traditional artist around the corner, if fine line is what you want.
Search by style on Instagram. Look up hashtags specific to the work you're after: #fineline, #japanesetattoo, #blackandgreytattoo, #neotraditional. Pay close attention to artists who post healed photos consistently. Fresh tattoos almost always look good. Healed work shows you what actually lasts.
When you find candidates, look for full pieces and full sessions in their portfolio, not just close-up detail shots. See how the composition holds up at arm's length. Then book a consultation with the artist whose healed portfolio most closely matches what you want. Don't wait until the consultation to discover the style isn't right.
Most reputable artists who do custom work will have a booking inquiry form or an email process. Fill it out with your idea, placement, approximate size, and a couple of reference images. If they don't respond to inquiries, check their Instagram story highlights or pinned posts for how they prefer to be contacted.
What to Bring to Your Consultation
Reference images. Bring 5 to 10 photos that capture the mood, style, or specific elements you want. These are not for the artist to copy; they're for communication. For each image, know what you like about it: the shading quality, the line weight, a specific element, a color palette. The more precise you can be about what appeals to you, the more useful the references become.
A clear sense of placement. Know where on your body you want the tattoo. The artist will have opinions about this, and their input on how designs flow with body anatomy is worth listening to. Come with a preference; stay open to adjustment.
An approximate size. Use a ruler to get a rough idea in inches. "The size of my palm" works fine. Artists need this to estimate time and scope, even before the design is drawn.
A realistic budget. Being upfront about budget isn't awkward; it's practical. It tells the artist what scope is achievable and lets them design something that fits your means. Quality tattoo work is expensive by nature. Knowing your number prevents a great consultation from ending in a quote you can't make work.
What Happens During the Consultation
The artist will look through your references, ask questions, and give you their honest read on what will work for your placement, size, and skin. Pay attention to what they push back on. That's usually expertise, not resistance. They know how certain designs age, how anatomy affects composition, and which ideas are harder to execute well than they look.
For larger or custom-fit pieces, the artist will often take a photo or trace the relevant body part. A sleeve design built around your arm's actual proportions looks different from one drawn on a flat page. The tracing is how they make it fit you specifically.
By the end of the discussion you'll have a quote. Smaller pieces may have a flat rate. Larger or more complex work is usually quoted at an hourly rate with an estimated number of sessions. Most artists require a non-refundable deposit to hold your appointment and to compensate them for their drawing time. This deposit goes toward the final cost of the tattoo.
Book the date before you leave. In-demand artists can be scheduled out several months. If you're not ready to commit to the deposit that day, ask how to stay in contact for when you are.
After You Book: Preparing for Your Session
Once the deposit is paid and the date is on the calendar, preparation shifts to the session itself. For longer appointments or painful placements, pain management is worth planning in advance, not as an afterthought at the studio door.
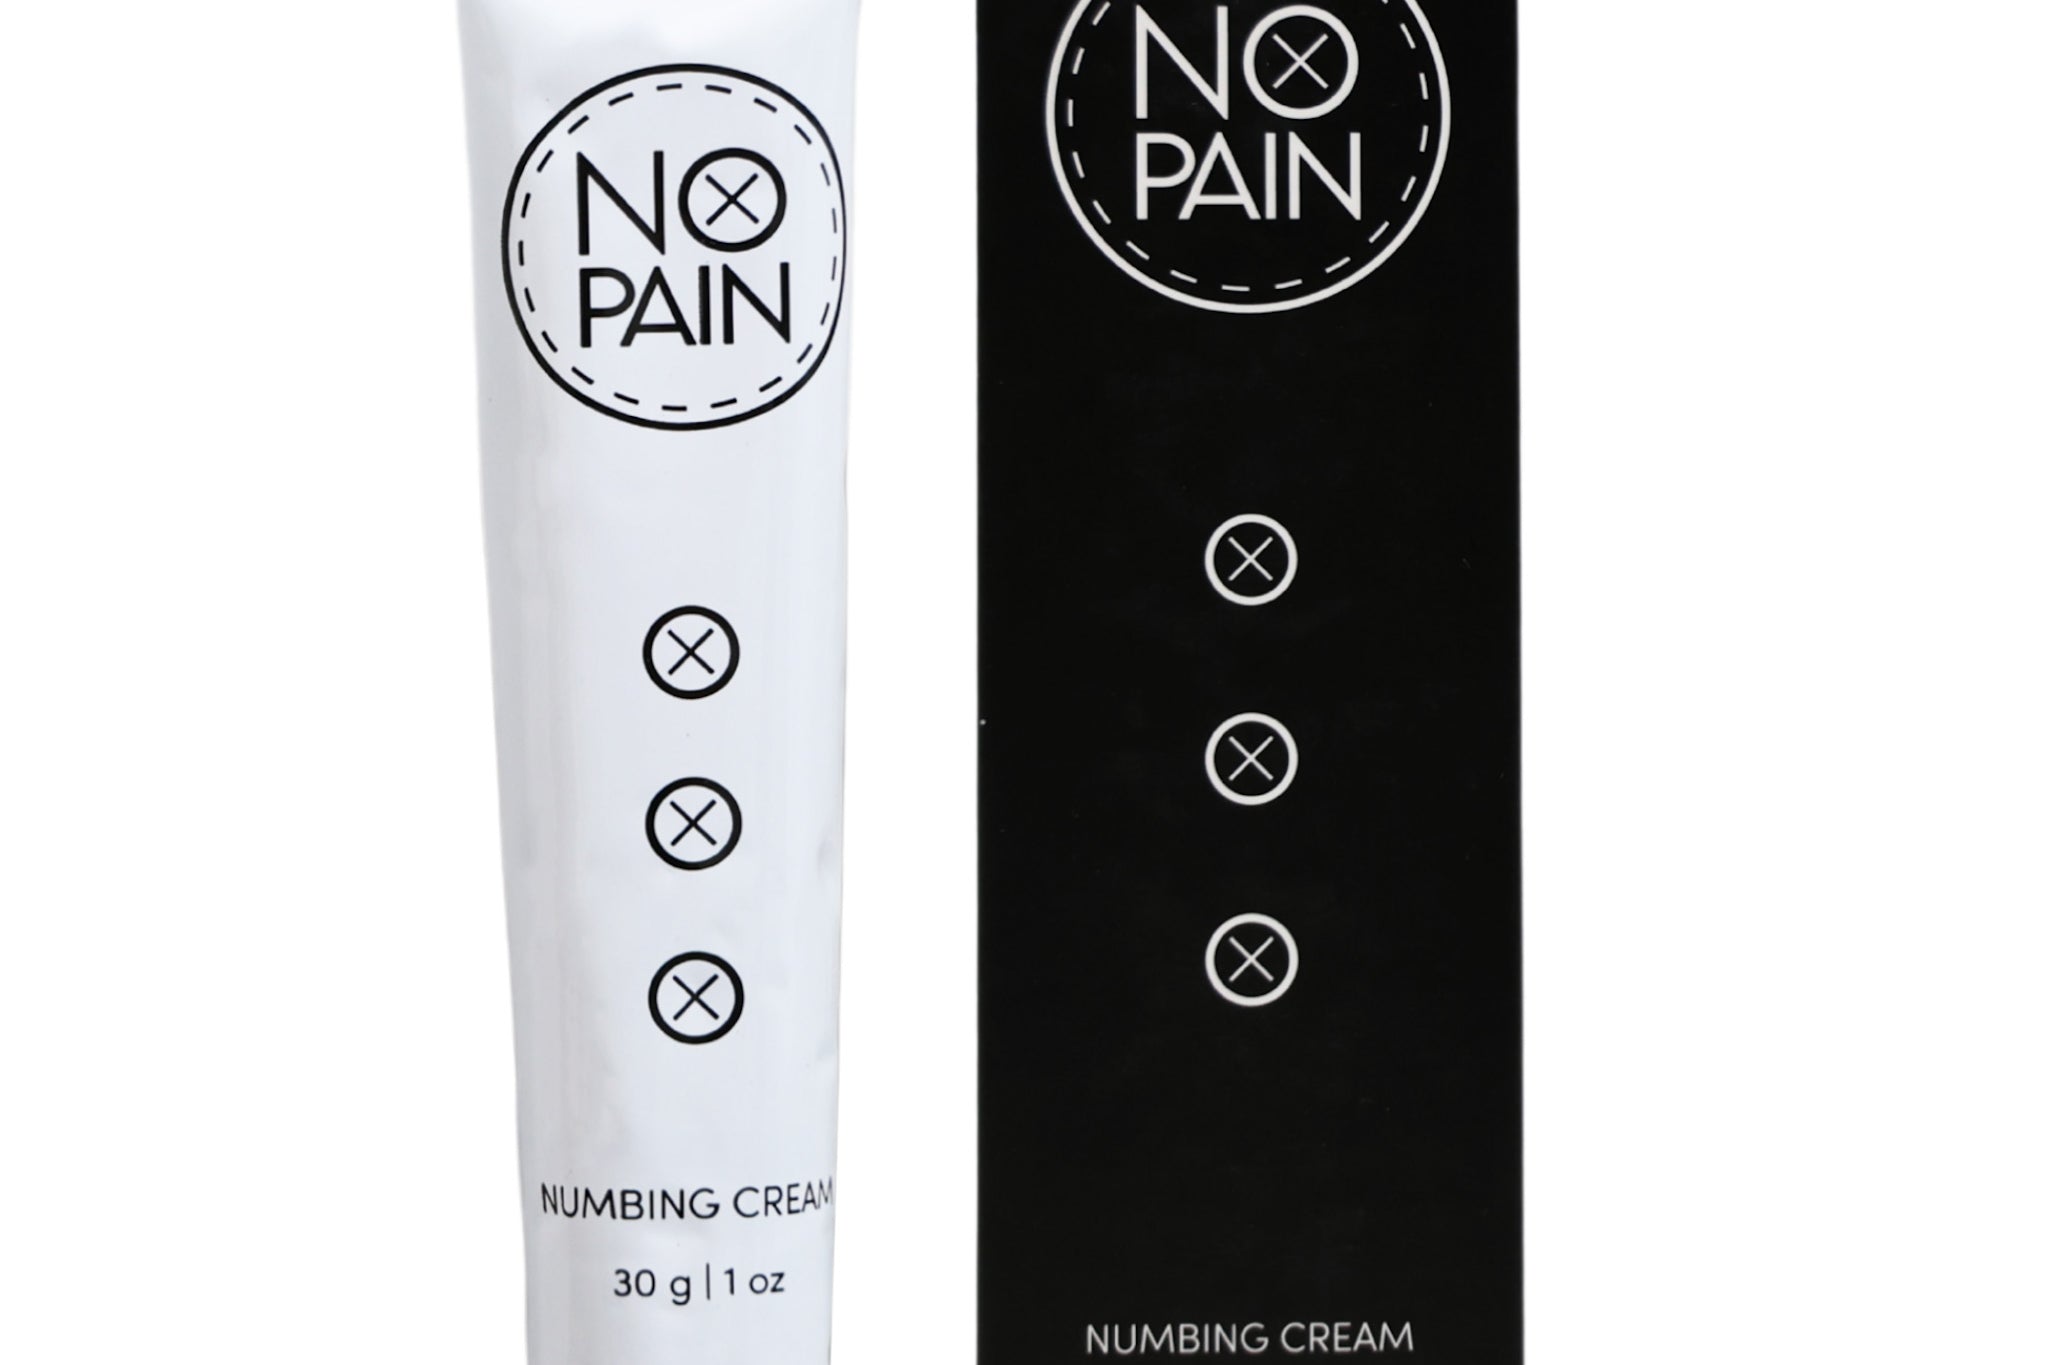
Numbing cream applied at home before the session gets you through the first two to four hours. Apply it 90 to 120 minutes before your appointment, cover with cling film, and arrive already numbed. The arm wraps easily. Most placements on the upper body are good candidates. If you're not sure whether numbing cream makes sense for your placement, ask your artist at the consultation; most are comfortable with clients arriving pre-numbed, and many prefer it.

Maximum-strength numbing in a thick, slow-absorbing base. Apply two coats, cover with cling film, arrive already numb. Covers the first two to four hours, enough for most single sessions and the hardest part of a longer one. 100% money-back guarantee.
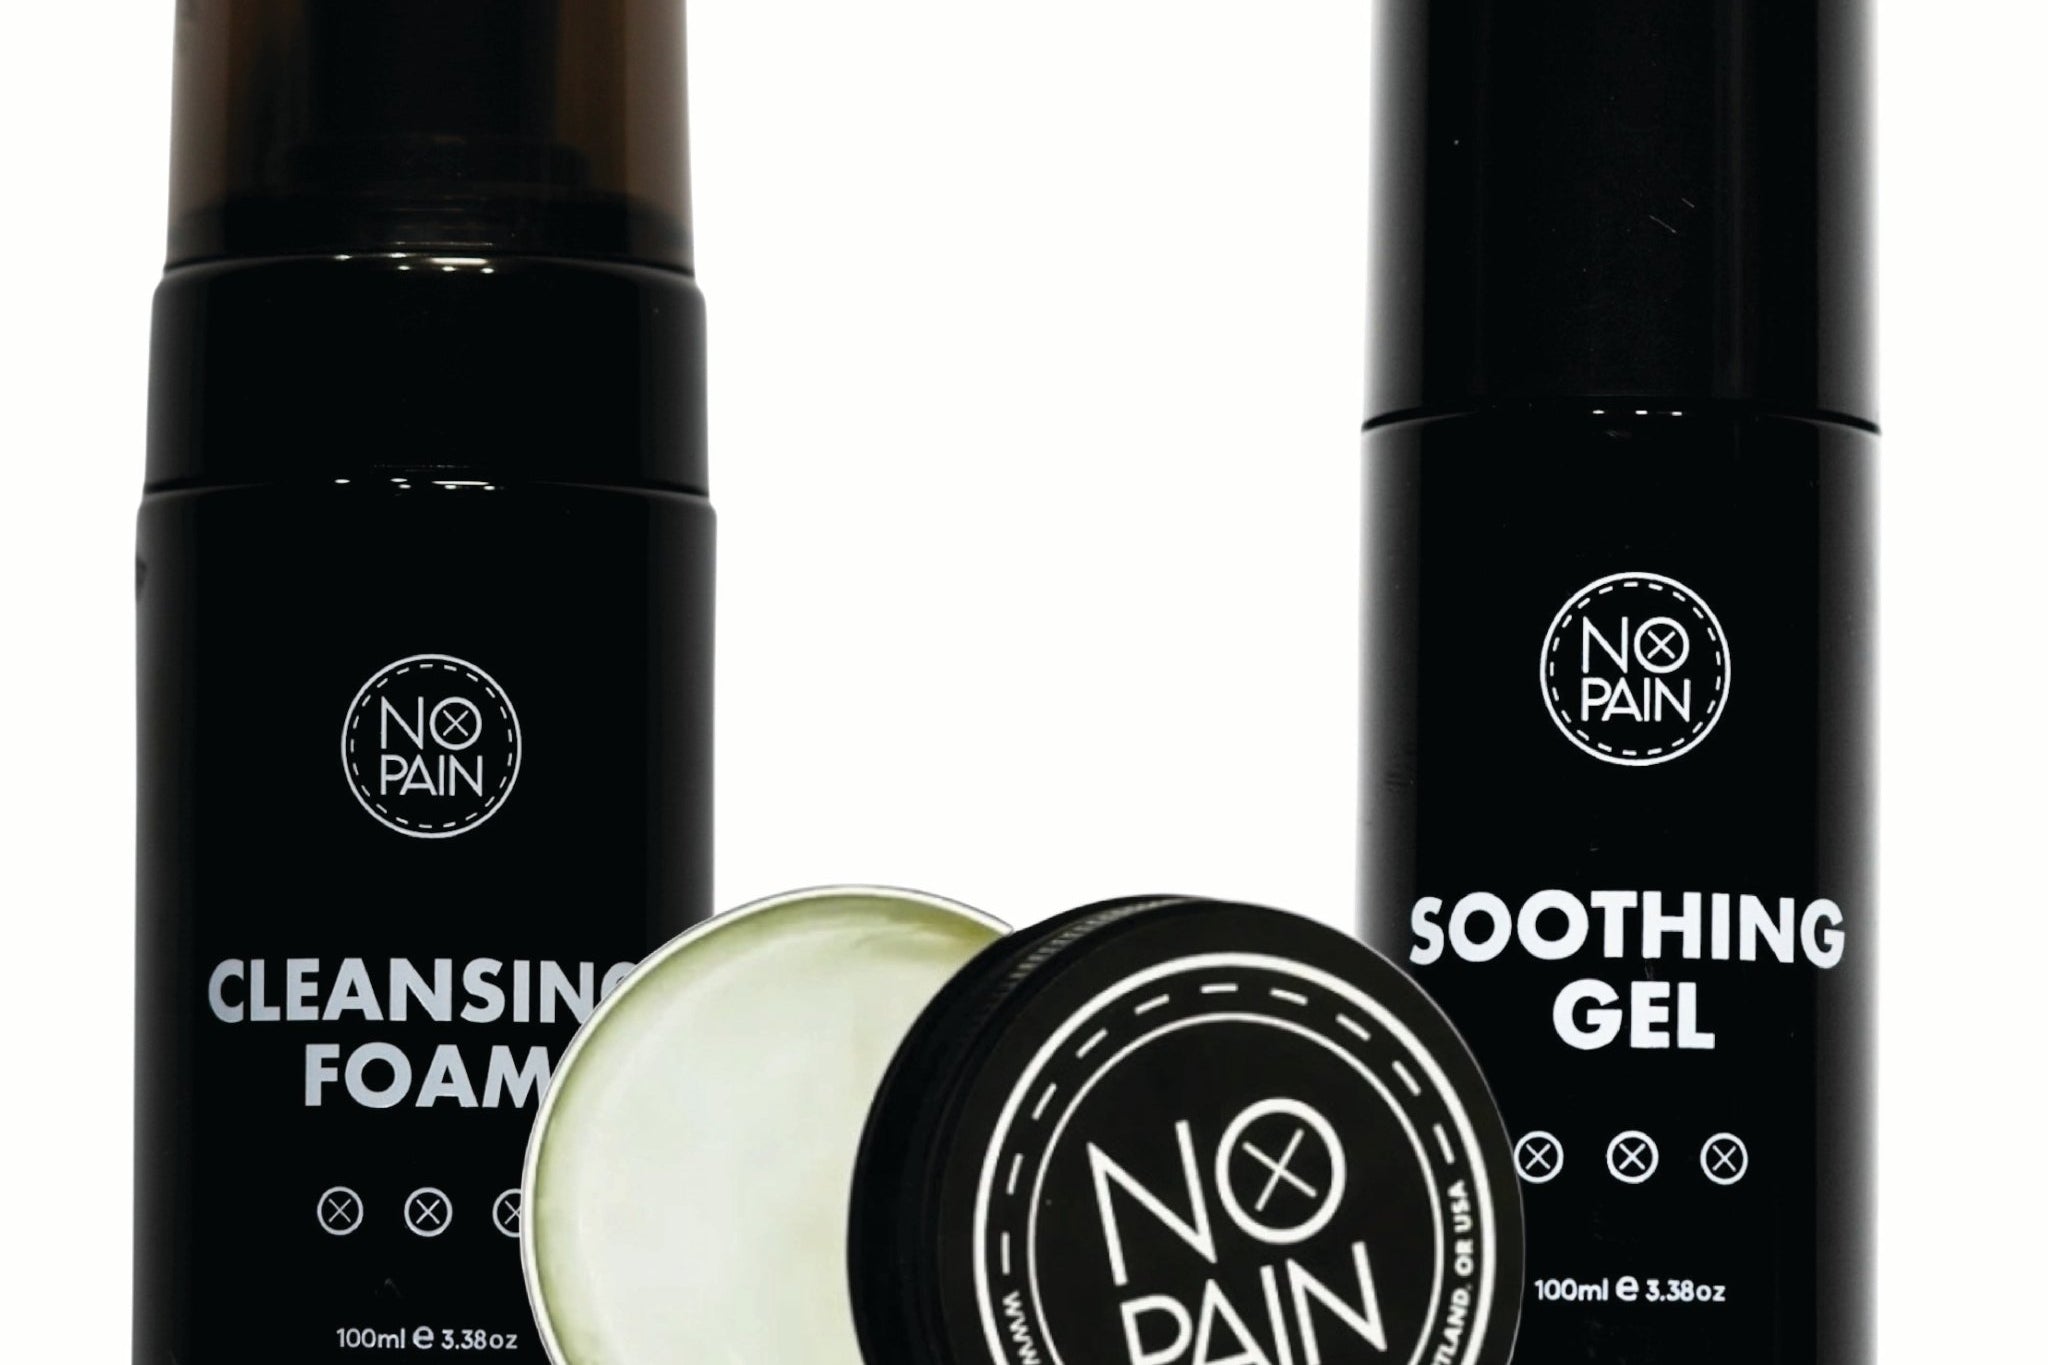
For sessions running three hours or more, the cream's coverage window closes before the session does. That's when the spray takes over: your artist applies it to broken skin between passes, no wrap needed, and it absorbs fast. The cream handles the first half of the session; the spray handles the second.
Frequently Asked Questions
Do I need a consultation for a small tattoo?
Not always. For flash pieces, simple small designs, or anything the artist already has drawn and ready to go, many artists skip the formal consultation and go straight to booking. Consultations are most valuable for custom work, larger pieces, or anything that requires real design time. When in doubt, mention the idea in your booking inquiry and ask whether they want to meet first. They'll tell you.
How long does a tattoo consultation take?
Most run 20 to 45 minutes for a standard custom piece. Larger or more complex projects (a full sleeve, a detailed back piece, a cover-up requiring design problem-solving) can take longer if the artist wants to work through all the decisions in one sitting. Allow an hour to be safe, especially for your first consultation with a new artist.
Should I tip at a consultation?
No. Tipping is for the tattoo session itself, not the planning meeting. The deposit covers the artist's time for the consultation and drawing. Tip at each session you book, not just the final one if it's a multi-session project.
What if I don't like the design the artist shows me?
Raise it before the session starts. Most artists will do a reasonable number of adjustments, but reasonable is defined by scope, not by how many rounds you ask for. Small directional changes are expected. Completely redesigning the piece the day of the appointment is not. If the design direction feels off at the consultation stage, say so before paying the deposit. That's the right moment to course-correct.
What should I wear to a tattoo consultation?
Wear something that gives easy access to the placement you're discussing. Upper arm piece: wear a sleeveless top or a loose short sleeve. Back piece: wear something easy to adjust or lift. Ribs or torso: a two-piece or something that rolls up easily. The artist needs to see and often trace the area. Clothing that blocks access slows the meeting down and makes the tracing harder to get right.
Can you discuss using numbing cream at the consultation?
Yes, and it's worth doing. Tell your artist you plan to use numbing cream and ask if they have any preferences about application or timing. Most artists are comfortable with pre-numbed clients and will confirm whether your specific placement is a good candidate for topical numbing. Some placements are harder to wrap than others; they can walk you through the logistics on the spot.
Built for the Full Session
The Comfort Bundle includes numbing cream for the first half of your session and numbing spray for mid-session top-ups on broken skin. The practical choice for any appointment running three hours or more.
Shop the Comfort Bundle →Formulated at Historic Tattoo in Portland, Oregon. 100% money-back guarantee.