

You're booked for a full-day, 6+ hour tattoo session to work on your sleeve, back piece, or another large-scale project. The thought of the incredible art you'll have at the end of the day is thrilling, but the thought of the endurance it will take to get there can be nerve-wracking.
A long tattoo session is a marathon for both you and your artist. Your ability to manage pain and stay still directly impacts the quality of the final tattoo. Success is all about preparation.
This is your ultimate pain management checklist. Follow these steps to prepare your mind, your body, and your skin for a long session, ensuring the experience is as comfortable and productive as possible.
The Week Before: The Foundation
-
[ ] Hydrate Consistently. Start drinking plenty of water every day in the week leading up to your appointment. Well-hydrated skin is more resilient and accepts ink more easily, which can lead to a less traumatic (and therefore less painful) session for your skin.
-
[ ] Moisturize Daily. In the week prior, start moisturizing the area to be tattooed every day. Healthy, supple skin provides a better canvas for the artist. Our No Pain Tattoo Aftercare Balm is great for this pre-session prep. But remember, no moisturizers the day of your session.
The Night Before: The Prep
-
[ ] Get a Full Night's Sleep. This is non-negotiable. A tired body has a much lower pain tolerance. Aim for 8 hours of solid sleep to ensure you're physically and mentally rested.
-
[ ] Do Not Drink Alcohol. Alcohol thins your blood, which can lead to excess bleeding and a more difficult session for your artist. It also dehydrates you and increases pain sensitivity. Skip the drinks the night before.
-
[ ] Pack Your Survival Bag. Get your go-bag ready. This should include: a large water bottle, easy-to-eat snacks (granola bars, fruit), headphones, and a portable phone charger. And most importantly, your pain management toolkit.
The Day Of: The Main Event
-
[ ] Eat a Big, Balanced Meal. Eat a substantial meal 1-2 hours before your appointment. This keeps your blood sugar stable and is the #1 way to prevent feeling dizzy or faint during your session.
-
[ ] Skip the Caffeine. Avoid coffee and energy drinks before your appointment, as caffeine can heighten your sensitivity and anxiety.
-
[ ] Execute Your Pain Management Plan. This is the most important part of your checklist. For a long session, a two-part pain management system is the professional approach.
-
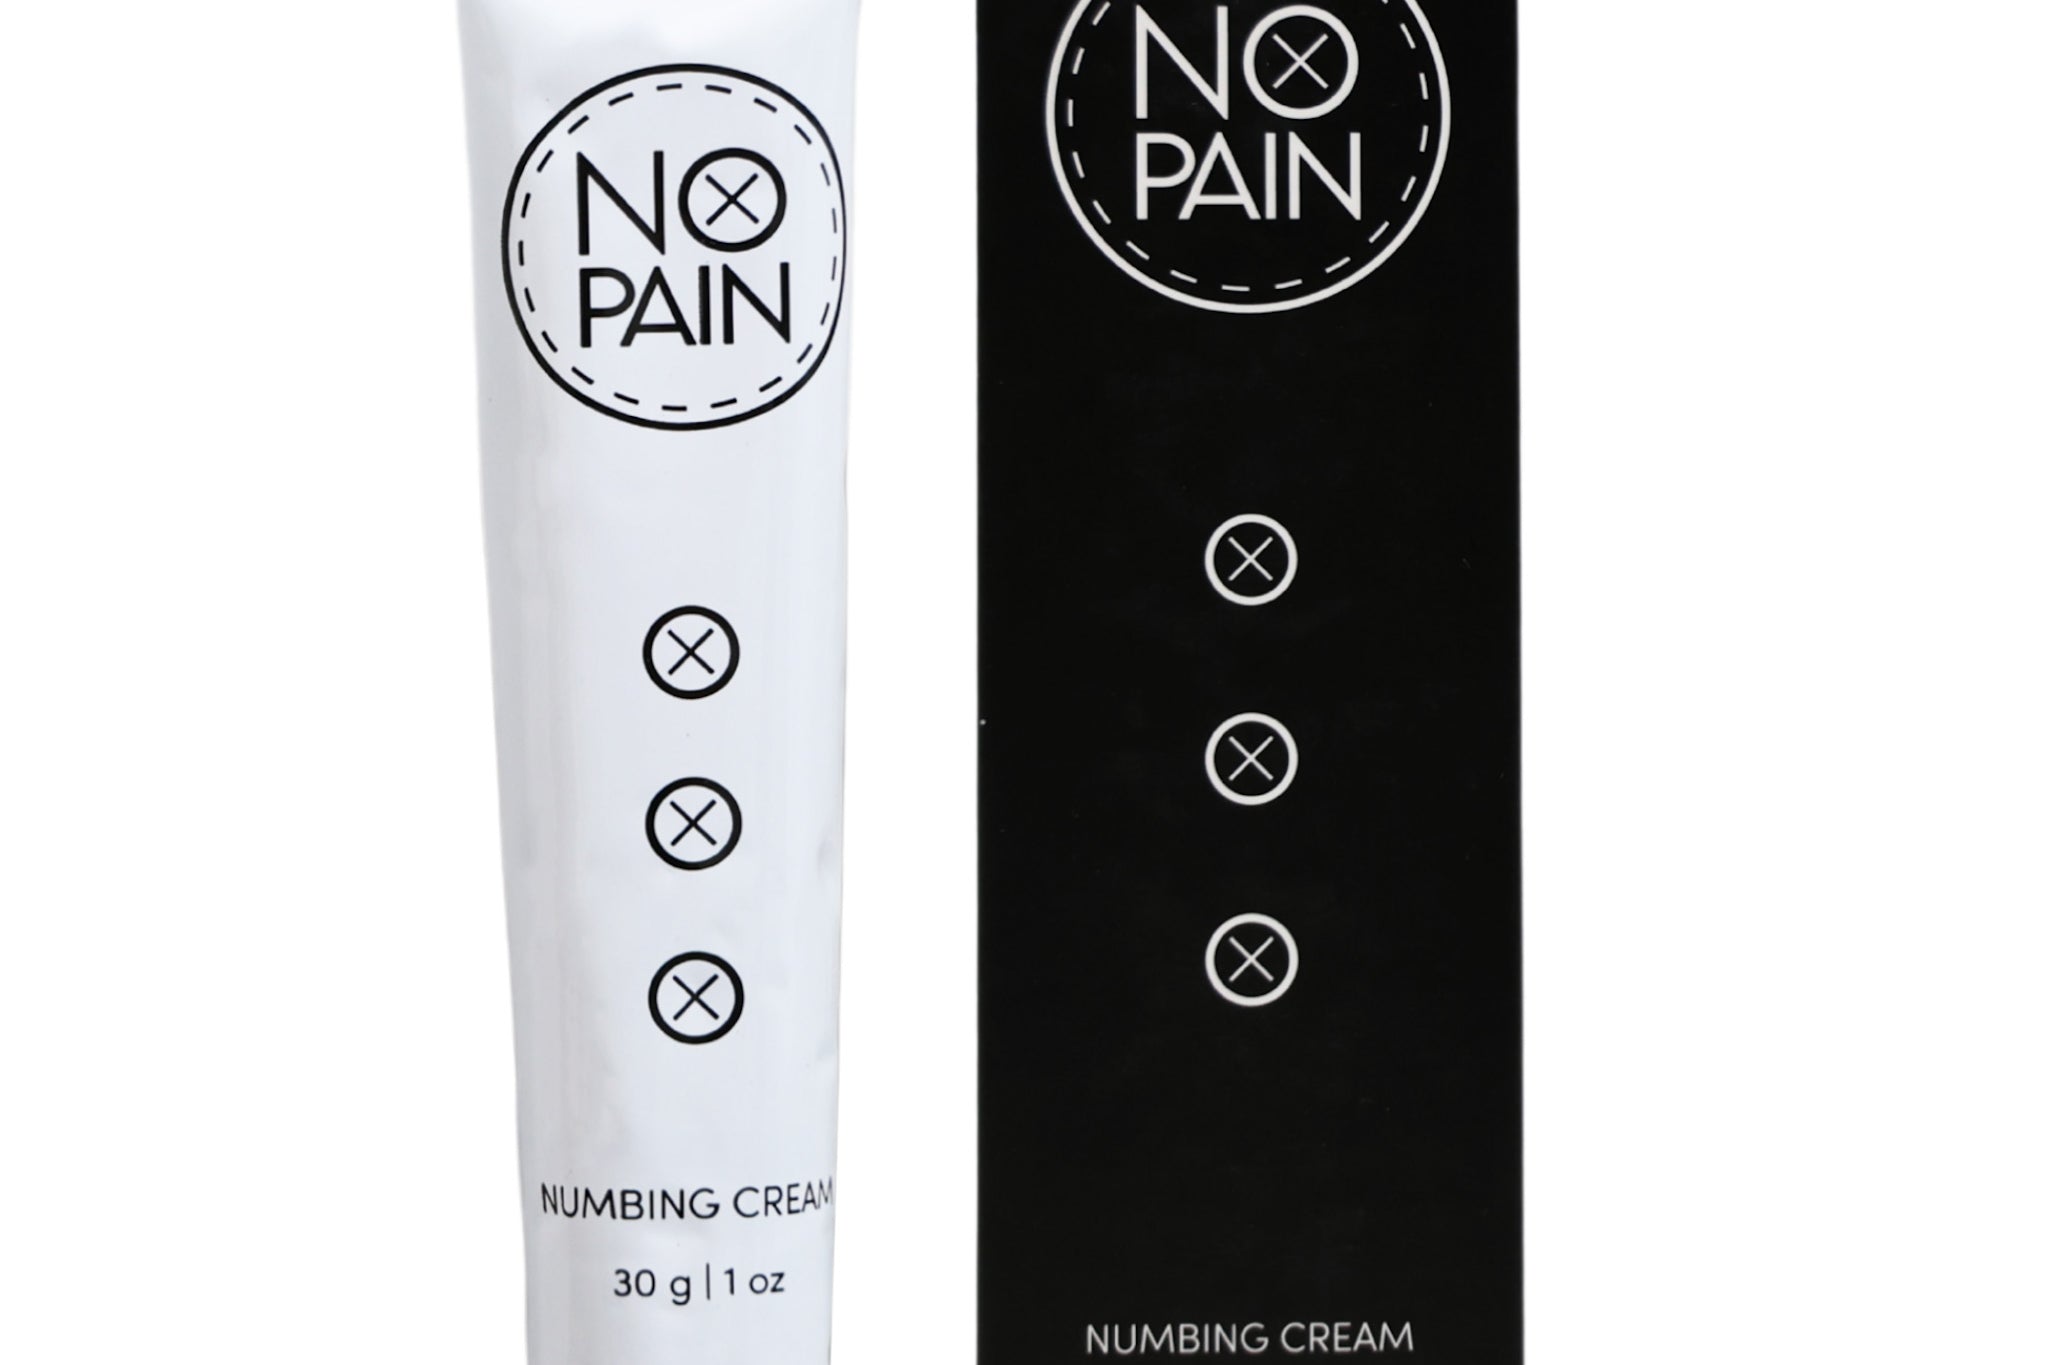
Part 1: The Pre-Session Numb. 90 minutes before your appointment, apply a thick layer of No Pain Tattoo Numbing Cream to the clean, dry area and wrap it tightly in plastic. This is your foundation for a pain-free start, giving you a solid 2-3 hour window of deep numbness.
-
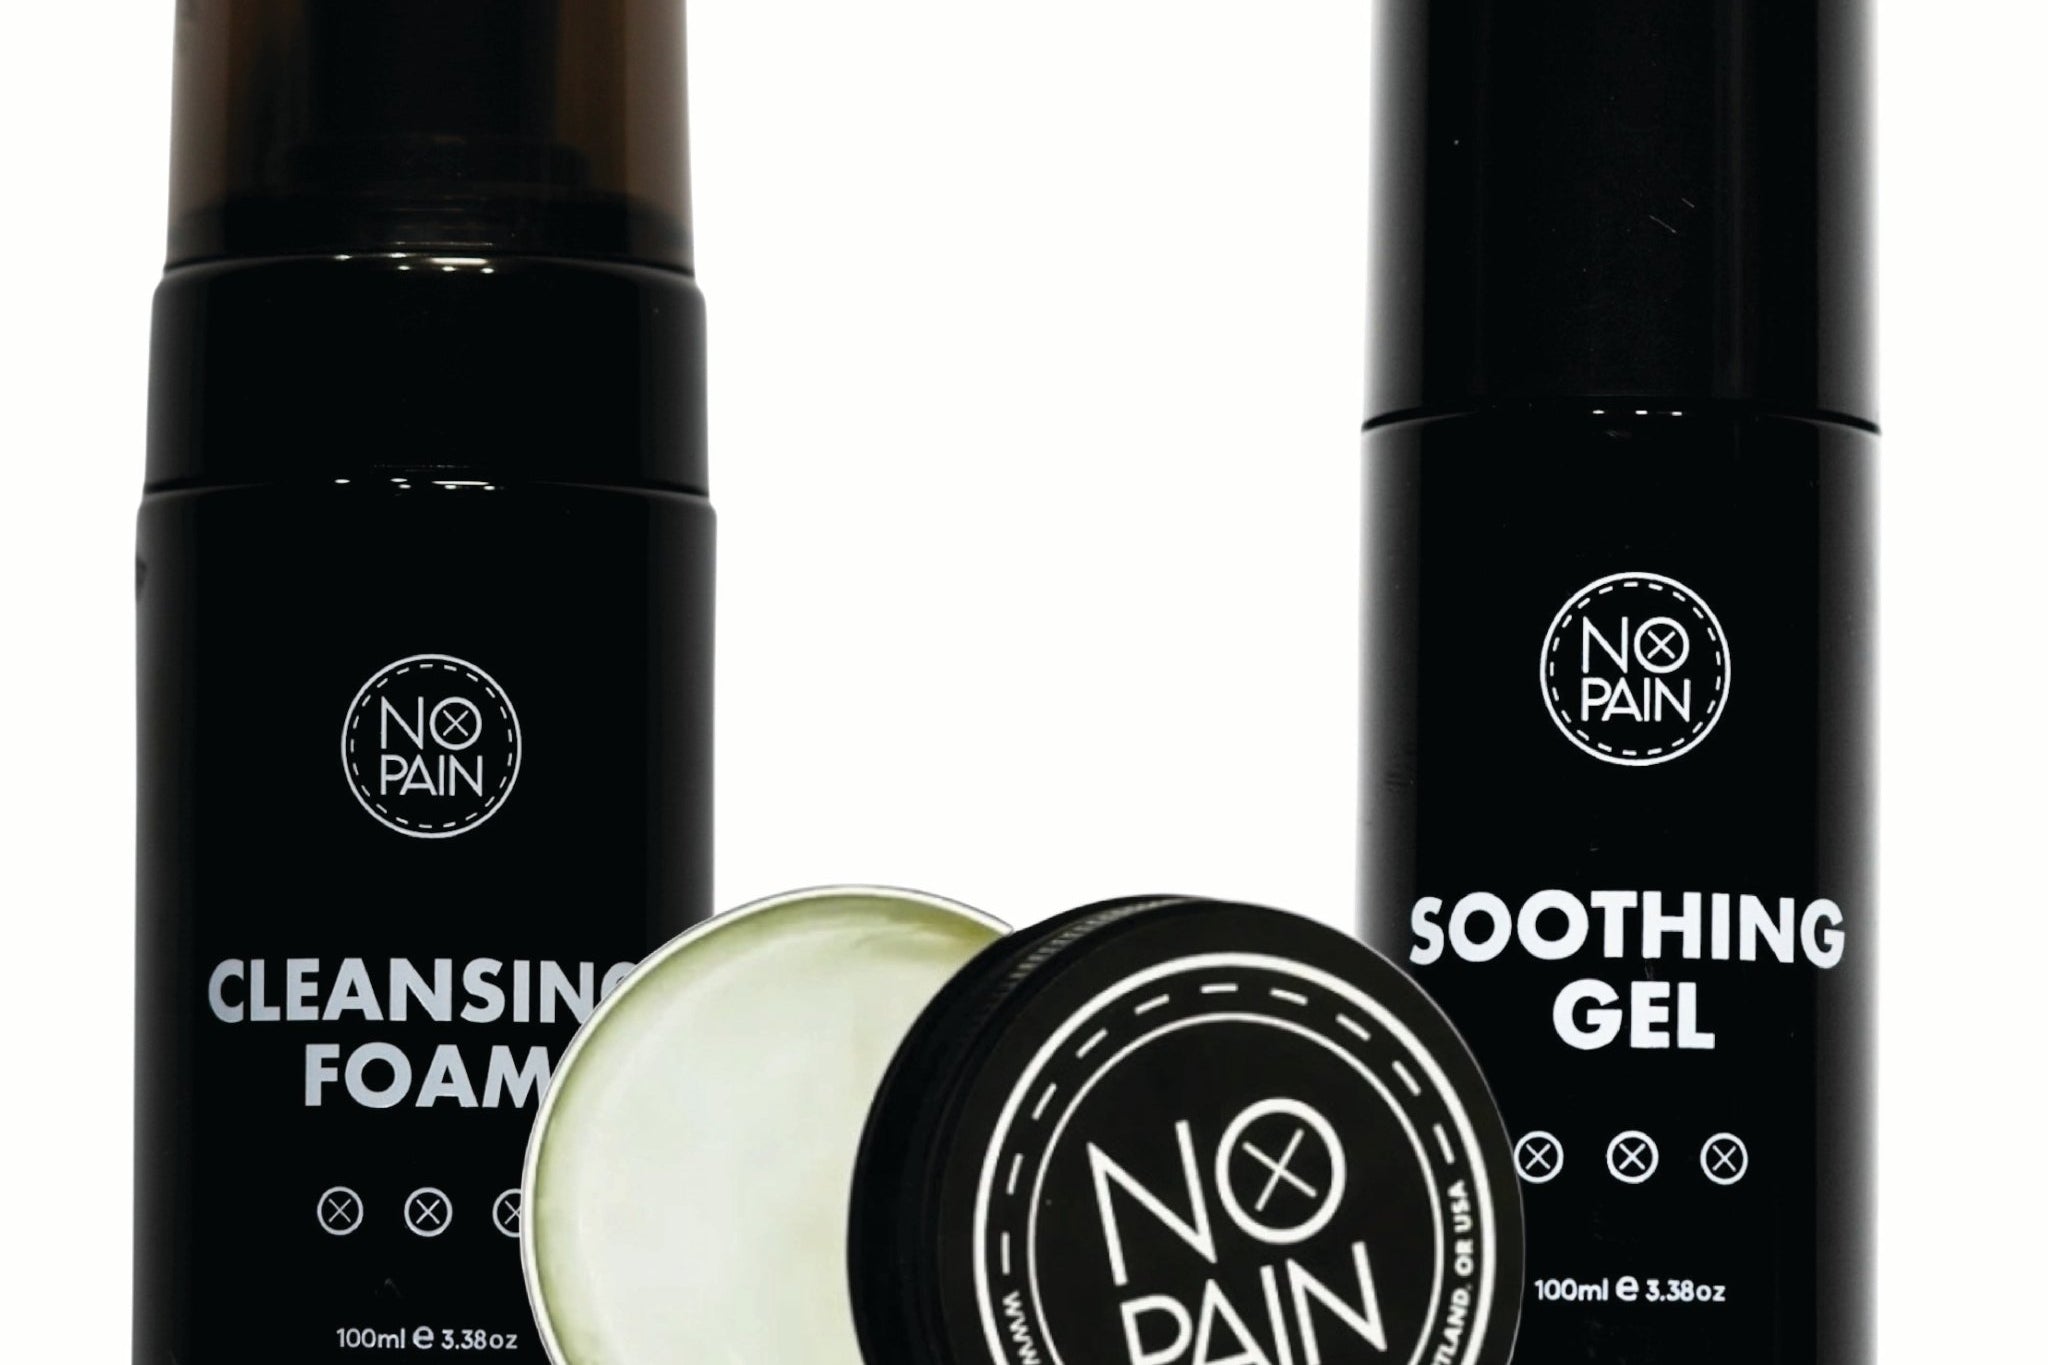
Part 2: The Mid-Session Reinforcement. Pack your No Pain Tattoo Final Mile Gel™ in your bag. When the initial numbness starts to fade after a few hours, this is your secret weapon. Your artist can apply it to the broken skin during a break to re-numb the area, allowing you to comfortably finish the session.
-
-
[ ] Arrive on Time and Relaxed. Get to the studio on time, feeling prepared and confident in your plan.
Our No Pain Tattoo Numbing Products Bundle (Comfort Bundle) is literally this pain management plan in a box. It contains both the pre-session Numbing Cream and the mid-session Final Mile Gel™—the complete system for anyone serious about conquering a long tattoo session.
A successful long tattoo session doesn't happen by accident; it's the result of deliberate preparation. By following this checklist, you're not just making the day more comfortable for yourself; you're helping your artist do their absolute best work on a calm, still canvas. Walk into your next all-day session like a pro.