You've got a serious commitment coming up: a full-day, 6+ hour tattoo session this weekend. You're working on a sleeve, a back piece, or another large-scale project. You know the art will be worth it, but the thought of enduring that much time under the needle is daunting.
How do you stay numb and comfortable for the entire duration? A standard application of numbing cream is great for a 2-3 hour tattoo, but a 6, 7, or 8-hour session requires a real strategy.
This is the pro's guide to our two-part pain management system, designed to keep you comfortable from the first line to the final wipe-down.
Phase 1: The Foundation — Your Pre-Session Numbing
The goal of the first phase is to start the session with the area as deeply and completely numb as possible. This gives your artist a solid 2-3 hour window to do the most critical work while you are in virtually zero pain.
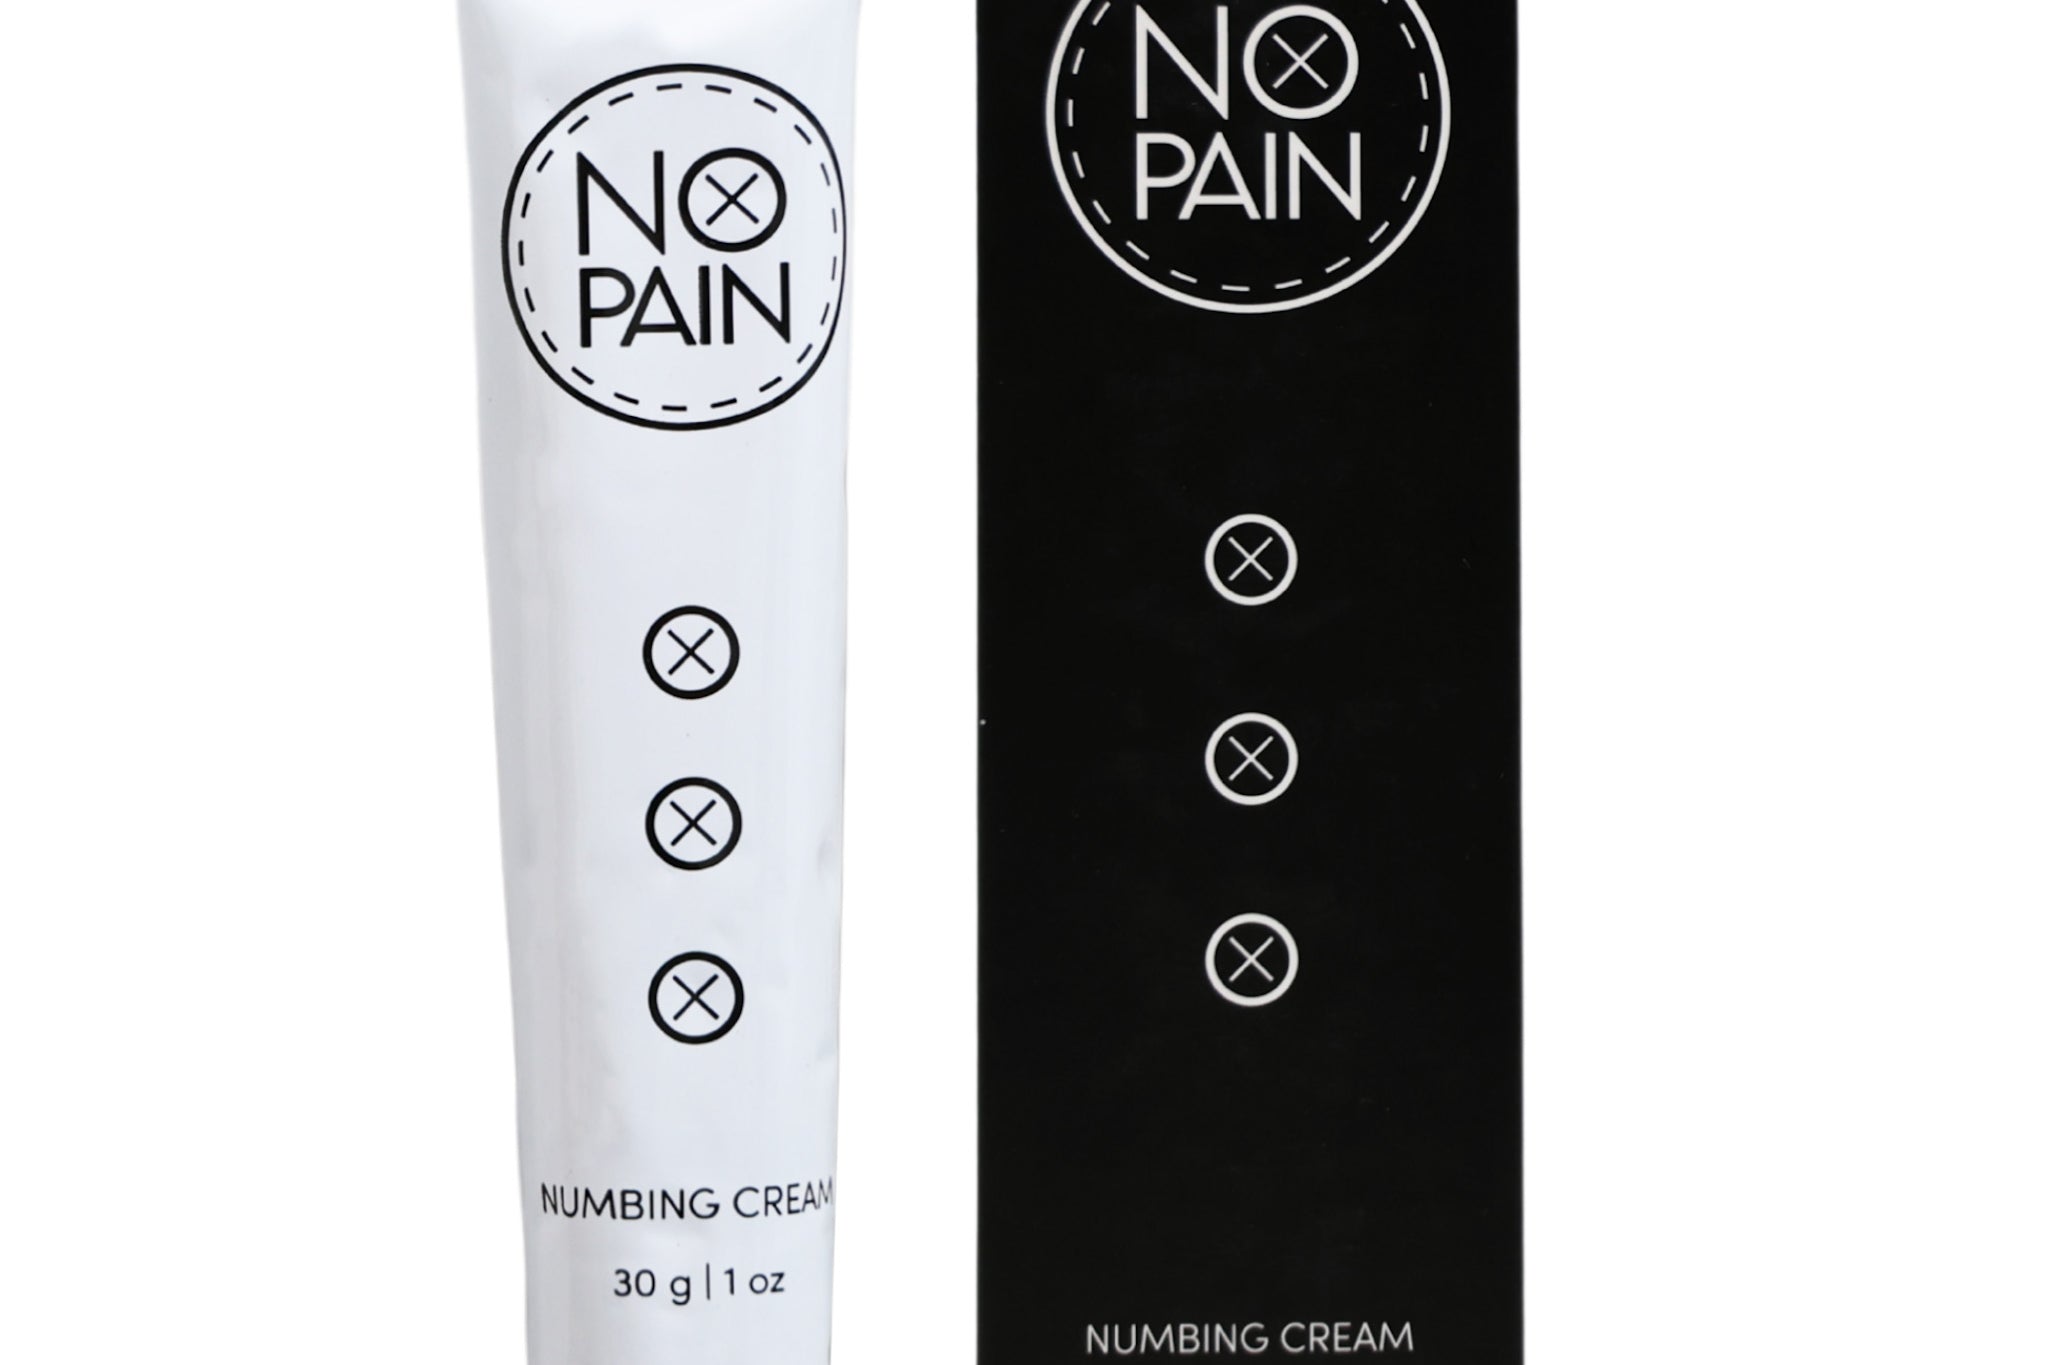
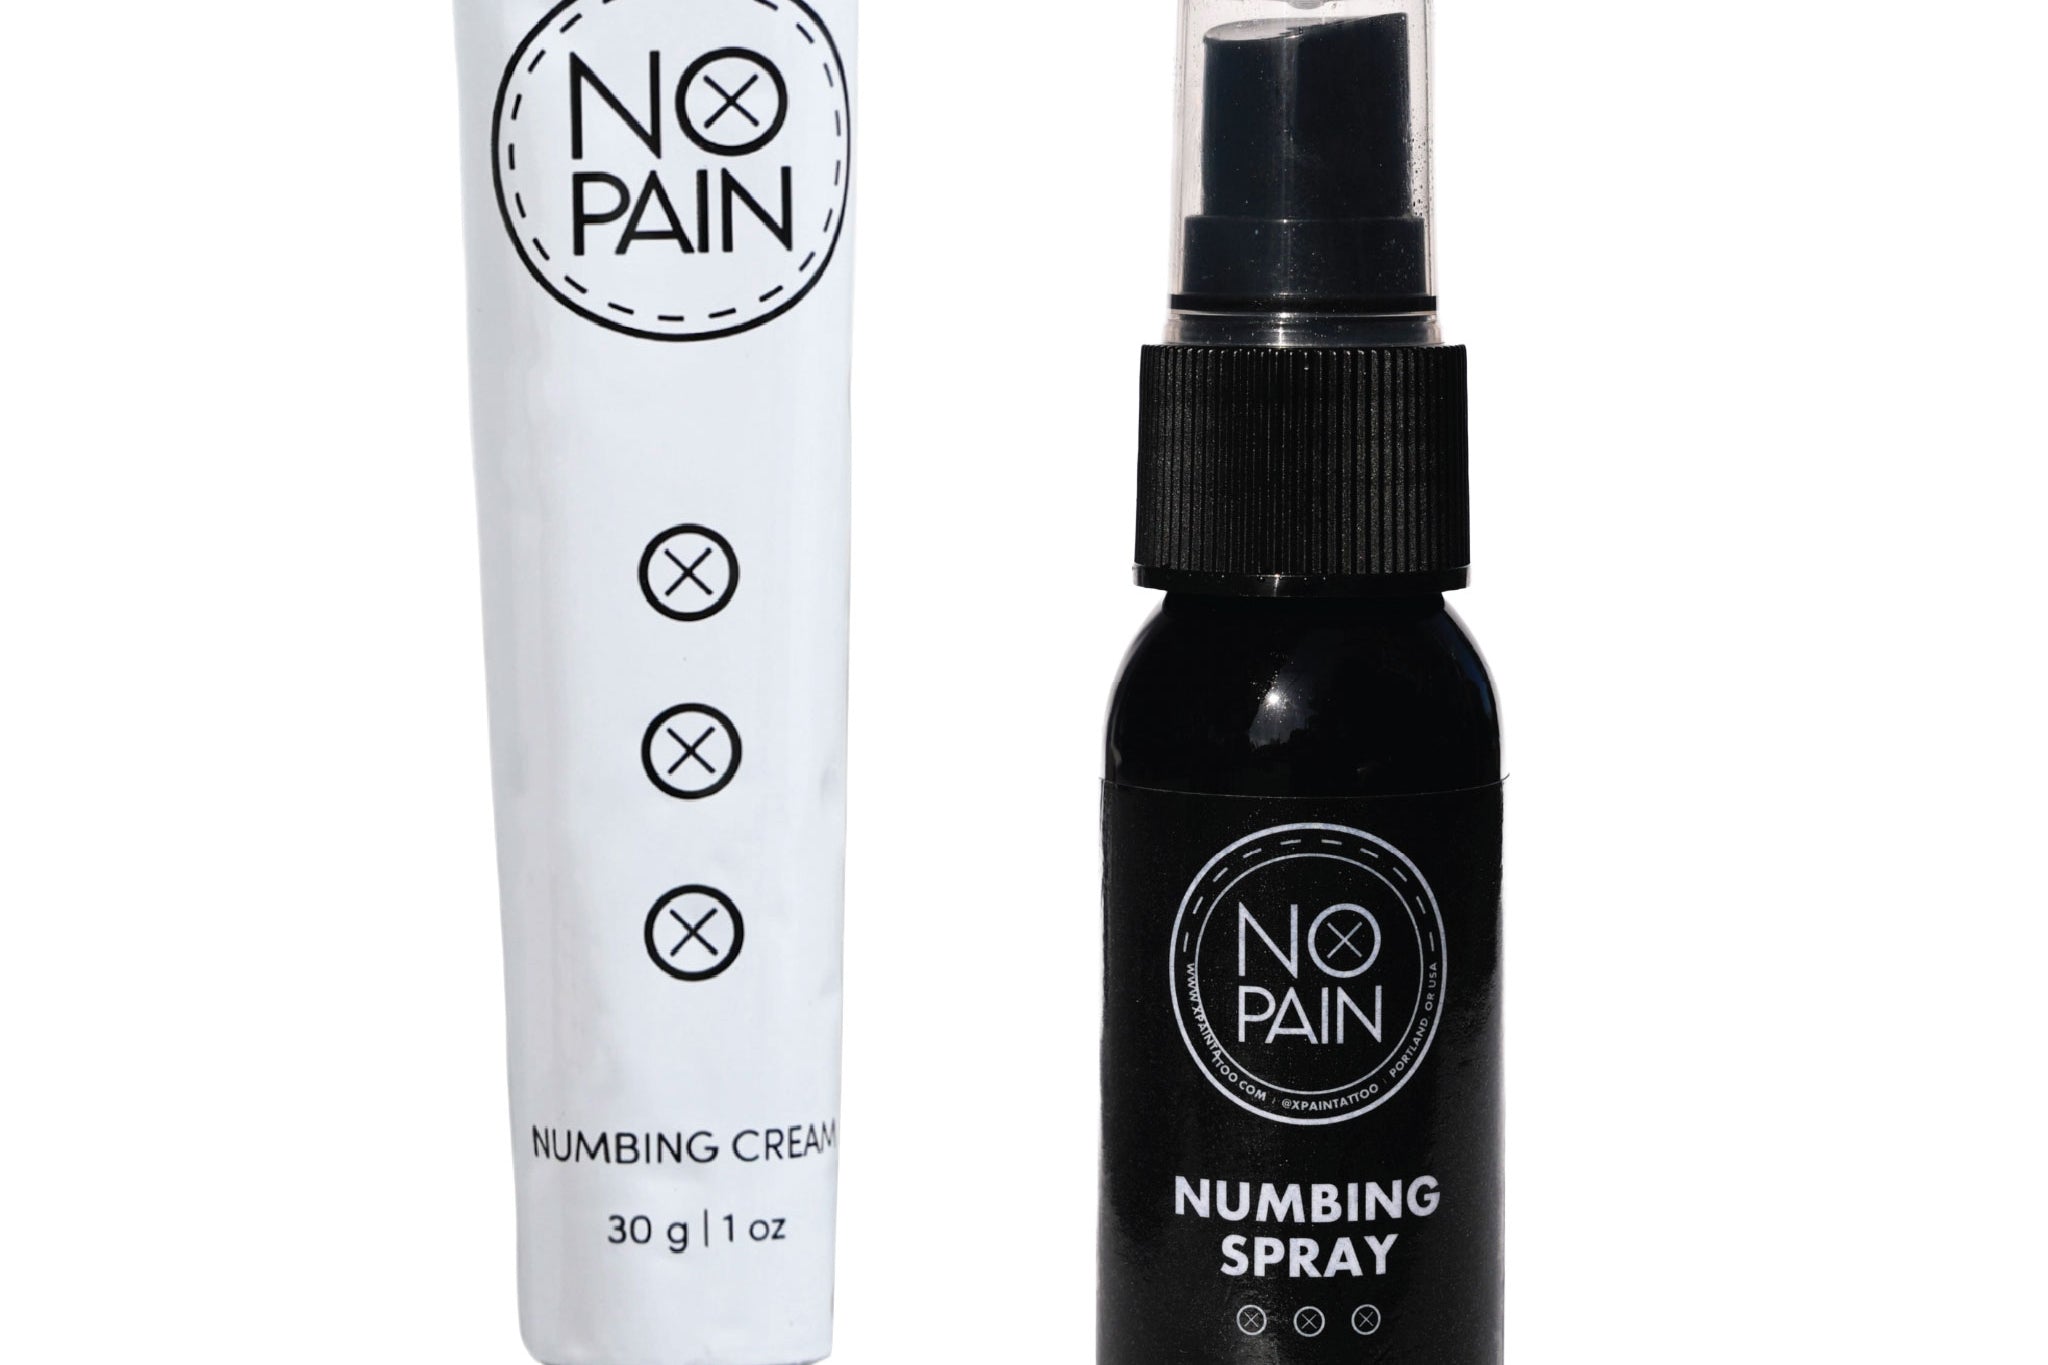
The Tool: Our No Pain Tattoo Numbing Cream.
The Critical Application Method:
-
90-120 Minutes Before: Wash the area to be tattooed with soap and water. Then shave and sanitize with alcohol.
-
Apply a Thick Layer: Apply a very thick, even layer of the Numbing Cream to the area. Do not rub it in like lotion. It should look like a layer of frosting.
-
Wrap It Up: Tightly wrap the entire area with plastic cling wrap. This process, called occlusion, is the key to deep absorption.
-
Wait: Leave the wrap on for the full 90 minutes. Do not remove it until your artist is at their station and ready to clean the skin.
Phase 2: The Mid-Session Reinforcement — Conquering the "Final Mile"
After 2.5 to 3 hours, you'll start to feel the initial numbing effect begin to fade. At this point, the skin is open, raw, and extremely sensitive. This is where most people's endurance crumbles and they have to call it a day.
The Tool: Our No Pain Tattoo Final Mile Gel™.
The In-Studio Application Method:
-
Ask for a Break: Communicate with your artist. Let them know you're ready for a short break to re-apply.
-
The Artist Cleans the Area: Your artist will wipe the fresh tattoo clean of any excess ink and blood.
-
Apply the Gel: Your artist (or you, wearing sterile gloves) will apply a generous layer of the Final Mile Gel™ over the already tattooed skin.
-
Let it Absorb: The gel works much faster on broken skin. Let it sit and absorb for 10-20 minutes.
-
Resume with Comfort: The artist will wipe away any excess gel and can get back to work on the re-numbed skin, Each application will give you another 20-30 minutes of comfortable tattoo time to push through to the end of the session.
The Pro Strategy for Very Large Pieces
For a huge piece like a full back or a full leg sleeve, your artist will likely work in sections. You can use this to your advantage.
-
Before the session, apply the Numbing Cream as described above.
-
After the outline is completed, you can reapply the numbing cream, wrap it in plastic wrap and leave covered for 30 minutes. Then when the session starts again, you can just remove the plastic as you go.
The Complete Toolkit for the Serious Collector
This professional, two-part strategy is the key to successfully navigating a long tattoo session. That's why we created the No Pain Tattoo Numbing Products Bundle (Comfort Bundle). It includes both the pre-session Numbing Cream and the mid-session Final Mile Gel™. It's the complete system for anyone serious about large-scale tattoo work.
A 6+ hour tattoo session is a serious undertaking, but the pain is entirely manageable with a two-phase approach. This strategy allows you to get more work done in a single day and helps your artist create better art on a still, comfortable canvas. Stop letting the fear of a long day in the chair dictate the size of your dream tattoo.


