

You've just gotten a beautiful new foot tattoo. It looked amazing in the studio, but now you're faced with a daunting reality: at some point, you're going to have to put on a pair of shoes. For a healing tattoo, this can feel like a nightmare scenario.
A foot tattoo is one of the most difficult placements to heal for one primary reason: the constant friction and trapped moisture from socks and shoes. How to care for a new tattoo on your foot requires a specific and meticulous strategy to prevent infection, irritation, and permanent damage to your art.
This is your survival guide to protecting your new foot tattoo when you absolutely have to wear closed-toe shoes.
The #1 Rule: If You Can Avoid Shoes, Do It
Let's start with the ideal scenario. For the first week of the tattoo healing stages, the absolute best thing you can do for your foot tattoo is to not wear shoes at all. If you can, stay barefoot at home or wear clean, loose-fitting sandals or flip-flops when you go out. This allows the tattoo to breathe, which is critical for a healthy heal.
But for most of us, work, weather, or life in general makes this impossible. So, what's the plan for when shoes are a non-negotiable?
Your Shoe-Wearing Survival Kit and Strategy
Step 1: The "Second Skin" Barrier (First Few Days)
If your artist applied a transparent, adhesive "second-skin" bandage like Saniderm, this is your best friend. This waterproof, breathable barrier is the ultimate protection against friction from a sock and shoe. Keep it on for as long as your artist recommended (usually 3-5 days). It will be your primary line of defense.
Step 2: Master the Art of the Sock
The type of sock you wear is crucial.
-
DO NOT wear a tight, fuzzy, or fluffy sock that can shed lint and fibers into your healing tattoo.
-
DO choose a clean, soft, and breathable cotton sock. Make sure it's not too tight over the tattooed area.
Step 3: Choose Your Shoes Wisely
-
DO NOT wear tight, restrictive shoes like stiff leather boots or high heels that will put direct pressure on the tattoo.
-
DO choose the loosest, most comfortable, and most breathable pair of shoes you own. A pair of soft sneakers with the laces tied loosely is a good option. Give your foot as much room as possible.
Step 4: The Critical Pre-Shoe Aftercare Routine
Before you put your foot into the enclosed, high-friction environment of a shoe, you must prepare and protect it.
-
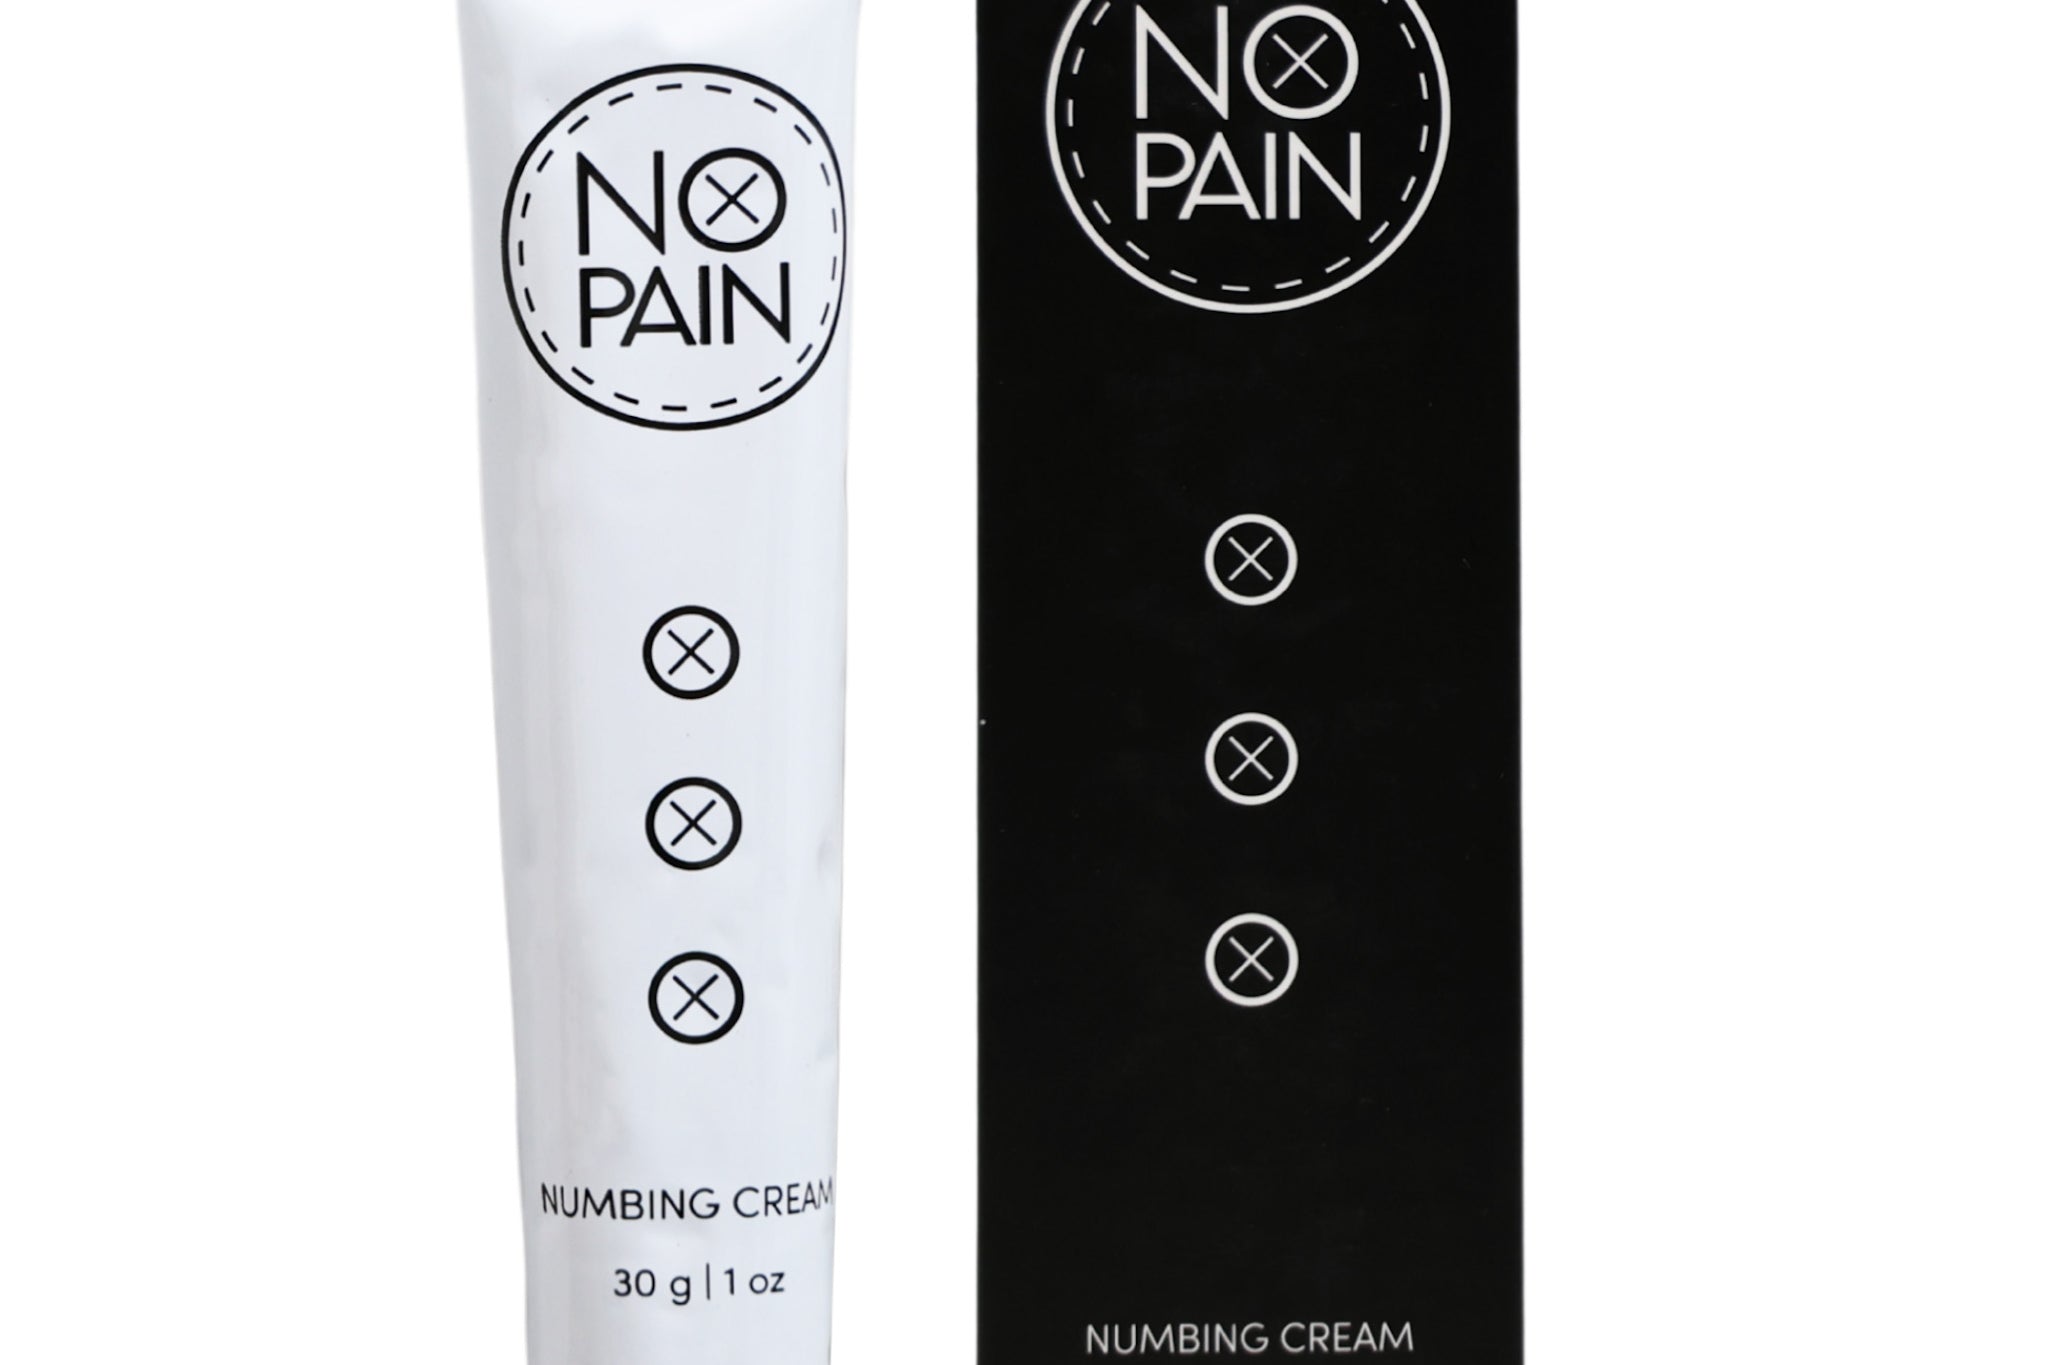
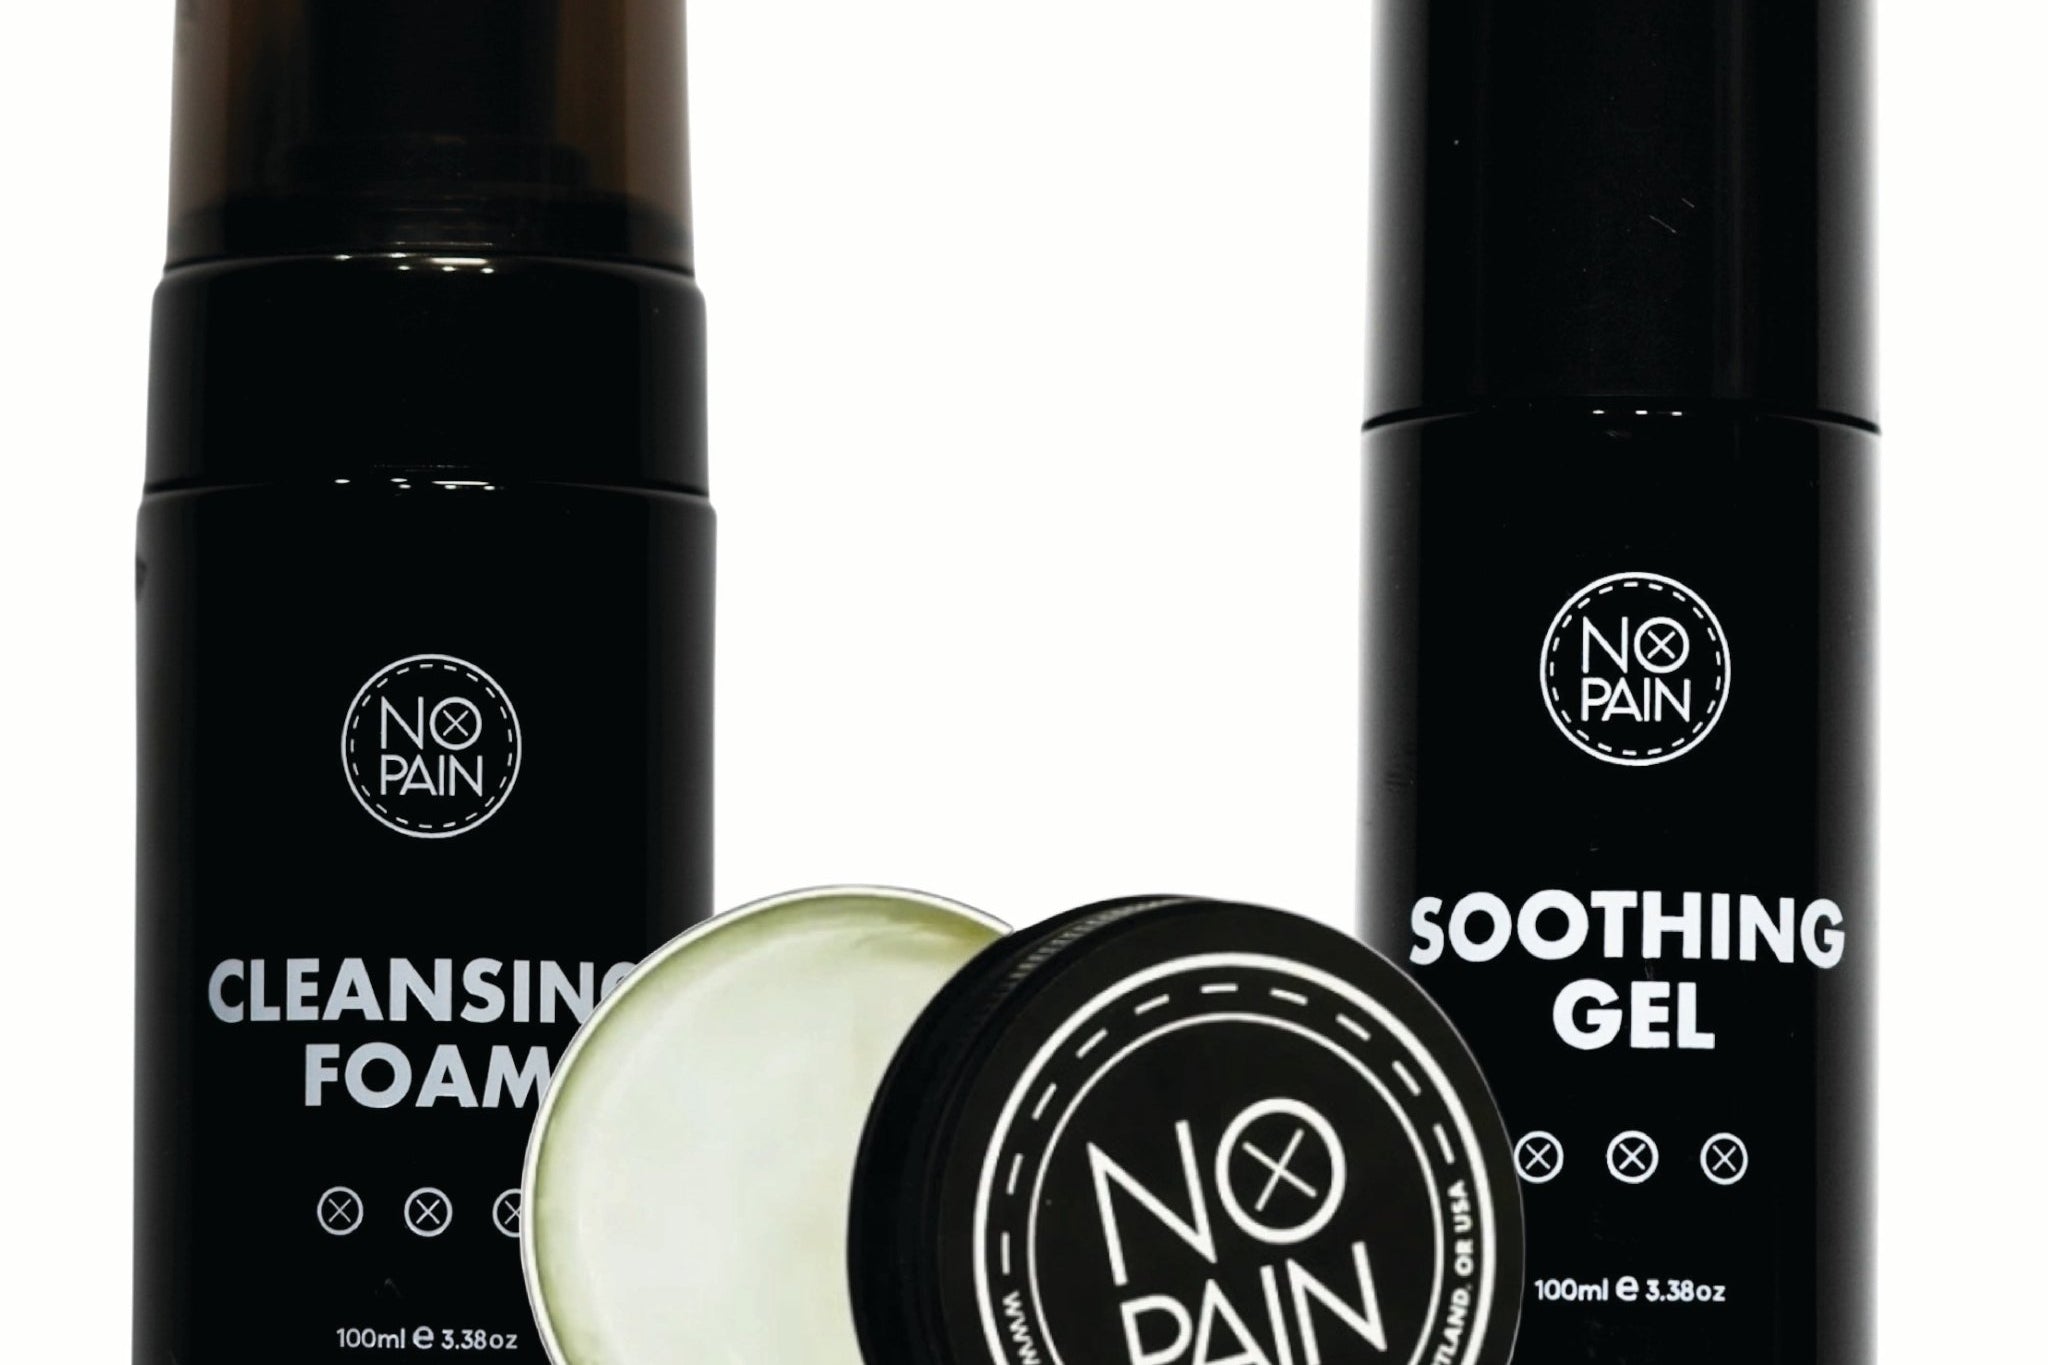
Gently Clean: Wash the tattoo with a gentle, antimicrobial cleanser. Our No Pain Tattoo Cleansing Foam is perfect for this.
-
Pat Completely Dry: This is essential. Trapping moisture in a shoe is a recipe for a "bubbly" heal or an infection.
-
Apply a Protective, Breathable Balm: This is your most important step. You need a moisturizer that will create a protective barrier against friction without suffocating the skin. Our No Pain Tattoo Aftercare Balm is ideal. Its nourishing formula protects the skin from rubbing while still being breathable, allowing your skin to heal properly even inside a shoe.
Step 5: The Post-Shoe Rescue Routine
The moment you get home, your tattoo needs to be freed.
-
Take Your Shoes and Socks Off Immediately. Let your tattoo breathe.
-
Wash It Again. Gently wash the tattoo with your Cleansing Foam to remove any sweat and bacteria that has built up inside your shoe during the day.
-
Pat Dry and Moisturize. After it's completely dry, apply another thin layer of your Aftercare Balm to soothe and rehydrate the skin.
The Verdict: Healing a foot tattoo is a challenge, and having to wear shoes makes it even harder. It's a placement that will have you constantly asking, "is my tattoo healing properly?" But with a smart strategy and a meticulous aftercare routine using the right products, it is completely manageable. Protect your investment, be patient, and give your new art the care it needs to heal beautifully.