

Saniderm is a medical-grade adhesive film your artist applies right after your session. It seals the fresh tattoo, traps the healing fluid against your skin, and cuts scabbing considerably. There are two pieces: the first stays on for 8 to 24 hours, the second for up to five days. Here is the full timeline and what to do at each stage.
In this article
- How Saniderm works
- The Saniderm timeline
- After Saniderm comes off
- Common problems
- Frequently asked questions
How Saniderm Works
A fresh tattoo is an open wound. For the first day or two it weeps plasma, the clear-to-slightly-pink fluid that carries your body's natural growth factors and healing enzymes. Left exposed, that fluid dries on the surface and becomes a scab. Saniderm traps the plasma against the skin instead of letting it dry. The wound heals in a moist environment, scabbing is reduced, and the final result tends to look sharper with less ink loss than a traditional dry-heal.
The film is breathable: oxygen passes through and excess moisture vapor escapes. Liquid water doesn't penetrate the seal under normal shower conditions, which is why you can shower with it on. For the full breakdown on showering with Saniderm, see the shower guide.
One caveat: some people have sensitivity to medical adhesives. If you've had reactions to adhesive bandages before, mention it to your artist before they apply the film. A skin reaction to the adhesive can look like a rash along the film's edge, which is distinct from normal healing redness under the tattoo itself.
The Saniderm Timeline
Piece one: the first 8 to 24 hours
Your artist applies the first piece in the studio, right after wiping the tattoo clean. This piece's job is to get the wound through the most active weeping phase and home from the studio safely.
Within the first hour, you'll notice fluid collecting under the film. It looks alarming: a cloudy, amber, sometimes slightly pink pool sitting on top of your tattoo. This is normal. It's plasma and a small amount of excess ink, and it means the bandage is doing its job. Do not peel the film to drain it. As long as the seal is intact, leave it alone.
Remove the first piece after 8 to 24 hours. If the seal breaks and the fluid starts leaking before then, remove the film, wash the tattoo, and move on to the second piece early.
Removing the first piece
The easiest removal is in a warm shower. The heat loosens the adhesive and makes the process much less uncomfortable. Find a corner or edge and peel the film back slowly and parallel to the skin, like peeling a sticker rather than ripping a bandage. Pull it back over itself rather than straight up. Going slow matters: quick peeling can pull at the fresh skin underneath.
Once the film is off, wash the tattoo immediately and thoroughly. Use a gentle, fragrance-free cleanser on clean fingertips, light pressure, rinse well. Pat dry with a clean paper towel. Then let the area air dry for at least 15 to 20 minutes before applying the second piece. The skin must be fully dry: any moisture trapped under the next piece of film creates the kind of environment you're trying to avoid.
Applying the second piece
Cut the new piece of film so it covers the tattoo with a clear 1 to 2 inch border of clean, dry skin on all sides. The border is what holds the seal. Too little border and edges lift. Apply it smoothly, working from one side to avoid air bubbles. Peel off the protective backing layer after it's positioned.
Some Saniderm-type films have a paper backing on one side and a clear plastic cover layer on the other. Remove the paper backing before applying, then remove the clear plastic after it's down. Don't mix up the order.
Wearing the second piece: days 2 through 5
The second piece can stay on for three to five days. You can shower normally during this time. Avoid baths, swimming, and anything that submerges the bandage or soaks it for a prolonged period. For the difference between a shower and a soak as far as the film is concerned, the shower guide covers it in detail.
Check the perimeter once a day. A small edge lift in an inconspicuous spot isn't a catastrophe if the rest of the seal is intact. A large area of lifting, or a channel where water or air is actively getting in, means it's time to remove early. Don't try to press lifting edges back down with tape or re-seal them.
The fluid pooling under this piece will be much less dramatic than the first piece. Some clear plasma is normal. If the fluid looks opaque yellow or green, or if you're seeing spreading redness outside the tattoo area with heat and swelling, those are signs to remove the film and have the tattoo looked at. For what infection looks like versus normal healing, the infected tattoo guide covers the difference.
Removing the second piece
Same method: warm shower, slow peel, parallel to skin. After removal, wash the tattoo gently and pat dry. This is the reveal. The tattoo will look mostly healed: the surface has been protected in a moist environment for nearly a week and skipped a lot of the heavy peeling and scabbing that traditional healing involves. It may look slightly shiny or feel a little tight. That's normal.
After Saniderm Comes Off
The surface looks healed, but the underlying skin is still maturing. The outer layer is new and delicate for a few more weeks. Your job now shifts from wound management to basic maintenance.
For the first day or two after final removal, apply a thin layer of soothing gel once or twice a day after washing. The skin may feel dry or tight after being in a controlled environment for five days. A lightweight gel gives it the hydration it needs without sealing anything.

Lightweight cooling gel for the days right after the film comes off. Keeps the new skin hydrated and calm as it finishes adjusting to open air.
After that, switch to a nourishing balm for ongoing maintenance. Even with Saniderm, some light surface flaking is normal in weeks two and three as the outermost layer of skin continues to turn over. A balm keeps it supple and helps the lines stay sharp. For a full breakdown of what happens to skin in the weeks after a tattoo, including what's normal at each stage, the tattoo healing process guide covers it week by week.

Nourishing shea butter balm for after the film comes off and beyond. Keeps the new skin supple, reduces any residual flaking, and helps the lines and colors hold their definition over time.
Common Problems
The ink sac looks alarming. A large cloudy fluid bubble under the film is normal and harmless. It's plasma and excess ink doing exactly what Saniderm was designed for. Don't drain it, don't poke it, don't peel the film early. It will absorb or disperse once the film comes off.
An edge is lifting. Press the edge down gently with a clean finger. If it holds, you're fine. If it keeps lifting and you're seeing a gap where air or water can get in, remove the film early. Better to remove early and transition to gel-based aftercare than to leave a compromised seal on a healing wound.
A rash along the film's edge. This is a contact reaction to the adhesive, which happens in some people. It shows up as a red, raised, itchy border following the exact outline of where the film sat on clean skin. If this happens, remove the film, wash the area, and continue with traditional aftercare (wash, gel, balm). Let your artist know for future reference so they can flag it.
The film won't stick properly. Adhesive film needs clean, dry, product-free skin. If your artist couldn't get the film to adhere, or if you're applying a second piece yourself, make sure the skin has no lotion, oil, or moisture on it. The 15 to 20 minute air-dry window after washing is required for a lasting seal.
Frequently asked questions
How long should I leave Saniderm on?
The first piece stays on 8 to 24 hours. The second piece stays on for 3 to 5 days. The total wear time from application to final removal is typically 4 to 6 days. Your artist may give you specific instructions based on the size, placement, and how much your tattoo was weeping. Follow their guidance if it differs from the general timeline.
Can I sleep with Saniderm on?
Yes, that's one of the main advantages. You don't have to worry about the tattoo weeping onto your sheets while wearing adhesive film. The plasma collects under the film rather than sticking to your bedding, which eliminates the stuck-sheet problem that makes the first few nights uncomfortable for uncovered tattoos.
What if I don't have a second piece of Saniderm?
Saniderm is sold in rolls and pre-cut sheets at most pharmacies and online. Generic medical adhesive film (Tegaderm is the most common pharmacy brand) works the same way. If you can't get a second piece, remove the first after 8 to 24 hours, wash thoroughly, and switch to traditional aftercare: wash twice a day, apply a thin layer of gel after each wash, and keep it out of the sun and away from soaking. Your tattoo will heal fine without the second piece.
Why does my tattoo look milky or faded under the film?
The cloudy appearance under adhesive film is normal. The plasma pooled against the skin gives the tattoo a whitish, faded look while the film is on. It's not ink loss. Once you remove the film and wash the area, the tattoo will look much clearer. There may also be a mild cloudiness in the surface skin for a week or two after removal as the outer layer continues to heal: this is the milky phase of healing, and it passes on its own.
My artist didn't use Saniderm. Can I apply it myself at home?
You can, but the window is narrow. Adhesive film needs to go on a freshly cleaned tattoo before it starts forming any dried plasma on the surface. If you're within the first hour after your session and you have clean hands and a piece of film, it's workable. If any dried plasma has formed, applying film over it creates a pocket of dried material that can cause problems. At that point you're better off with standard aftercare rather than trying to film over a wound that's already started its healing cycle.
Does Saniderm work for all tattoos and all placements?
It works for most. The exception is placements where the film is hard to keep sealed: hands, fingers, knuckles, feet, and across joints like elbows and knees. The film peels at edges wherever the skin flexes repeatedly. For these placements, your artist may use a smaller piece, a different bandage type, or skip film altogether and go with traditional cling wrap followed by standard aftercare. For a comparison of bandage types by placement, the tattoo wrapping guide covers the tradeoffs.
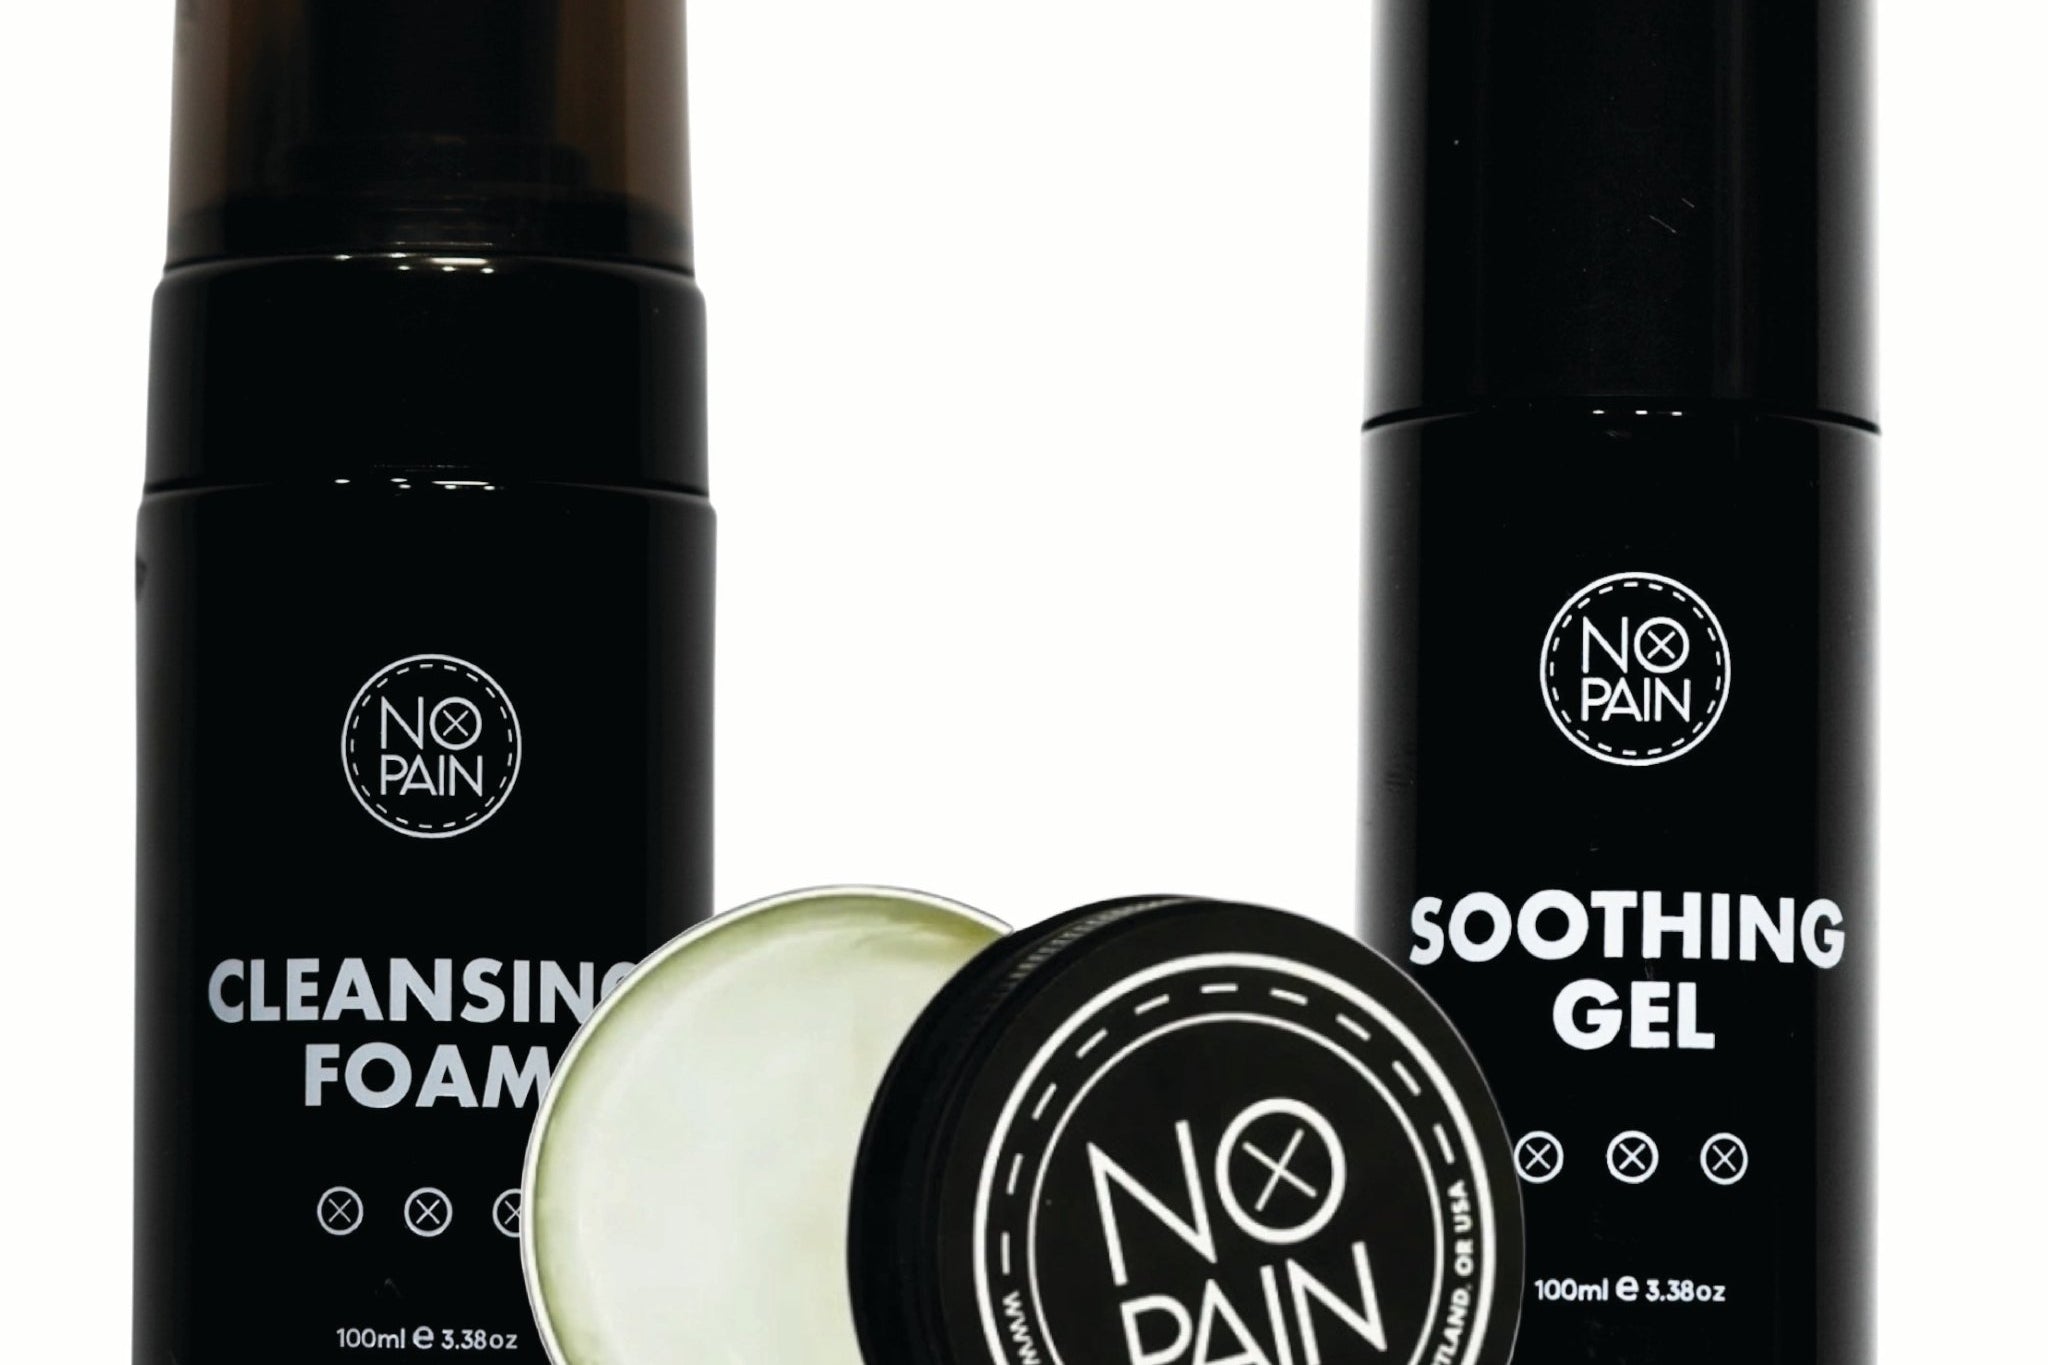
Everything After the Film Comes Off
Cleansing foam, soothing gel, and aftercare balm. The right product for each stage of healing, from the final Saniderm removal through the weeks that follow.
Shop the Aftercare Bundle →Formulated at Historic Tattoo in Portland, Oregon. 100% money-back guarantee.