

You're a few days into the tattoo healing stages, and you've been healing with a modern "second-skin" adhesive bandage. It's done its job of protecting your new art, and now it's time for the big reveal. But as you look at the bandage, firmly stuck to your skin over your beautiful tattoo, a sense of anxiety might set in. How are you supposed to get this off without hurting yourself or ruining your tattoo?
Properly removing an adhesive tattoo bandage is a simple and painless process, but the technique is very important. Ripping it off like a wax strip is the worst thing you can do.
This is your step-by-step guide to safely and gently removing your adhesive tattoo bandage to reveal your beautifully healed art underneath.
Step 1: Know When to Remove It
First, follow your artist's instructions on timing. Most will recommend leaving the second bandage on for anywhere from 4 to 6 days. The goal is to let the tattoo get through its main healing phase underneath this protective layer.
Step 2: Get in a Warm Shower
This is the number one secret to an easy removal. Hop in a warm (not hot) shower. The warmth and the water are your best friends here; they will help to significantly loosen the medical-grade adhesive, making the bandage much easier to peel off.
Step 3: The "Low and Slow" Peeling Technique
Once you've let the warm water run over the bandage for a few minutes, you can begin the removal process.
-
Find an Edge: Start at a corner or an edge of the bandage and slowly begin to peel it up.
-
Pull Parallel to Your Skin: This is the most important part of the technique. Do not pull the bandage "up" and away from your body. Instead, pull it back and parallel to your skin, stretching it as you go. Think of how you remove a 3M Command strip from a wall—it's that same low-and-slow stretching motion.
-
Be Patient: Go slowly. If you encounter a stubborn spot, let the warm water run over it for a little longer. The entire process should be gentle and should not be painful.
Step 4: The Crucial First Wash
Once the bandage is off, your tattoo is now exposed to the world. The first thing you must do is give it a thorough but gentle wash to remove any dried plasma and adhesive residue. This is a critical step in your tattoo aftercare.
-
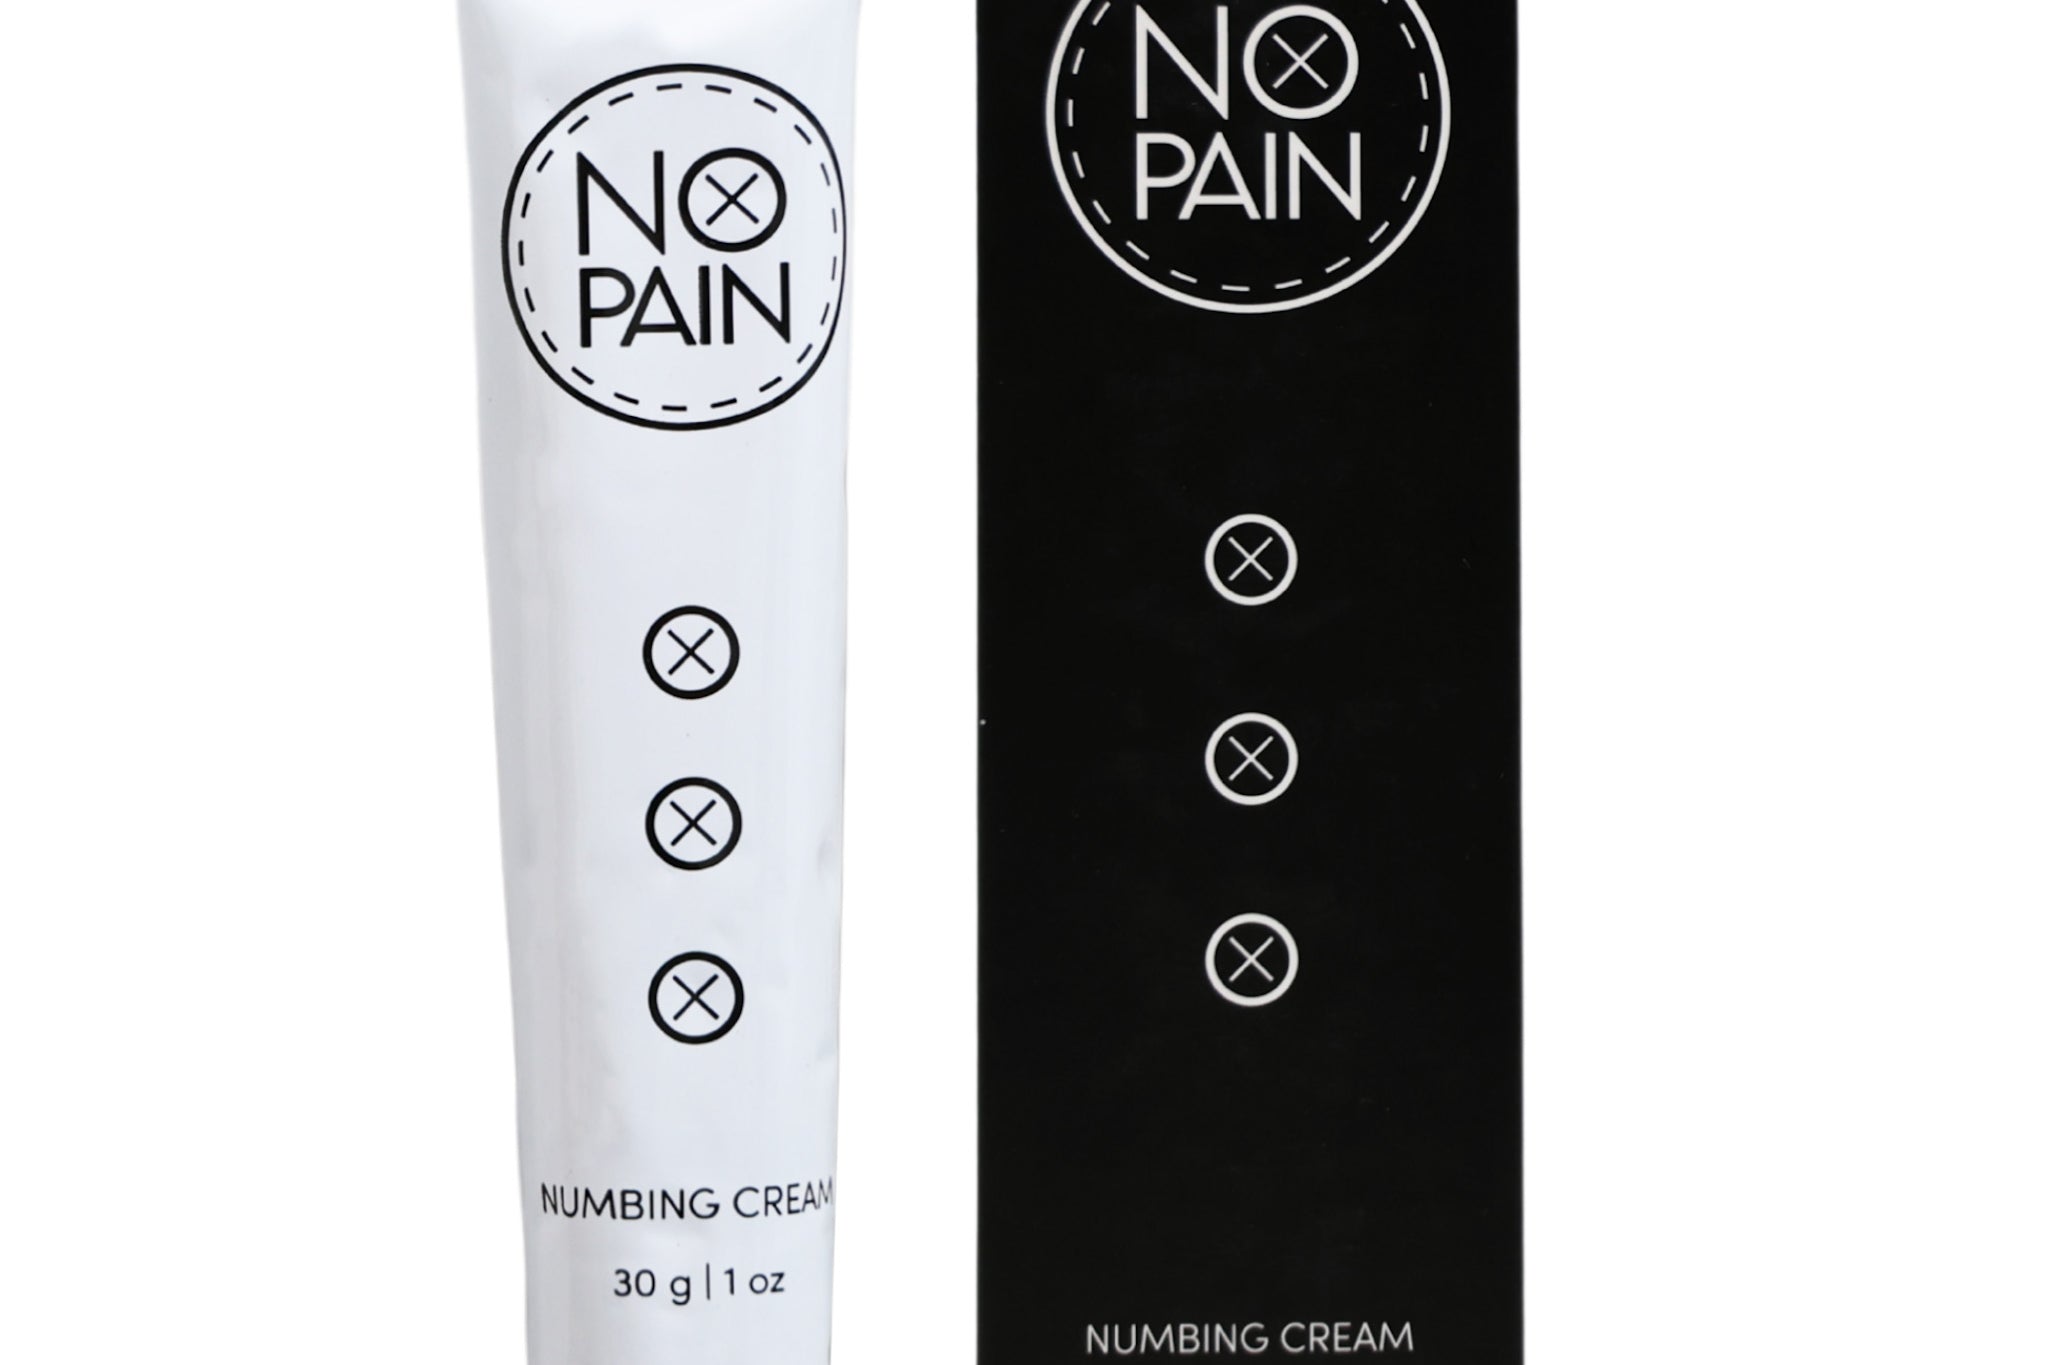
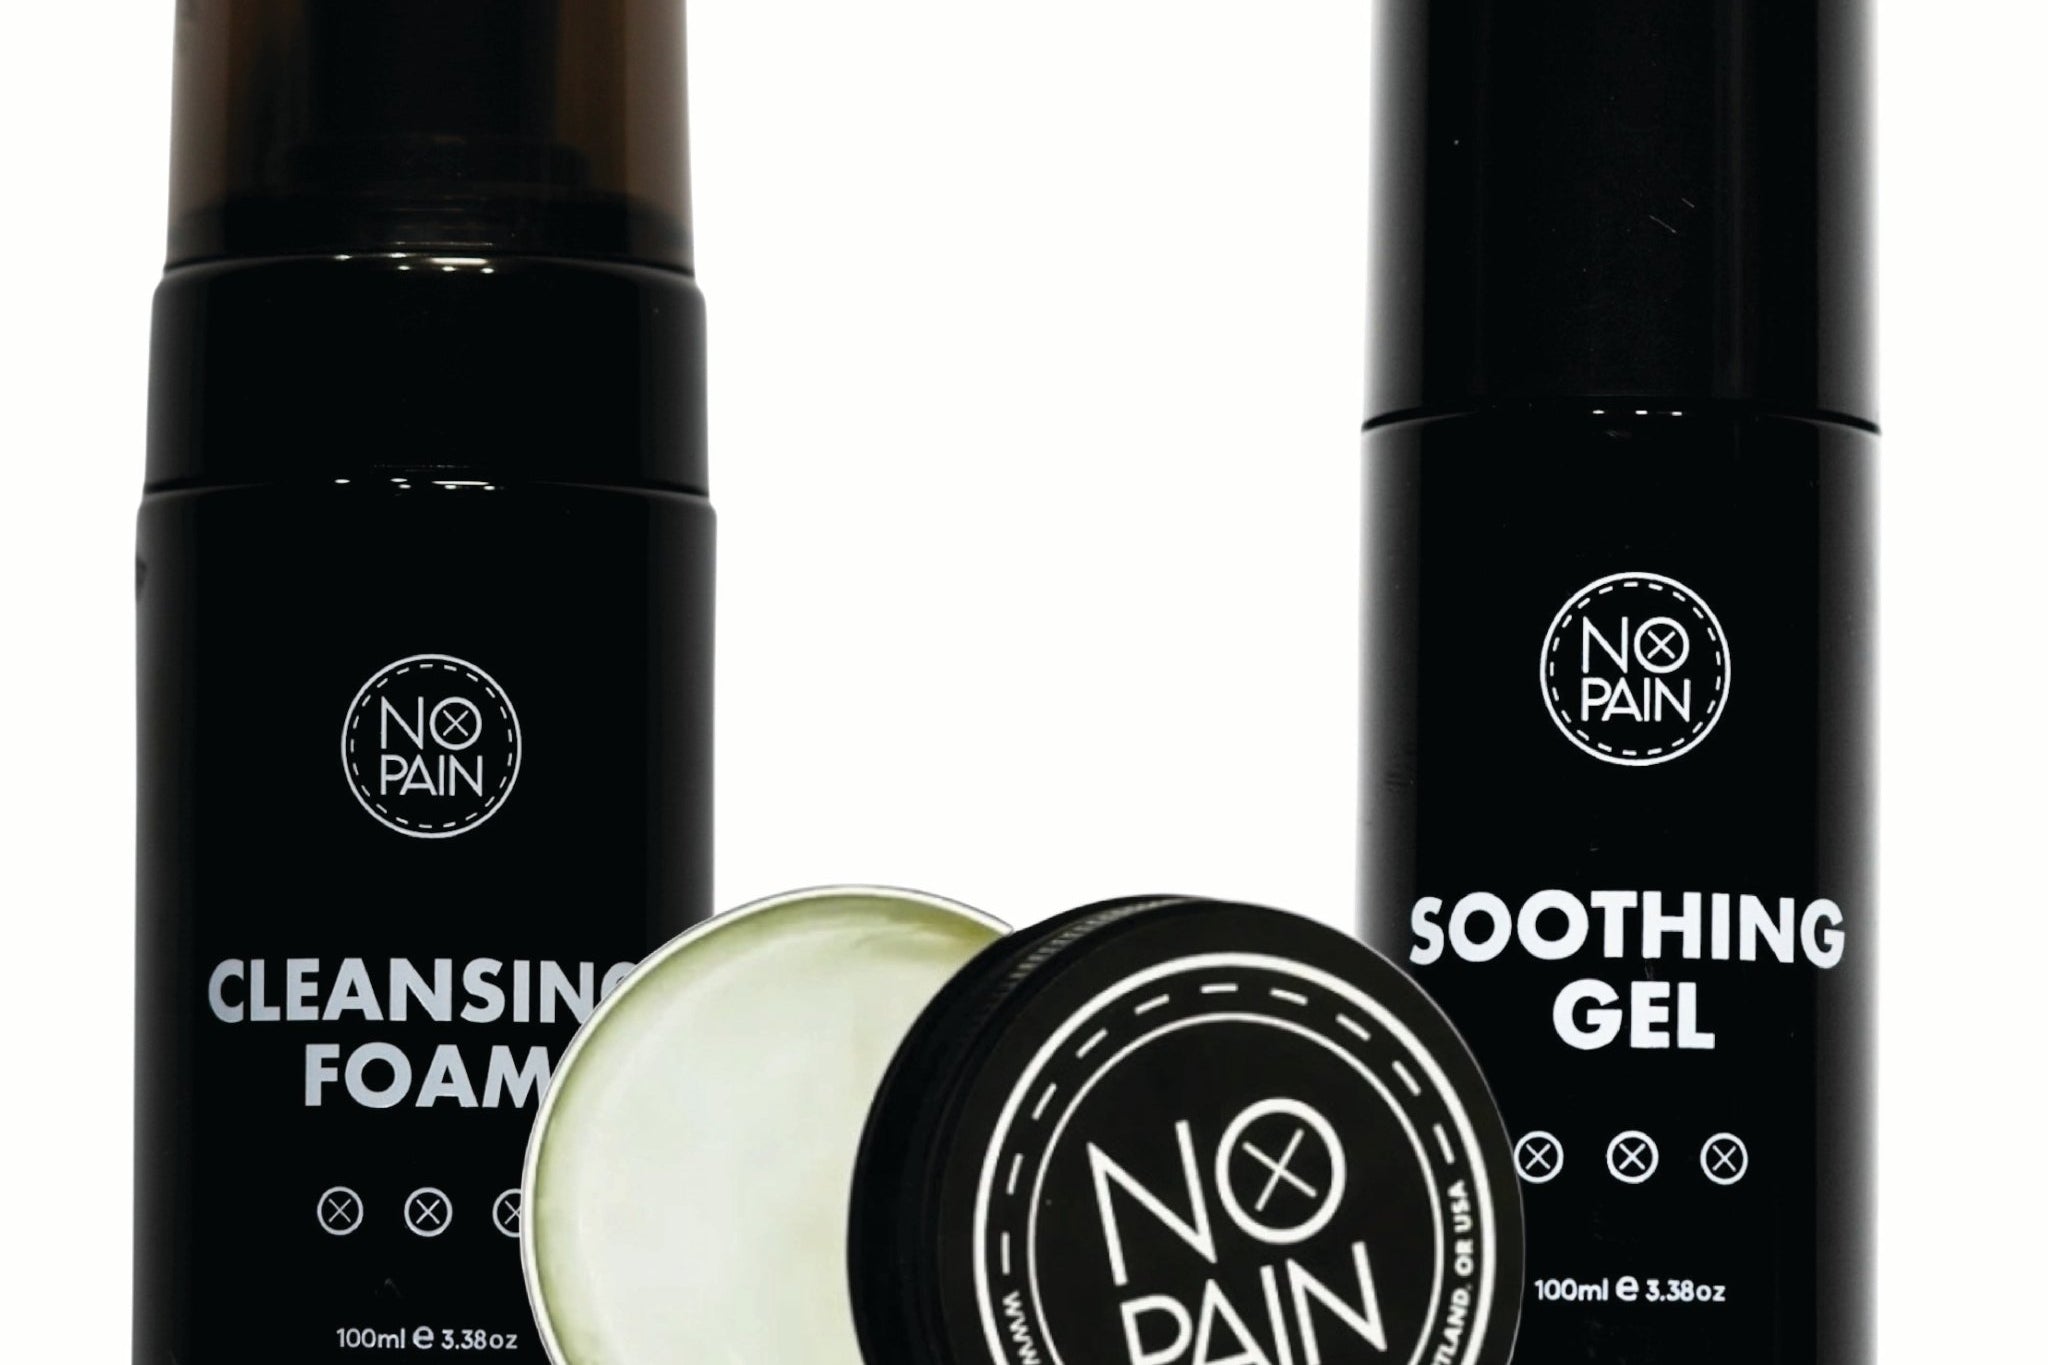
The Best Tool: What to clean new tattoo with? You need a gentle, antimicrobial cleanser. Our No Pain Tattoo Cleansing Foam is perfect for this. Its gentle formula will clean the new, sensitive skin without any irritation.
-
Pat Dry: Gently pat the area completely dry with a clean, disposable paper towel.
Step 5: The Post-Removal Aftercare Routine
The journey isn't over yet. The new layer of skin is still delicate and needs support to fully mature.
-
Soothe the Skin: After that first wash, the skin might feel a bit tender. Applying a thin layer of our No Pain Tattoo Soothing Gel can provide immediate cooling relief.
-
Moisturize for the Final Heal: For the next one to two weeks, you will continue to wash the tattoo once or twice a day and apply a thin layer of our breathable No Pain Tattoo Aftercare Balm. This will nourish the new skin and ensure it heals smoothly and vibrantly.
The Verdict: Removing your adhesive bandage is a simple, gentle process when you use the right technique. By following these steps and transitioning to a high-quality aftercare routine like our No Pain Tattoo Aftercare Bundle, you can ensure your tattoo emerges from its cocoon looking healthy, vibrant, and perfectly healed.