


A forearm sleeve is one of the most satisfying tattoo projects you can undertake—highly visible, endlessly customizable, and capable of growing into something genuinely breathtaking. But between the first consultation and the finished piece lies a planning process that most clients underestimate.
The difference between a sleeve that looks assembled and one that looks designed comes down to flow—and flow is something you need to plan before the first needle touches your skin.
Think of your forearm as a cylinder, not a canvas
The most common planning mistake is sketching a sleeve as though it's going on a flat surface. Your forearm is a three-dimensional tube that rotates, flexes, and changes shape depending on how your arm is positioned. A design that looks perfect on paper can feel disjointed once it wraps.
Great sleeve artists think sculpturally. They understand which elements need to face outward to be seen when the arm is at your side, how background elements need to wrap to create visual continuity when the arm turns, and where to position focal points so they read from multiple angles. When you're interviewing artists, look at their healed sleeve work specifically—not just individual tattoos—and notice whether their pieces feel unified from every angle.
Build around a unifying concept, not individual pieces
A sleeve without a concept is just a collection of tattoos. That might work for some people, but if you want it to flow, you need something holding it together.
That unifying element can be thematic (ocean life, botanical illustration, Japanese mythology), stylistic (all black and grey realism, all traditional, all neo-trad), or atmospheric (a consistent use of negative space, a particular kind of background element like clouds or smoke). The specifics matter less than having one. Once a theme and style are established, each new element has a language to speak—and the sleeve starts to feel like one cohesive piece rather than a timeline of decisions.
Plan your anchor pieces first, filler second
Anchor pieces are the ones you're most excited about—the central image, the one you built this sleeve around. These go in the best real estate first: the top of the forearm, the outer elbow area, the wrist transition. Everything else is designed around them.
Filler is what turns individual tattoos into a sleeve. Background textures, negative space work, geometric elements, organic connecting shapes—this is the craft that separates a competent sleeve from an exceptional one. Don't undervalue it, and don't add it as an afterthought. Plan for it early, and give your artist latitude to be creative with it.
The session commitment
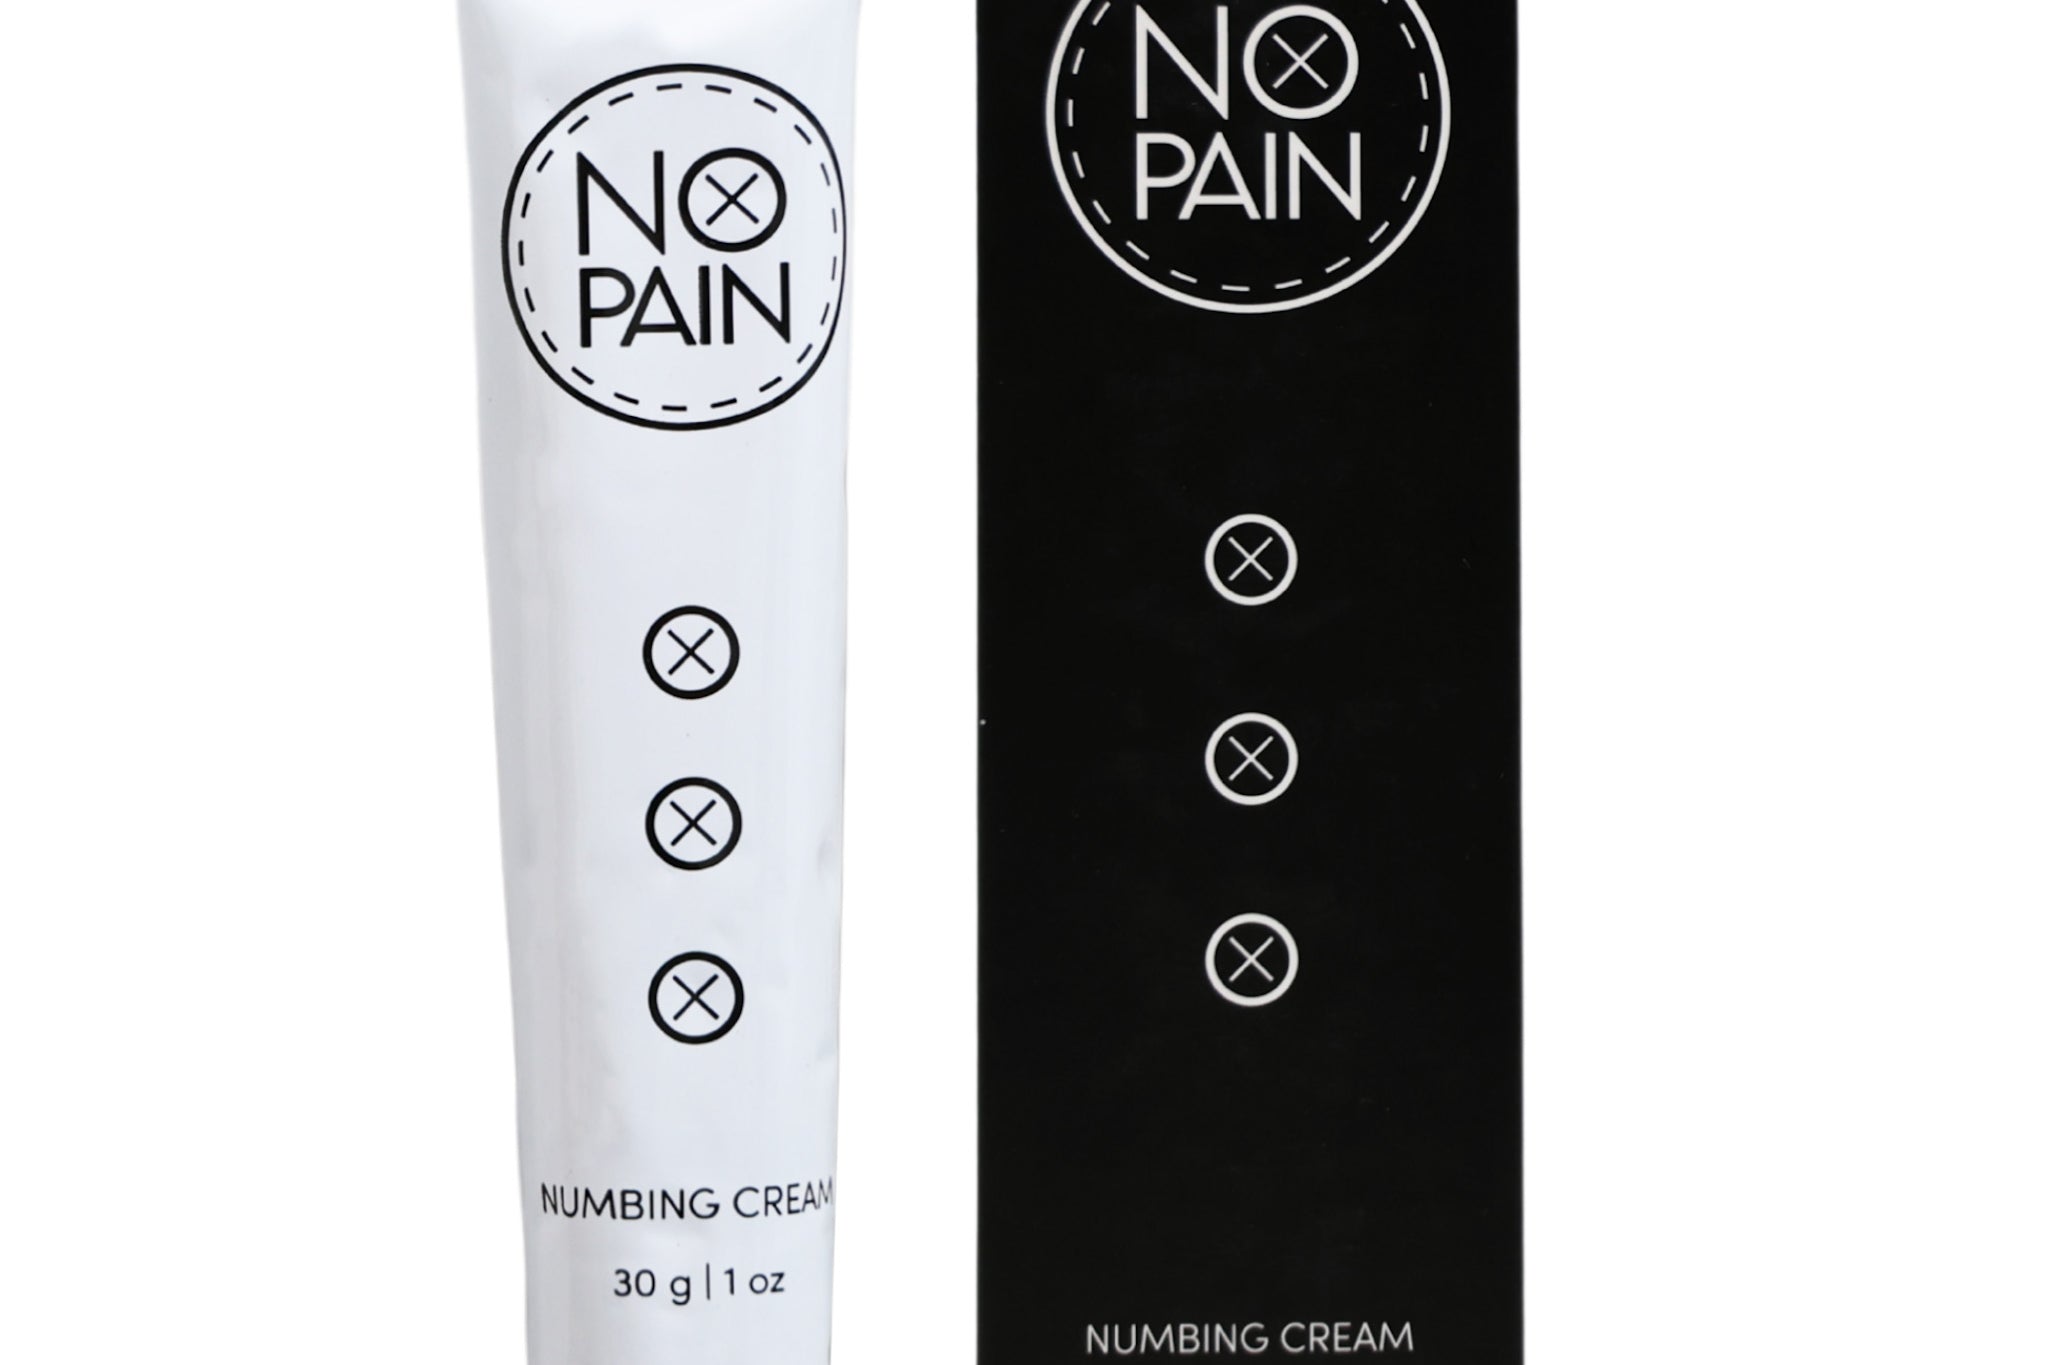
A full forearm sleeve typically runs 20 to 40 hours across multiple sessions, depending on complexity, style, and how your skin responds. The inner elbow and wrist are the pain peaks of this placement. If you've never tattooed those spots, they'll surprise you. No Pain Tattoo Numbing Cream applied in advance lets you sit comfortably through the most sensitive areas, which matters for quality as much as comfort—a client who isn't bracing against the table lets the artist move more freely.
Healing between sessions
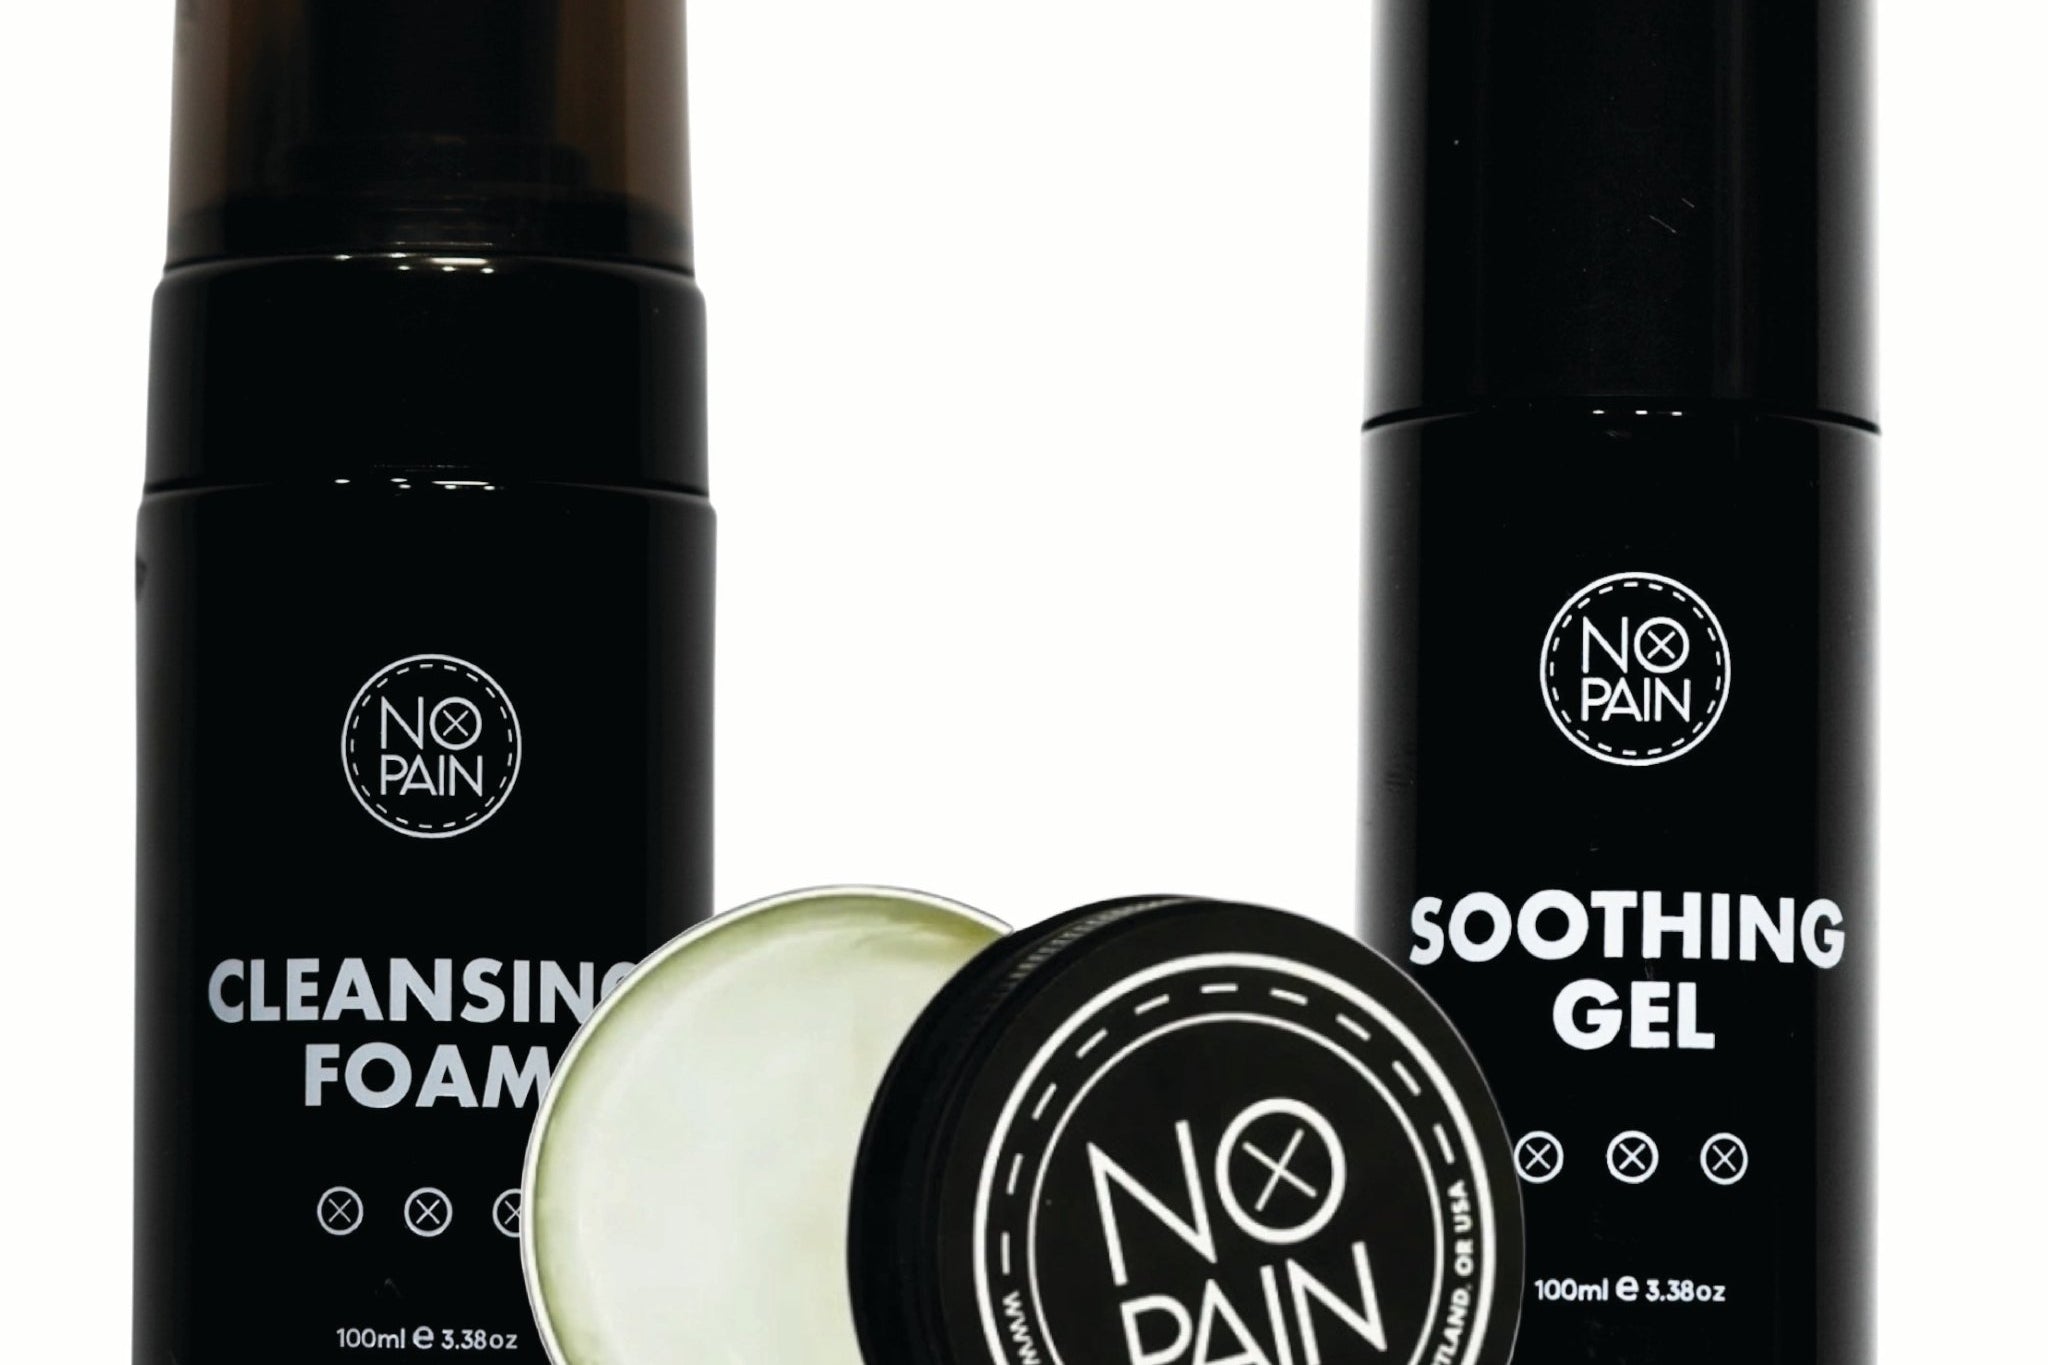
Each session adds another healing cycle to the project. The No Pain Tattoo Aftercare Bundle is worth setting up as your standard post-session routine from the start—the Cleansing Foam handles gentle twice-daily washing, and the Aftercare Balm maintains the hydration level that keeps healed work looking saturated. Given how many sessions go into a sleeve, consistent aftercare across all of them is what ensures the older work still looks vivid when it's photographed alongside the new.
Sleeves take time. The best ones are built over months or years, with each session given time to heal before the next. Trust the process, stay in communication with your artist about how each piece integrates with what came before, and resist the urge to rush to fill. The patience almost always shows in the final result.