



Getting your first tattoo involves more decisions than most people expect. Design, artist, placement, preparation, the session itself, and several weeks of aftercare afterward. None of it is complicated, but going in with a clear picture of what each step involves makes the whole experience better. This is the end-to-end guide.
In this article
- Step 1: Deciding what you want
- Step 2: Finding the right artist
- Step 3: The consultation
- Step 4: Choosing placement
- Step 5: How to prepare for your session
- Step 6: What the session actually feels like
- Step 7: Managing the pain
- Step 8: Aftercare
- Frequently asked questions
Step 1: Deciding What You Want
There is no wrong way to arrive at a tattoo idea. Some people know exactly what they want before they walk into a shop. Others have a feeling or a concept that needs a conversation with an artist to become an actual design. Both are fine starting points.
What matters early on is understanding that a tattoo is a permanent object on your body, and tattoo designs have specific requirements that differ from other visual art. Fine details can blur over time on some placements. White ink fades. Very small text becomes illegible. Photorealistic portraits require an artist who specializes in that style. Your idea may need translation into something that works as a tattoo, and that is part of what the consultation with an artist is for.
Collect reference images of things you like, even if none of them are exactly what you want. Showing an artist three images that each capture something about your idea is more useful than trying to describe the design in words. And come with some openness to their input: a good artist will improve the design, not just execute it.
Step 2: Finding the Right Artist
The artist matters more than the studio. Shops have reputations and hygiene standards, but the quality of the tattoo depends on the specific person holding the machine.
Look for healed work. Fresh tattoos photograph beautifully regardless of skill level. The real test of a tattoo is how it looks two months after healing. Scrolling an artist's Instagram for healed work, or asking to see it at a consultation, tells you far more than a portfolio full of fresh pieces. Look at the areas that age hardest: solid color packing, fine lines, gradients, skin tones. These show whether the technique is sound.
Match the style. Every artist has styles they excel at and styles they do not. A realism artist producing watercolor work, or a traditional artist doing fine-line, will typically produce worse results than an artist who works primarily in that style. Find someone whose portfolio is full of the thing you actually want, not someone versatile enough to attempt it.
Check the studio's hygiene practices. All needles should be single-use and opened in front of you. Ink should be poured into individual cups, not applied from shared containers. The artist should wear fresh gloves. If any of these do not happen, leave.
Step 3: The Consultation
Most shops offer consultations before booking the tattoo appointment itself. Use this time well. The consultation is when you agree on the design, discuss size and placement, get a price estimate, and pay a deposit to hold your appointment date.
Bring your reference images. Be clear about what you like and dislike in each one. Tell the artist what the design means to you if that is relevant. If you have flexibility on size or placement, say so. Artists often have opinions about what will make the piece work better or last better, and those opinions are usually worth taking.
Ask about the timeline. Some artists draw the design in advance and share it before the appointment. Others draw the stencil the day of. Knowing which approach your artist uses helps you know what to expect. If the design is complex and you care about approving it beforehand, confirm that is possible.
Deposits are standard. Most shops take a portion of the estimate upfront to secure your spot. The deposit goes toward the final price. Understand the cancellation policy before you pay it.
Step 4: Choosing Placement
Placement affects three things: how much it hurts, how visible it is, and how well it ages. The right placement balances all three for your specific priorities.
Pain varies considerably by location. Bony, thin-skinned areas hurt more. Fleshy areas with muscle underneath hurt less. The most painful common placements are the ribs, spine, shin, ankle, and sternum. The least painful are the outer thigh, outer arm, shoulder, and upper back. For a zone-by-zone pain ranking of every major placement, see the tattoo pain chart. For an honest assessment of how each placement heals and how it ages, see the placement guide.
For a first tattoo, many people choose a placement that is easier to sit through and easier to keep covered if needed for professional reasons. The outer arm, shoulder, calf, and outer thigh are all lower-pain, lower-healing-difficulty options that work well for most styles. That said, there is no rule that your first tattoo has to be in a safe spot. If you want a rib piece, get a rib piece.
Step 5: How to Prepare for Your Session
What you do in the 24 to 48 hours before your appointment directly affects how the session goes. A few basics:
Sleep and eat. Being well-rested and fed before a tattoo session matters more than most people expect. Blood sugar drops during long sessions, and a low blood sugar event while getting tattooed is unpleasant and occasionally serious. Eat a real meal one to two hours before the appointment. Bring snacks for anything over two hours.
Avoid alcohol for 24 hours. Alcohol thins the blood. A session on blood that will not clot properly produces more bleeding, more difficult line work, and a more disrupted heal. It also lowers your tolerance for pain, not the other direction you might hope for.
Moisturize the area in the days before. Well-hydrated skin takes ink more smoothly than dry skin. Start moisturizing the area a few days before the appointment. Do not apply any product the morning of the session itself.
Wear appropriate clothing. You will need to give the artist direct, unobstructed access to the placement for the entire session. Plan clothing accordingly. For a specific breakdown of what to wear based on where you're getting tattooed, see the what to wear guide.
Bring what you need for a long sit. Headphones, a phone, water, snacks. For sessions over two hours, plan your entertainment. Some placements require you to stay still in an uncomfortable position for extended periods, and having something to occupy your mind helps.
For a detailed day-of preparation checklist including timing the numbing cream correctly, see the tattoo prep guide.
Step 6: What the Session Actually Feels Like
Most people describe the initial sensation as a scratching or dragging feeling rather than a sharp pain. The needle passes through the epidermis repeatedly at high speed. The sensation is distinctive and takes a few minutes to calibrate to, but it is rarely the worst thing people expect going in.
The outline pass typically feels different from the shading pass. Lining uses a tighter needle configuration and goes over each line once. Shading covers more surface area, uses different needle groupings, and can feel more like a diffuse burning sensation than a concentrated scratch. Color packing involves very thorough coverage of an area and tends to be the most intense phase for color work.
The session has an arc. Most people experience an adrenaline window in the first 20 to 40 minutes where the pain is manageable and the novelty carries them through. After that window, the body's endorphin response settles and the pain can feel more sustained. Sessions over two hours require a different kind of mental approach than short ones. For an honest account of what each phase feels like, see the what does a tattoo feel like guide.
Placement matters here too. A session on the outer arm and a session on the ribs are very different experiences. The pain chart linked above gives you an honest sense of what to expect at your specific placement.
Step 7: Managing the Pain
Pain management for a tattoo session comes down to preparation. The two most effective tools are numbing cream and breath control.
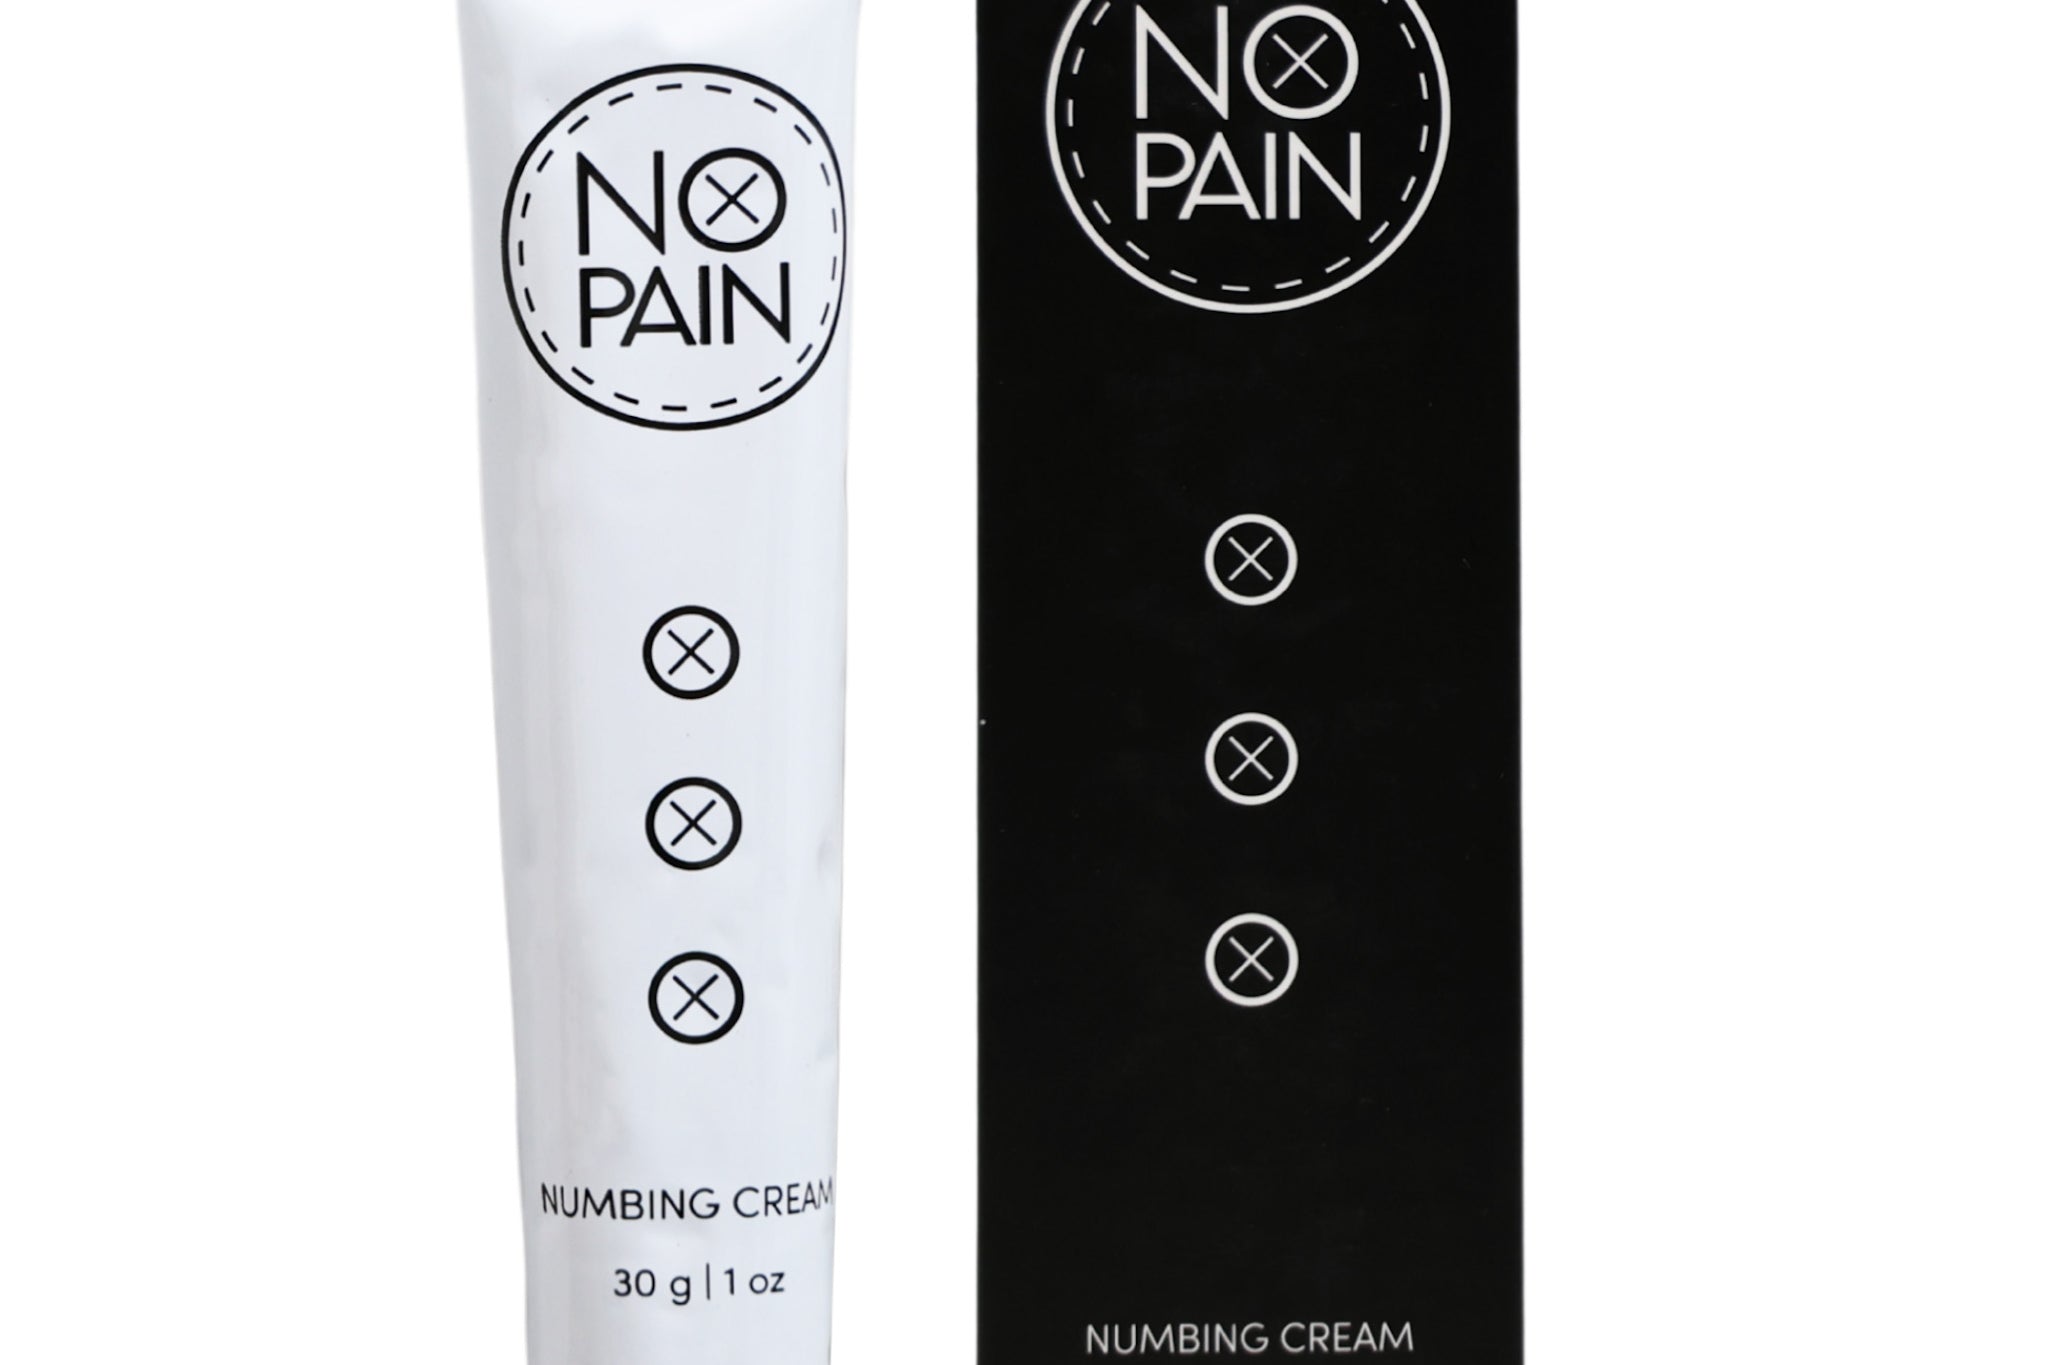
Numbing cream applied before the session blocks the nerve signals responsible for the sharpest component of tattoo pain. Maximum strength lidocaine cream applied using the two-coat method, covered with cling film and left for 90 to 120 minutes before the appointment, penetrates the dermis and meaningfully reduces the experience for most people. It does not make the session painless, but it reduces the sharpness enough to make hard placements much more manageable. The cream is applied to intact skin before you arrive at the studio and wiped off by the artist when you sit down.

Maximum-strength topical numbing in a thick, slow-absorbing base that penetrates deeper and lasts longer than thin creams. Apply two coats under cling film 90 to 120 minutes before your session. Walk in already numbed. 100% money-back guarantee.
Breath control is free and works in every session. Slow exhales during needle contact and deliberate breathing during breaks reduce the body's stress response, which in turn keeps pain at a more manageable level. Tensing against the pain makes it worse. The goal is to stay relaxed in the areas not being worked on, which takes practice but becomes easier once you understand the pattern.
Step 8: Aftercare
The tattoo your artist produces in the studio is not the tattoo you will have forever. The healed result depends on what happens over the next two to four weeks. Good aftercare preserves the work. Poor aftercare undoes it.
Your artist will give you specific aftercare instructions. Follow them. The basics that apply across nearly all approaches are: wash the tattoo gently twice a day with a fragrance-free cleanser, keep it moisturized with a lightweight product appropriate for the healing stage, and protect it from sun and soaking until it is fully healed.
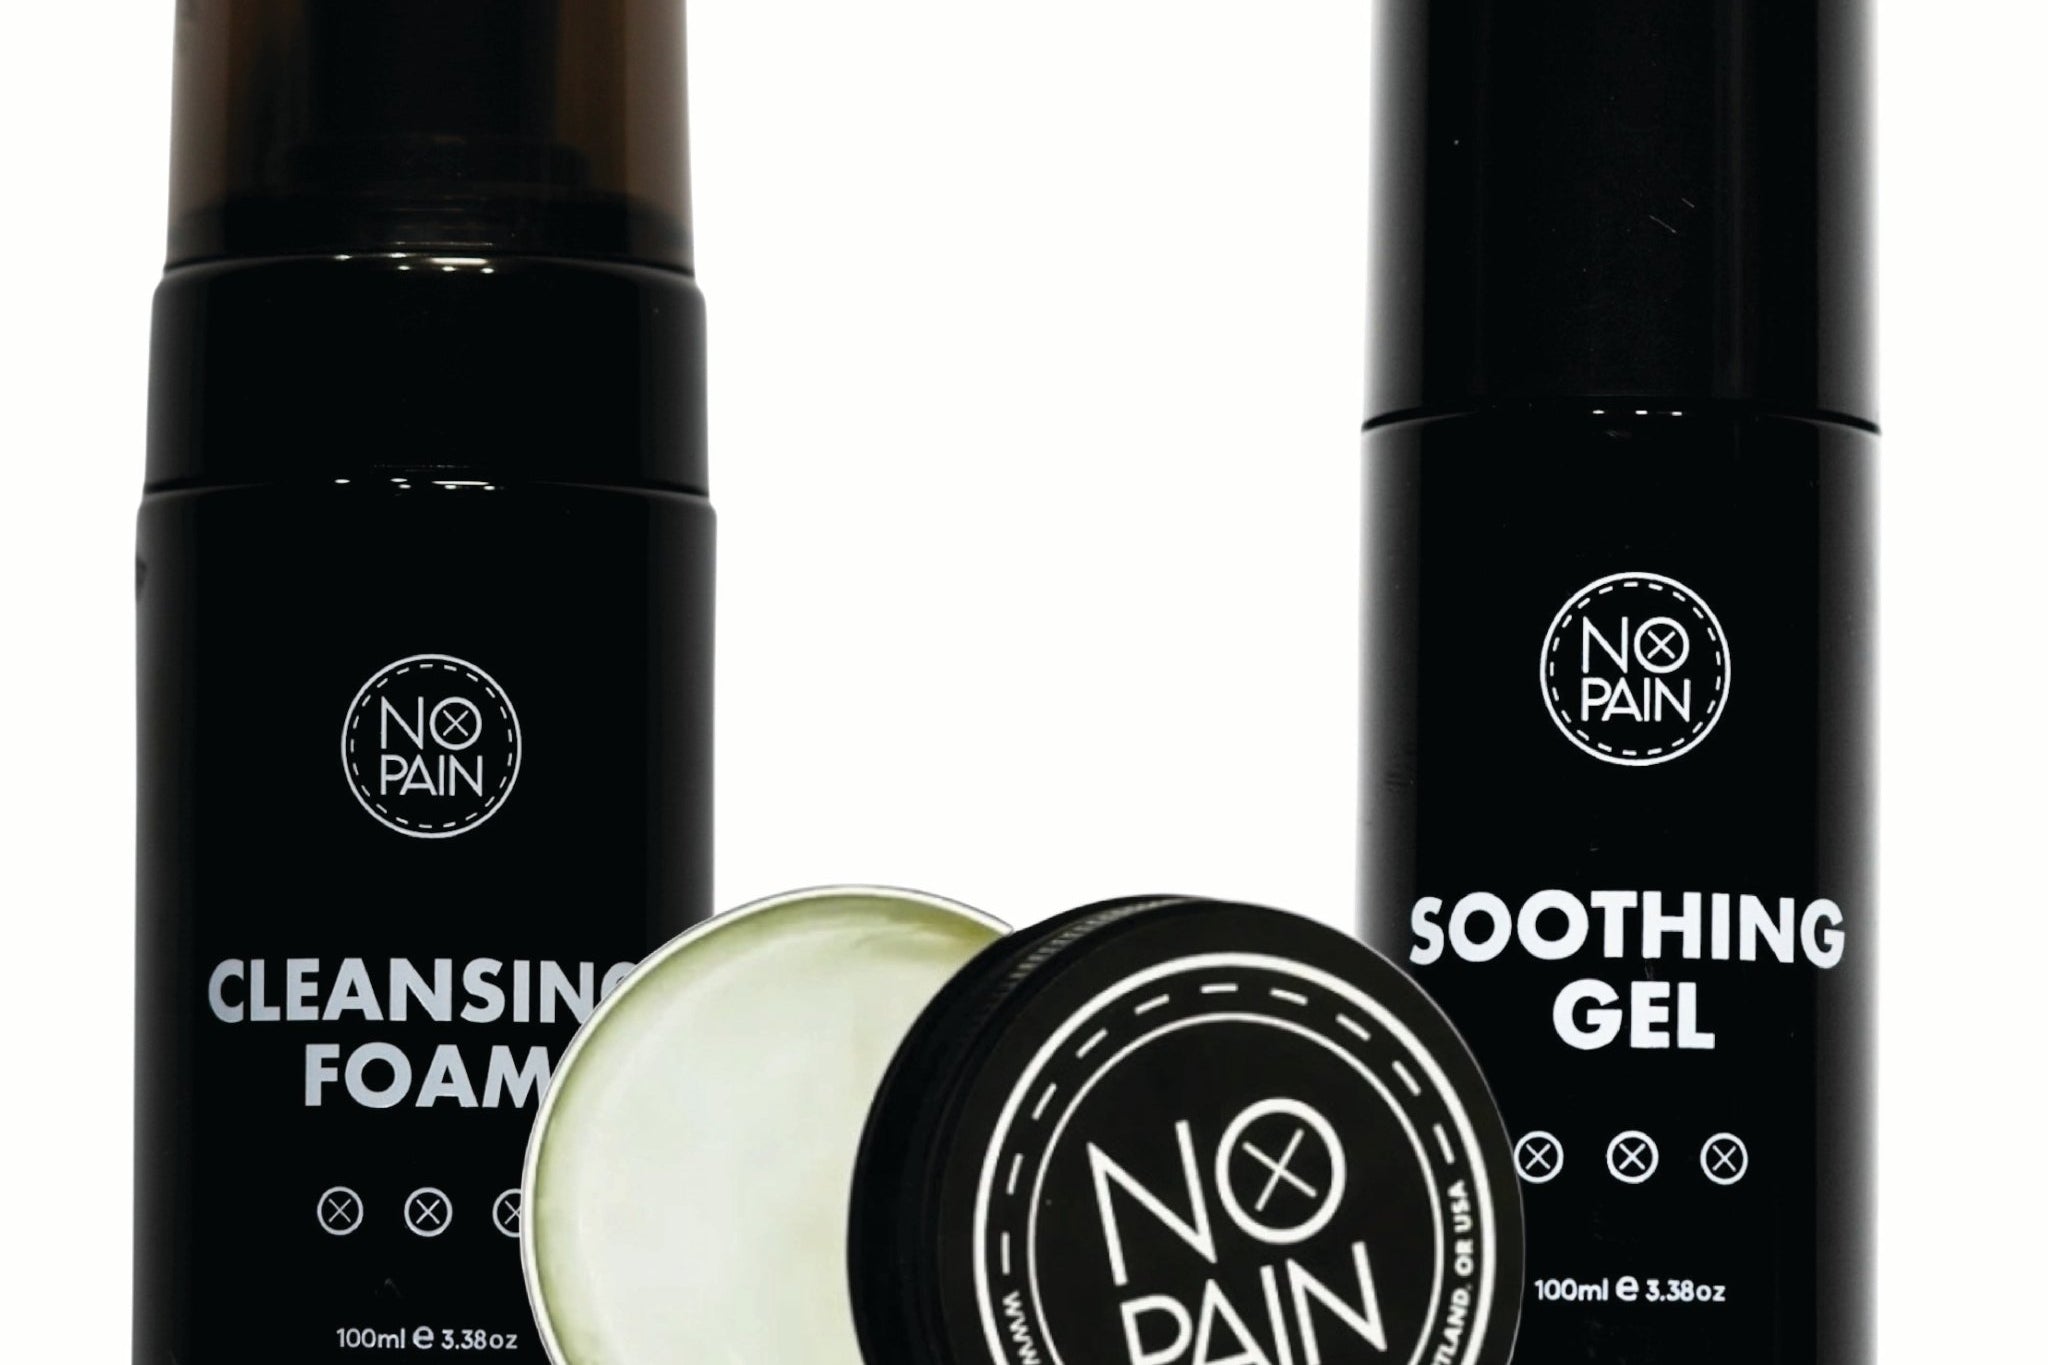
The first few days (through around day 3) call for a lightweight gel to keep the raw surface hydrated without smothering it. From day 3 onward, as peeling begins, a richer balm supports the new skin forming underneath. The most common aftercare mistakes are picking at peeling skin, over-moisturizing with thick ointments, soaking in baths or pools, and sun exposure before healing is complete. Each of these causes ink damage that may require a touch-up to fix. For a detailed breakdown of what each mistake does to the healing tattoo, see the aftercare mistakes guide. For the full week-by-week biological healing timeline, see the healing process guide.

Lightweight cooling gel that keeps the surface hydrated without blocking airflow. Use in the first few days to prevent the thick scabbing that disrupts linework and pulls ink.

Shea butter balm for the peeling and milky phase. Nourishes the new skin layer as it forms so the tattoo settles cleanly and the colors hold.
Frequently asked questions
What should I know before getting my first tattoo?
The most important things are: find an artist whose healed portfolio matches the style you want; choose placement based on realistic pain and healing expectations, not just aesthetics; prepare your body by sleeping, eating, and avoiding alcohol before the session; understand that the healed result depends heavily on two weeks of consistent aftercare. The session itself is the shortest part of the process. The preparation and the healing are where most people under-invest.
How much does a first tattoo hurt?
Pain varies by placement. Fleshy areas with muscle underneath are far more manageable than bony, thin-skinned spots. For most people, the sensation is a sharp scratching rather than a stabbing pain, and it is more tolerable than they expected. The first 20 to 40 minutes are typically the most manageable. Longer sessions become more challenging as the body's initial endorphin response settles. Numbing cream applied before the session meaningfully reduces the sharpest component for most placements. For a zone-by-zone pain ranking, see the pain chart.
What is the best placement for a first tattoo?
The outer arm, shoulder, outer thigh, and calf are common first choices because they are lower-pain, relatively easy to heal, and easy to cover or show as needed. There is no rule that your first tattoo has to be in an easy location, but these spots give you a less demanding experience while you learn what sitting is like. For a placement-by-placement breakdown of pain and healing difficulty, see the placement guide.
How long does a first tattoo take to heal?
The surface heals in two to four weeks. The deeper layers continue settling for two to three months. The most confusing part is week two, when the tattoo can look faded, cloudy, or dull as the new skin forms over the ink. This is the milky phase, and it is completely normal. The tattoo is not ruined. The final settled appearance comes through as the new epidermis normalizes over the following weeks. For the full healing timeline and what it looks like at each stage, see the healing process guide.
Can I use numbing cream for my first tattoo?
Yes. Numbing cream is widely used and, when applied correctly, does not affect the ink or the tattooing process. The cream works on intact skin and wears off within hours. Tell your artist at the consultation that you plan to use it so they know the skin will arrive pre-numbed. Apply two coats under cling film for 90 to 120 minutes before leaving home, so you arrive with it already active. For a detailed step-by-step application guide, see the tattoo prep guide.
What should I do after my first tattoo?
Follow your artist's aftercare instructions. In general: wash gently with fragrance-free soap twice a day, apply a thin layer of a lightweight gel for the first few days (through around day 3), switch to a richer balm from day 3 onward as peeling begins, keep the tattoo out of direct sun and away from soaking water for two to four weeks. Do not pick at the peeling skin. Do not over-moisturize with thick ointments. The tattoo will look alarming in week two with the milky film and peeling. Stay the course. The final result comes through when the surface fully settles around week three to four.
Everything Your Skin Needs to Heal Right
Soothing gel for the first few days, aftercare balm from day 3 onward. Two products, two phases, formulated to keep the work your artist put in.
Shop the Aftercare Bundle →Formulated at Historic Tattoo in Portland, Oregon. 100% money-back guarantee.