


A tattoo sleeve is a commitment unlike almost anything else in tattooing. The work can take 20 to 80 hours spread across a year or more. It involves all of the most painful placements on the arm. And when it's well thought out, it's a lot of fun to watch it come together.
We are going to cover everything you need before starting: the different sleeve types, style ideas, realistic cost, how long the process takes, pain management across long sessions, and what separates a sleeve that ages well from one that falls apart. If you're still deciding whether and how to do this, start here.
In this article
- Quarter sleeve, half sleeve, and full sleeve
- Tattoo sleeve style ideas
- How much does a tattoo sleeve cost
- How long does a sleeve take
- Finding the right artist
- Pain and how to manage it
- Healing across multiple sessions
- Frequently asked questions
Quarter Sleeve, Half Sleeve, and Full Sleeve
The biggest decision before style or subject matter is coverage area. Each type has different commitments, different cost ranges, and different challenges.
Quarter sleeve tattoo
A quarter sleeve covers roughly from the shoulder cap down to about mid-bicep: one quarter of the arm's surface. It's the natural starting point for many collectors. Quarter sleeves can be standalone pieces or the beginning of something larger. The advantage: the outer upper arm is one of the more forgiving placements pain-wise, and the surface area is manageable in one to three sessions.
The risk with quarter sleeves is overconfidence. A small quarter sleeve that leaves awkward negative space above or below it can look unfinished when you wear a short-sleeve shirt. If there's any chance you'll expand it, plan the quarter sleeve as if it were the first section of a half sleeve: your artist can design it with room to grow.
Half sleeve tattoo
A half sleeve runs from the shoulder to the elbow, or from the elbow to the wrist. The upper half is more common; the lower half (forearm sleeve) is a distinct look typically associated with Japanese-style and heavy traditional work.
Upper half sleeves are where most people start when they commit to a full arm concept. The surface area is large enough to carry real composition and small enough to complete within a reasonable timeframe. Expect six to fifteen hours of work depending on style and density.
The elbow is the dividing line and one of the most painful sections of any sleeve. Artists tackling a half sleeve that ends at or near the elbow need to address the elbow ditch: the soft tissue behind the joint: which ranks among the most intense placements on the arm. If your half sleeve ends here, that's the section that takes the most out of you.
Full sleeve tattoo
A full sleeve runs from the shoulder to the wrist, covering the entire arm. This is a major undertaking: 30 to 80+ hours of tattoo time across multiple sessions over months or years.
Full sleeves almost always involve the three hardest arm placements: the inner bicep, the elbow ditch, and the inner wrist. These aren't optional sections you can skip. They're the connecting tissue between the visible panels, and leaving them blank creates obvious gaps that break the composition. Plan mentally for those sections before you commit.
There's no standard timeline. Some people complete a full sleeve in six months with long frequent sessions. Others spend three to five years building one piece at a time. The difference is budget, pain tolerance, and how precisely the sleeve is planned from the start.
Tattoo Sleeve Style Ideas
Style determines more than aesthetics: it affects how the sleeve flows, how much planning it requires, how it ages, and which artist you need. Here are the main approaches.
Japanese (Irezumi). Built for sleeves. Japanese tattooing treats the arm as a single canvas from the beginning: hero subjects (dragon, koi, tiger, phoenix, deity) in the primary panels, with background elements (water, clouds, wind bars, waves, cherry blossoms) flowing through the negative space to unify everything. A traditional Irezumi sleeve is planned as one composition, not assembled over time. It requires a specialist: not someone who has done a few Japanese-inspired pieces, but someone whose entire portfolio is Japanese work.
American Traditional. Works in two modes. Planned traditional sleeves use large hero pieces (eagle, skull, panther, rose, ship) at the major panels and filler (stars, daggers, banners, dots) to connect them. Collected traditional sleeves assemble over time: each piece is complete on its own, and the sleeve emerges from accumulation rather than planning. The bold, solid fills of American Traditional age exceptionally well compared to fine-line or watercolor work.
Neo-Traditional. More illustrative and complex than American Traditional, with varied line weights, richer color palettes, and ornate subject matter. Neo-Traditional sleeves benefit from planning because the intricate detail means composition decisions are harder to fix later. The style ages well when executed with solid line work underlying the color.
Black and grey realism. High-skill, high-risk for sleeves. Photorealistic black and grey panels look extraordinary when they work, but they require careful management of contrast and negative space. A poorly planned realism sleeve becomes a muddy grey mass. The best realism sleeves use strong compositional contrast between panels: light backgrounds against dark subjects, deliberate breathing room between pieces. Find an artist whose healed realism portfolio looks as good as the fresh photos.
Fine line. The most demanding for longevity. Fine-line sleeves look striking immediately after healing and age fastest of any style. Thin lines spread over years; color in fine line fades faster than in bolder styles. If you want a fine-line sleeve, go in knowing touch-ups will be part of the relationship. Artists who specialize in fine-line sleeves know how to build in structural weight that holds: seek out that specific healed portfolio, not just fresh work.
Patchwork. The intentionally collected look: individual pieces with visible space between them rather than a unified background. Patchwork is a legitimate aesthetic choice and genuinely achieves a different kind of sleeve than any planned style. For more on building a patchwork sleeve, see our full guide on patchwork tattoo sleeves.
How Much Does a Tattoo Sleeve Cost
A sleeve is one of the most expensive single commitments in tattooing. Realistic numbers:
Quarter sleeve: $500 to $1,500 for a simple piece, $1,500 to $3,000 for a detailed single composition.
Half sleeve: $1,500 to $4,000 for straightforward work, $3,000 to $8,000 for specialist artists doing detailed or Japanese-style compositions.
Full sleeve: $3,000 to $6,000 on the low end, $6,000 to $15,000+ for specialist artists in complex styles. Japanese full sleeves with a known specialist can exceed $20,000 over their multi-year timeline.
These ranges are wide because they depend on artist day rate (typically $150 to $300+ per hour), the number of sessions, and your geographic market. Artists in major cities with waitlists charge more. The mistake is optimizing for cost. Sleeve-specific skills are not evenly distributed: an artist who can execute a flowing, anatomically coherent composition across the entire arm is rarer and more expensive than someone who can do strong individual pieces. A cheap sleeve is not a bargain.
Tip each session, not just at the end. A sleeve takes years; tipping each appointment maintains the relationship that makes the collaboration work.
How Long Does a Sleeve Take
Quarter sleeve: 3 to 8 hours total. Can often be done in one to two sessions.
Half sleeve: 6 to 20 hours depending on complexity and density. Plan for three to six sessions.
Full sleeve: 20 to 80+ hours. At 4 to 6 hours per session, that's 5 to 20 sessions minimum. Most full sleeves take one to three years when sessions are scheduled monthly or bimonthly. Waiting three to six weeks between sessions on the same area is standard; the skin needs to close before being worked again.
The time required is also why session length strategy matters. A four-hour session where you hold still and the artist works efficiently produces better results than a six-hour session where you're fighting pain in the last two hours and involuntary movement increases. Knowing your limits and communicating them to your artist is part of the process, not a failure of toughness.
Finding the Right Artist
Style match matters more than proximity. An artist who specializes in Japanese tattooing is not the right person for your fine-line realism sleeve, even if they're an hour away and your first-choice specialist requires a flight.
The search process: look up style-specific hashtags on Instagram. Look for artists whose portfolio shows full sleeves: not just individual pieces that could slot into a sleeve, but evidence of composition across an entire arm. Look at healed photos specifically. Fresh tattoos almost always look good. Healed work shows you what actually lasts.
When you've identified candidates, book a consultation before committing. A good sleeve consultation goes beyond "what do you want": the artist should discuss how the composition will flow around the arm anatomy, how they plan to handle the elbow, where the hero subjects should live to make the overall design work. If the consultation feels generic or you're not confident the artist is thinking in terms of the whole arm, that's the signal to keep looking.
Most reputable artists who do sleeve work will have a deposit system and a waitlist. The waitlist is a feature, not a bug: it means they're selective and in demand. Plan your sleeve as a multi-year project and get on the list when you're ready to start.
Pain and How to Manage It
Pain distribution across a sleeve is uneven. The outer arm panels and outer bicep are the most manageable: plenty of muscle, moderate nerve density, reasonable tolerance for most people. The inner bicep, inner forearm, elbow ditch, and inner wrist are the hardest sections. The elbow ditch in particular is known as one of the most intense placements in tattooing: thin skin over a bony joint, median nerve running close to the surface, a sensation that often radiates down the forearm.
The pain also compounds across a session. The first hour on any section is harder than a stand-alone piece of the same size, because by the time you reach the elbow or inner arm, you've already been worked on for two or three hours. Session fatigue is a real factor in sleeve work: the mental and physical toll of staying still while cumulative skin trauma builds up.
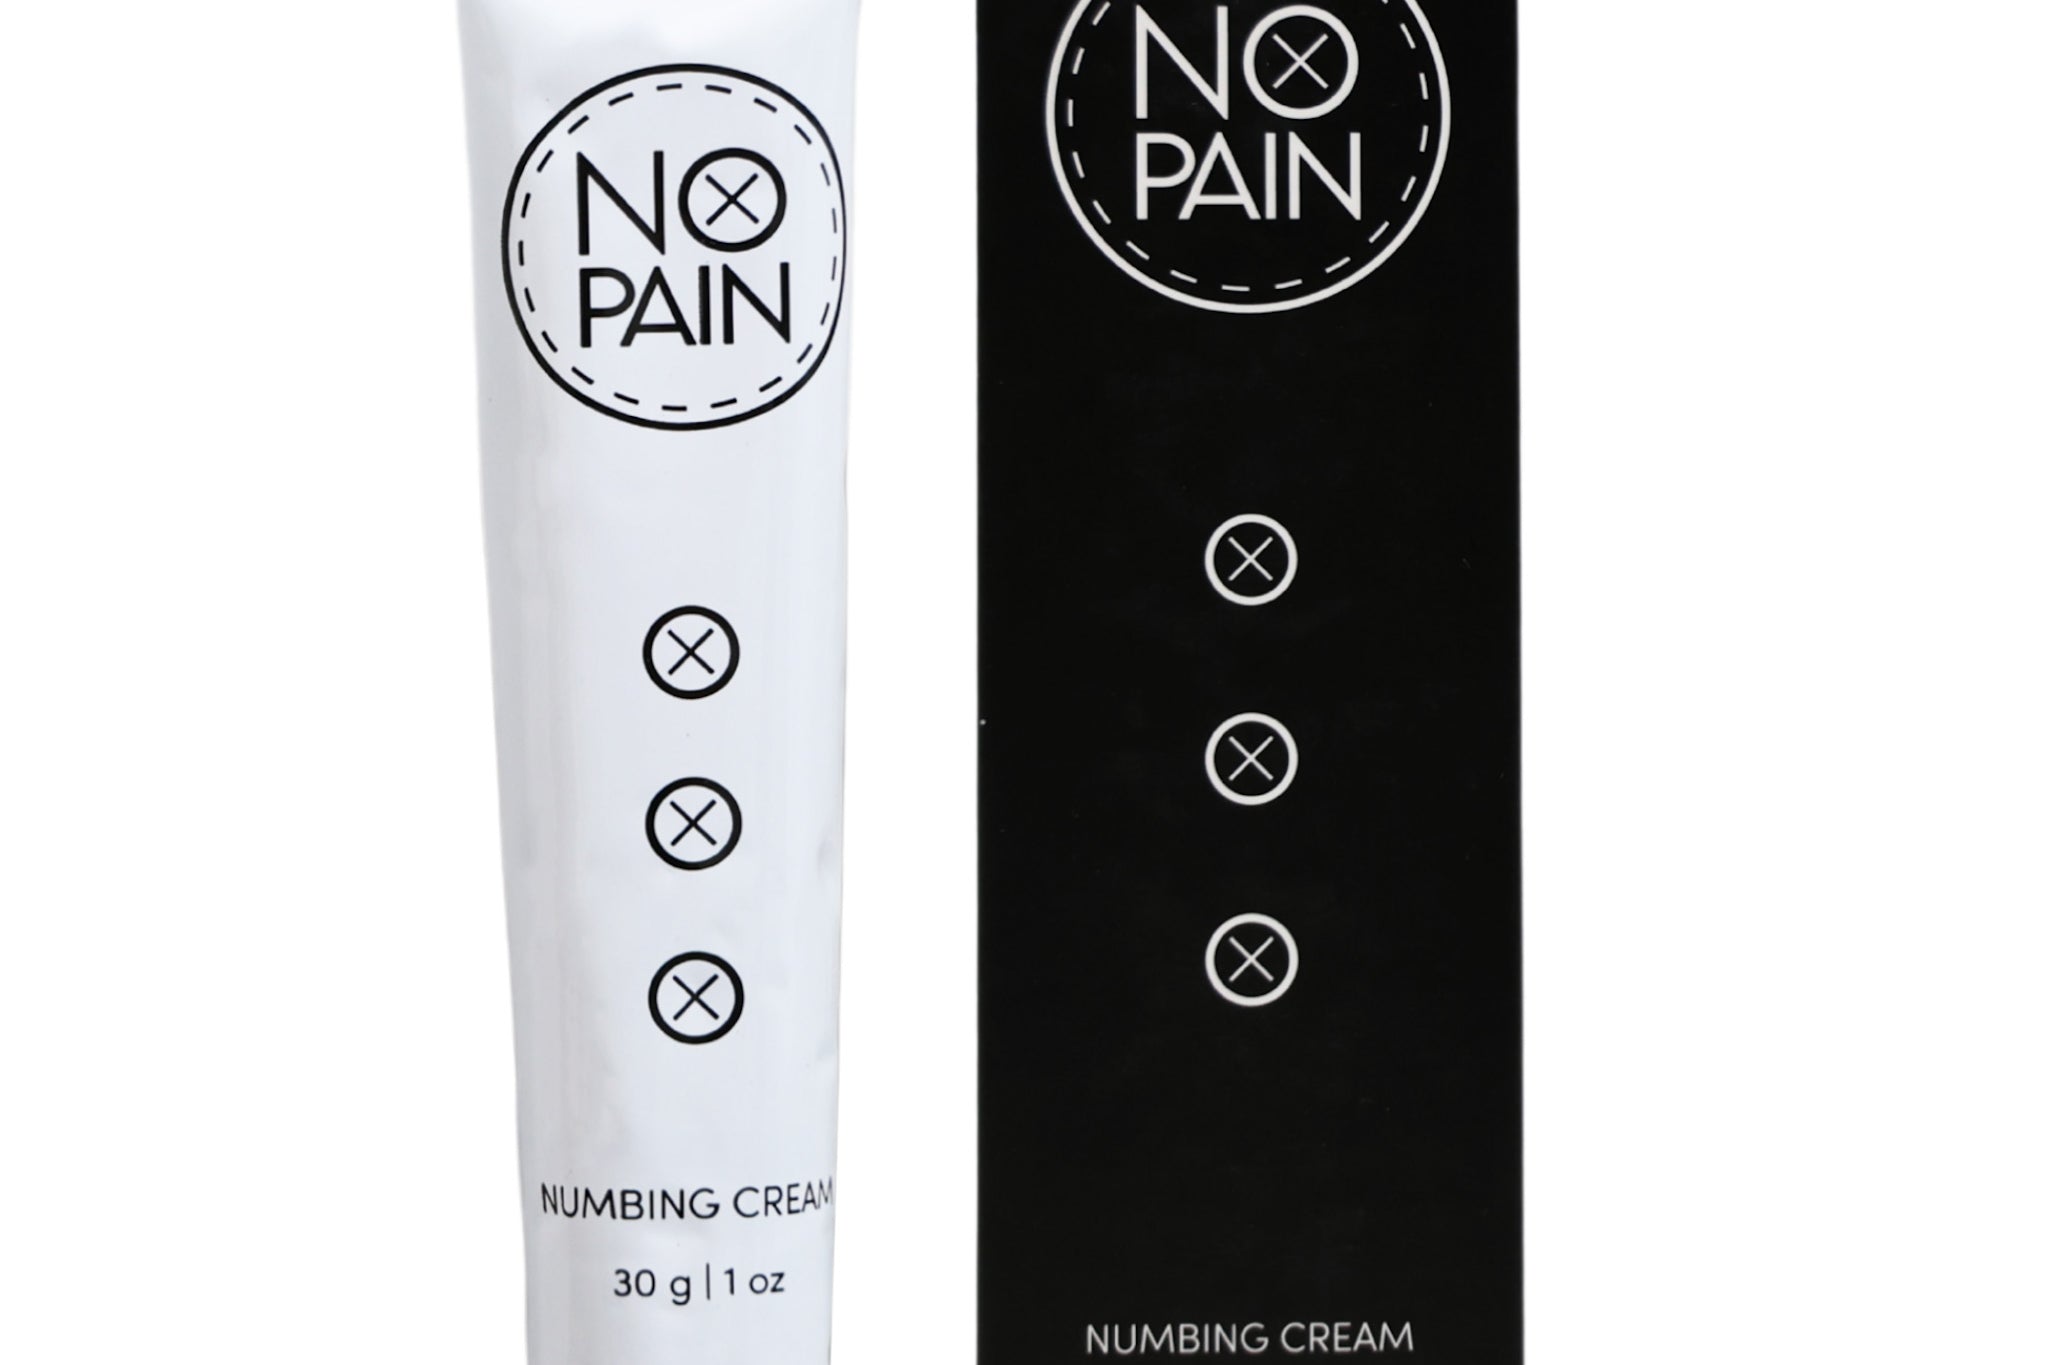
Numbing cream changes this meaningfully. The arm is actually one of the better placements for topical lidocaine: it wraps easily with plastic wrap, and the skin on most of the arm absorbs well. Apply a maximum-strength formula 90 to 120 minutes before your session and cover the full area with plastic wrap. Arrive already numbed. For sessions running four or more hours, a numbing spray your artist applies to broken skin mid-session extends your coverage through the second half: the point where pain and fatigue compound hardest.

Maximum-strength topical numbing for pre-session application. Thick, slow-absorbing formula that penetrates deeper and lasts longer than thin creams. The arm wraps easily -- apply two coats, cover with plastic wrap, arrive already numbed. 100% money-back guarantee.

Numbing cream for before the session, numbing spray for mid-session top-ups on broken skin. Sleeve sessions run long and hit the hardest sections at the end -- this combination covers you from first pass to last. 100% money-back guarantee.
Healing Across Multiple Sessions
Every sleeve session is, in healing terms, a fresh tattoo. The same rules apply each time: keep it clean, keep it moisturized, protect it from sun, don't soak it. The difference is that sleeve collectors are often healing one section while another section is a year old and fully settled: your aftercare habits have to stay consistent across the entire project, not just for the first tattoo.
Between sessions, SPF on the healed portions is the most important ongoing maintenance task. UV exposure is the primary driver of tattoo fading, and black and grey work is especially vulnerable to it. A sleeve that's been in the sun without protection for six months while you wait for your next session will come back looking less vibrant than when it healed. Establish the habit early.
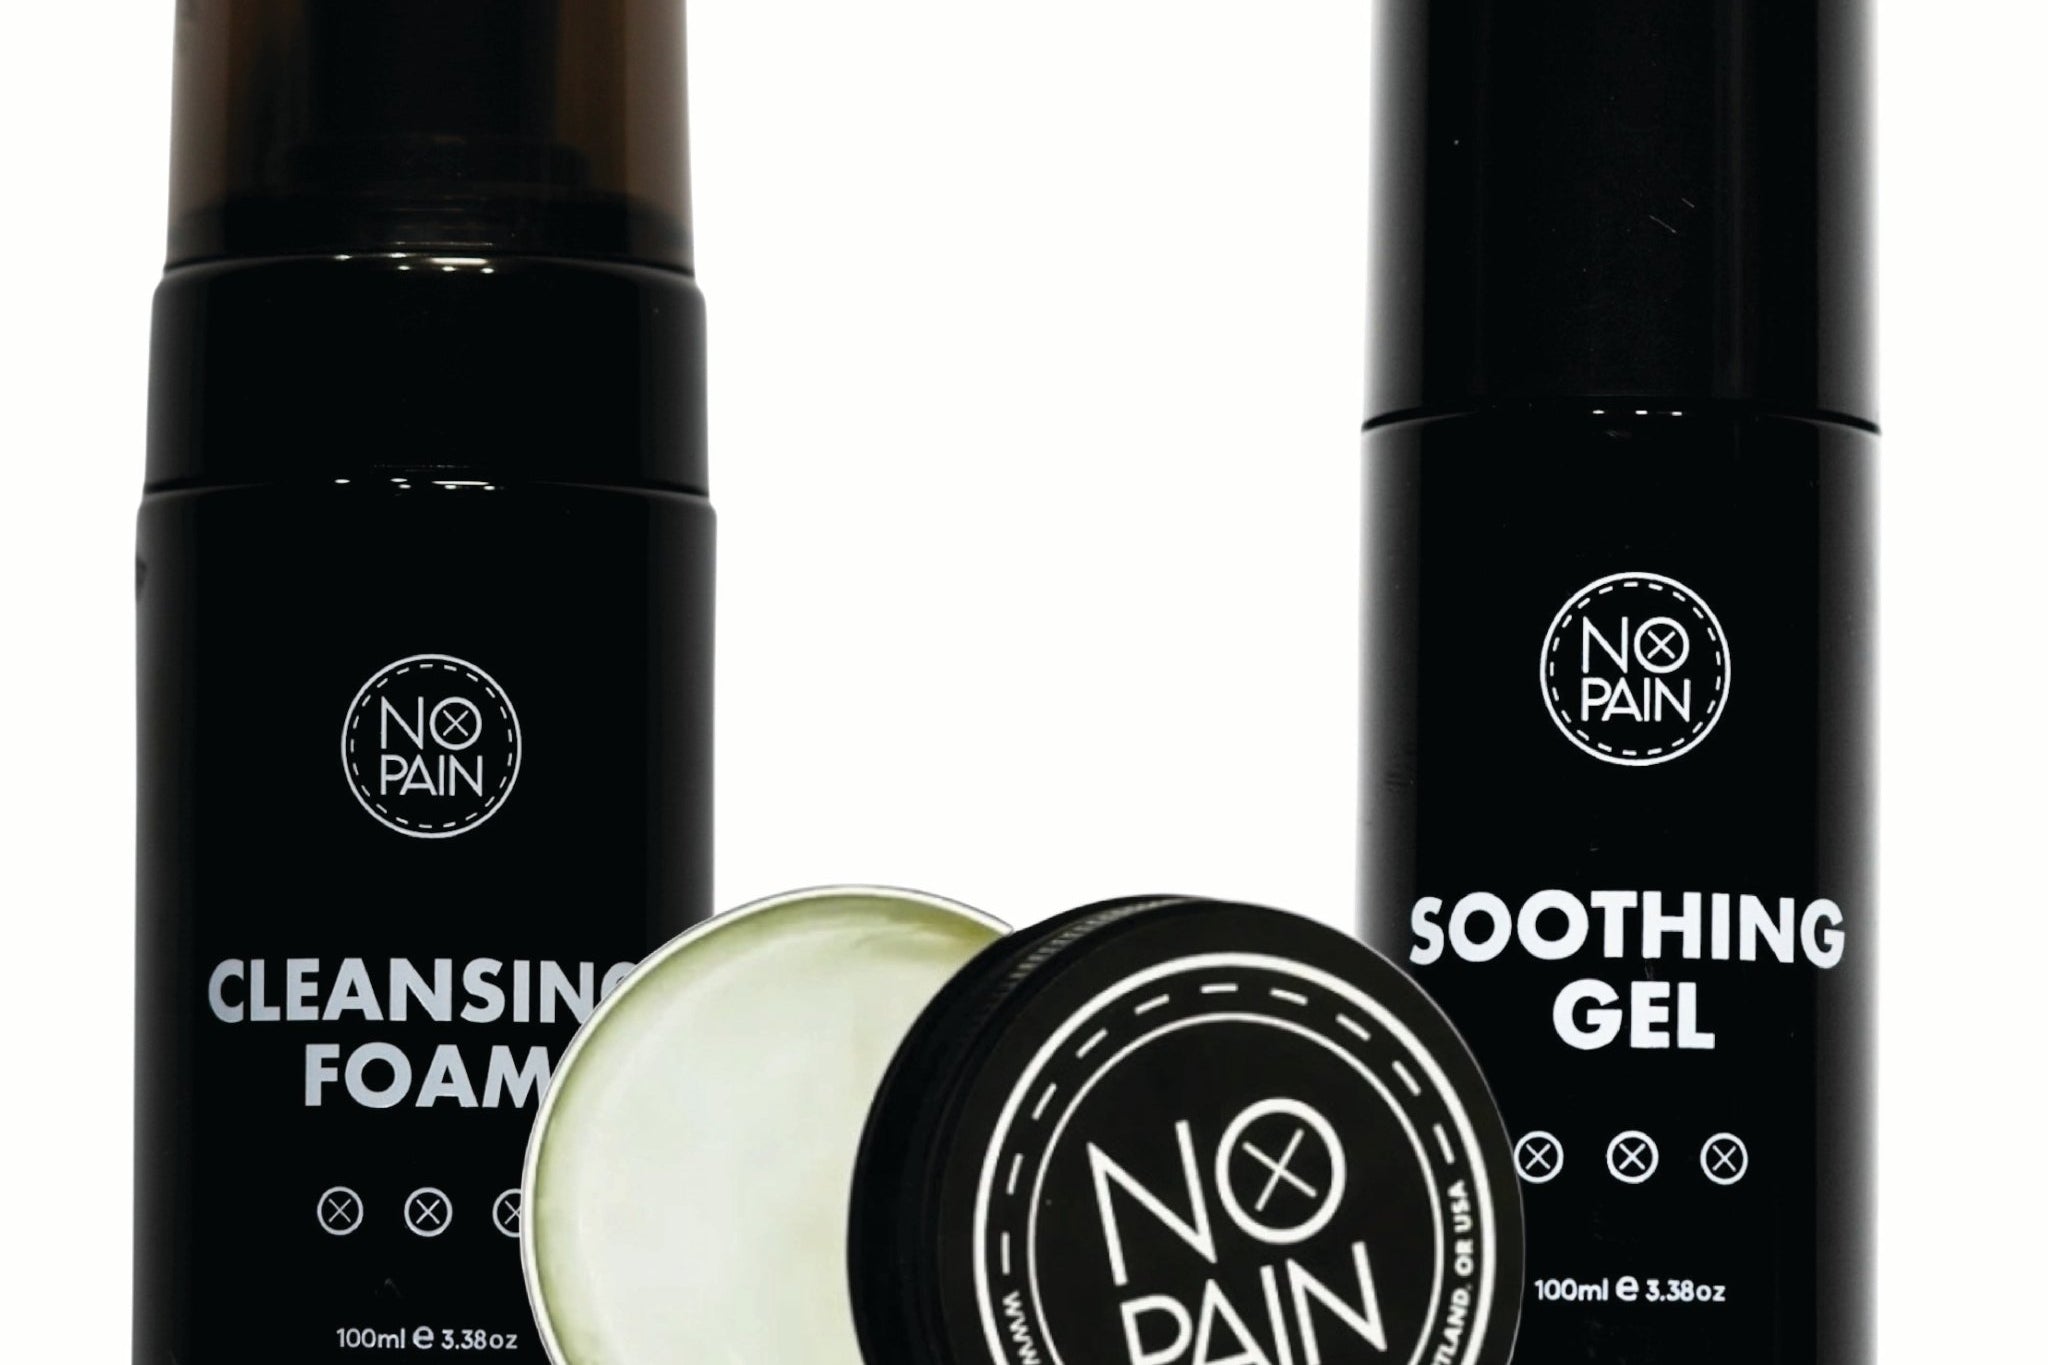
For each new session: wash twice daily with a gentle fragrance-free soap and pat dry. In the first few days (through around day 3), apply a thin layer of soothing gel after each wash to keep the surface moist without occluding it. The arm will be swollen, warm, and weeping at this scale -- that's normal. From day 3 onward, once weeping slows and the surface starts to close, transition to a nourishing aftercare balm through the peeling and settling phase. Light applications more frequently work better than one heavy coat that sits on the surface.

Lightweight cooling gel that keeps the surface hydrated without blocking airflow. Use in the first few days after each sleeve session to prevent the thick scabbing that disrupts linework and color.

Shea butter balm for the peeling and milky phase. Keeps the new skin layer nourished as it forms so each session of your sleeve heals cleanly and holds its quality.
Weeks 3 and 4: surface healing is complete for most people. The milky, slightly dull phase resolves as the new skin cells become transparent. Don't book your next session until the fresh area is fully settled and you've confirmed with your artist.
Frequently asked questions
How much does a full sleeve tattoo cost?
Realistically, $3,000 to $15,000+ depending on the artist's rate and the complexity of the work. Japanese full sleeves done by established specialists can cost considerably more over their multi-year timeline. The honest answer is that sleeve cost is determined by hours at the artist's day rate, and the artists most capable of executing a cohesive sleeve composition tend to charge more per hour. Optimizing for cost on a project this size produces poor results.
How long does it take to complete a tattoo sleeve?
Quarter sleeves: one to three sessions, often completable in a few months. Half sleeves: three to eight sessions, typically six months to a year. Full sleeves: five to twenty+ sessions, commonly one to three years. These timelines depend on how frequently you can book, how long each session runs, and how quickly each section heals. Most people underestimate how long this takes by a factor of two.
What's the most painful part of a sleeve?
The elbow ditch (the soft tissue behind the elbow joint), inner bicep, and inner forearm are consistently the hardest. The outer upper arm is the most manageable. Pain compounds across a long session, so by the time you reach the hard sections in hour three or four, the cumulative effect is more intense than if you were fresh. Numbing cream applied before the session, plus a mid-session spray for the second half, makes the difference between a session you can complete and one where you have to cut it short.
Is a half sleeve or full sleeve better as a starting point?
It depends entirely on whether you have a plan. If you know the style, have a strong sense of what you want on your arm, and are working with an artist who thinks in full compositions, start as large as you're ready to commit to: a planned half sleeve that's designed to become a full sleeve is better than a quarter sleeve that leaves an awkward gap. If you're not sure yet, a strong standalone piece on the outer upper arm gives you room to build without boxing yourself in compositionally.
Can you mix styles in a tattoo sleeve?
Sometimes yes, more often no. Deliberately mixed styles work when the contrast is intentional and the artist understands how to create visual cohesion despite the difference: a patchwork sleeve is an example of that approach. Accidental style mixing, where different sections of a sleeve were done by different artists without a plan, usually looks fragmented. If you want to mix styles, start with that conversation at the consultation and find an artist who has done it intentionally before.
How often do you need touch-ups on a sleeve?
It depends on placement and style. Outer arm panels in American Traditional or Japanese work can hold for decades with minimal touch-up. Fine-line sections, inner arm placements, and anything with light pastels or white will need attention sooner: sometimes within two to three years. Consistent SPF protection on healed work is the single biggest factor in extending the time between touch-ups. Most sleeve collectors budget for some touch-up work every few years as part of the ongoing project.
Long Sessions Deserve Real Pain Management
The arm wraps easily and absorbs well. Numbing cream for before the session, spray for mid-session top-ups on broken skin. Your artist gets a still canvas through the full appointment.
Shop the Comfort Bundle →Formulated at Historic Tattoo in Portland, Oregon. 100% money-back guarantee.