



Hip and pelvis tattoos are one of the most popular placements: they follow the body's natural curves, can be hidden or shown off at will, and work across a wide range of design styles. The pain, though, is a mixed story. The fleshy parts of the hip are surprisingly manageable. The hip bone and pelvic area are not. Here is a zone-by-zone breakdown of what to expect and how to handle it.
In this article
- Why the pain varies so much in this area
- Zone-by-zone pain guide
- How to prepare for a hip or pelvis tattoo
- How hip and pelvis tattoos heal
- Frequently asked questions
Why the Pain Varies So Much in This Area
The hip and pelvic region is one of the most anatomically varied tattoo placements on the body. Within a few inches, tissue changes from well-padded muscle and fat to thin skin stretched directly over sharp bone. That transition is what makes this area so unpredictable. A design that sits mostly on soft tissue rates around 4 out of 10; one that tracks along the iliac crest or lower abdomen can hit 9.
Three factors drive the pain in this region:
The iliac crest. This is the prominent ridge of hip bone you can feel at the top of your hip. The skin over it is thin and offers very little cushioning. When the needle works over this bone, you get the same sharp, grinding, vibrating sensation that makes shin and kneecap tattoos so difficult to sit.
Nerve density in the lower abdomen. The pelvic and lower stomach area has a high concentration of sensitive nerve endings. Even where there is no bone directly beneath, the skin is thin, reactive, and registers pain more sharply than the outer thigh or upper arm.
Soft tissue on the outer hip. The fleshier parts of the hip, particularly the hip dip area and the side toward the glute, have good muscle and fat padding. These sections absorb the needle's impact and vibration well, making the sensation much more bearable.
Zone-by-Zone Pain Guide
The fleshy hip and hip dip area: 4 to 6 out of 10
Tattoos placed on the softer outer hip, the hip dip, or extending toward the side of the glute are among the more manageable placements in the area. The padding over the muscle and fat softens the impact of every needle pass, and the sensation most people describe is a moderate scratching or burning rather than sharp pain. If your design sits primarily in this zone, the session should be very workable.
Directly on the hip bone (iliac crest): 8 to 10 out of 10
This is where the experience changes. As soon as the needle moves off the soft tissue and onto the iliac crest, the pain becomes sharp, grinding, and resonates straight through the bone. There is almost no cushion over the bone in most people, and the tattoo machine's vibration travels directly through the pelvis. This is the most difficult part of any hip tattoo.
Lower stomach and pelvic area (below the navel): 7 to 9 out of 10
Pelvic tattoos placed low on the abdomen, below the navel and toward the groin, are among the more sensitive placements on the body. The skin here is thin, stretchy, and dense with nerve endings. The sensation is a sharp, raw, burning pain similar to a stomach tattoo but often more intense near the pelvic floor. Pain management is particularly worthwhile for this zone.

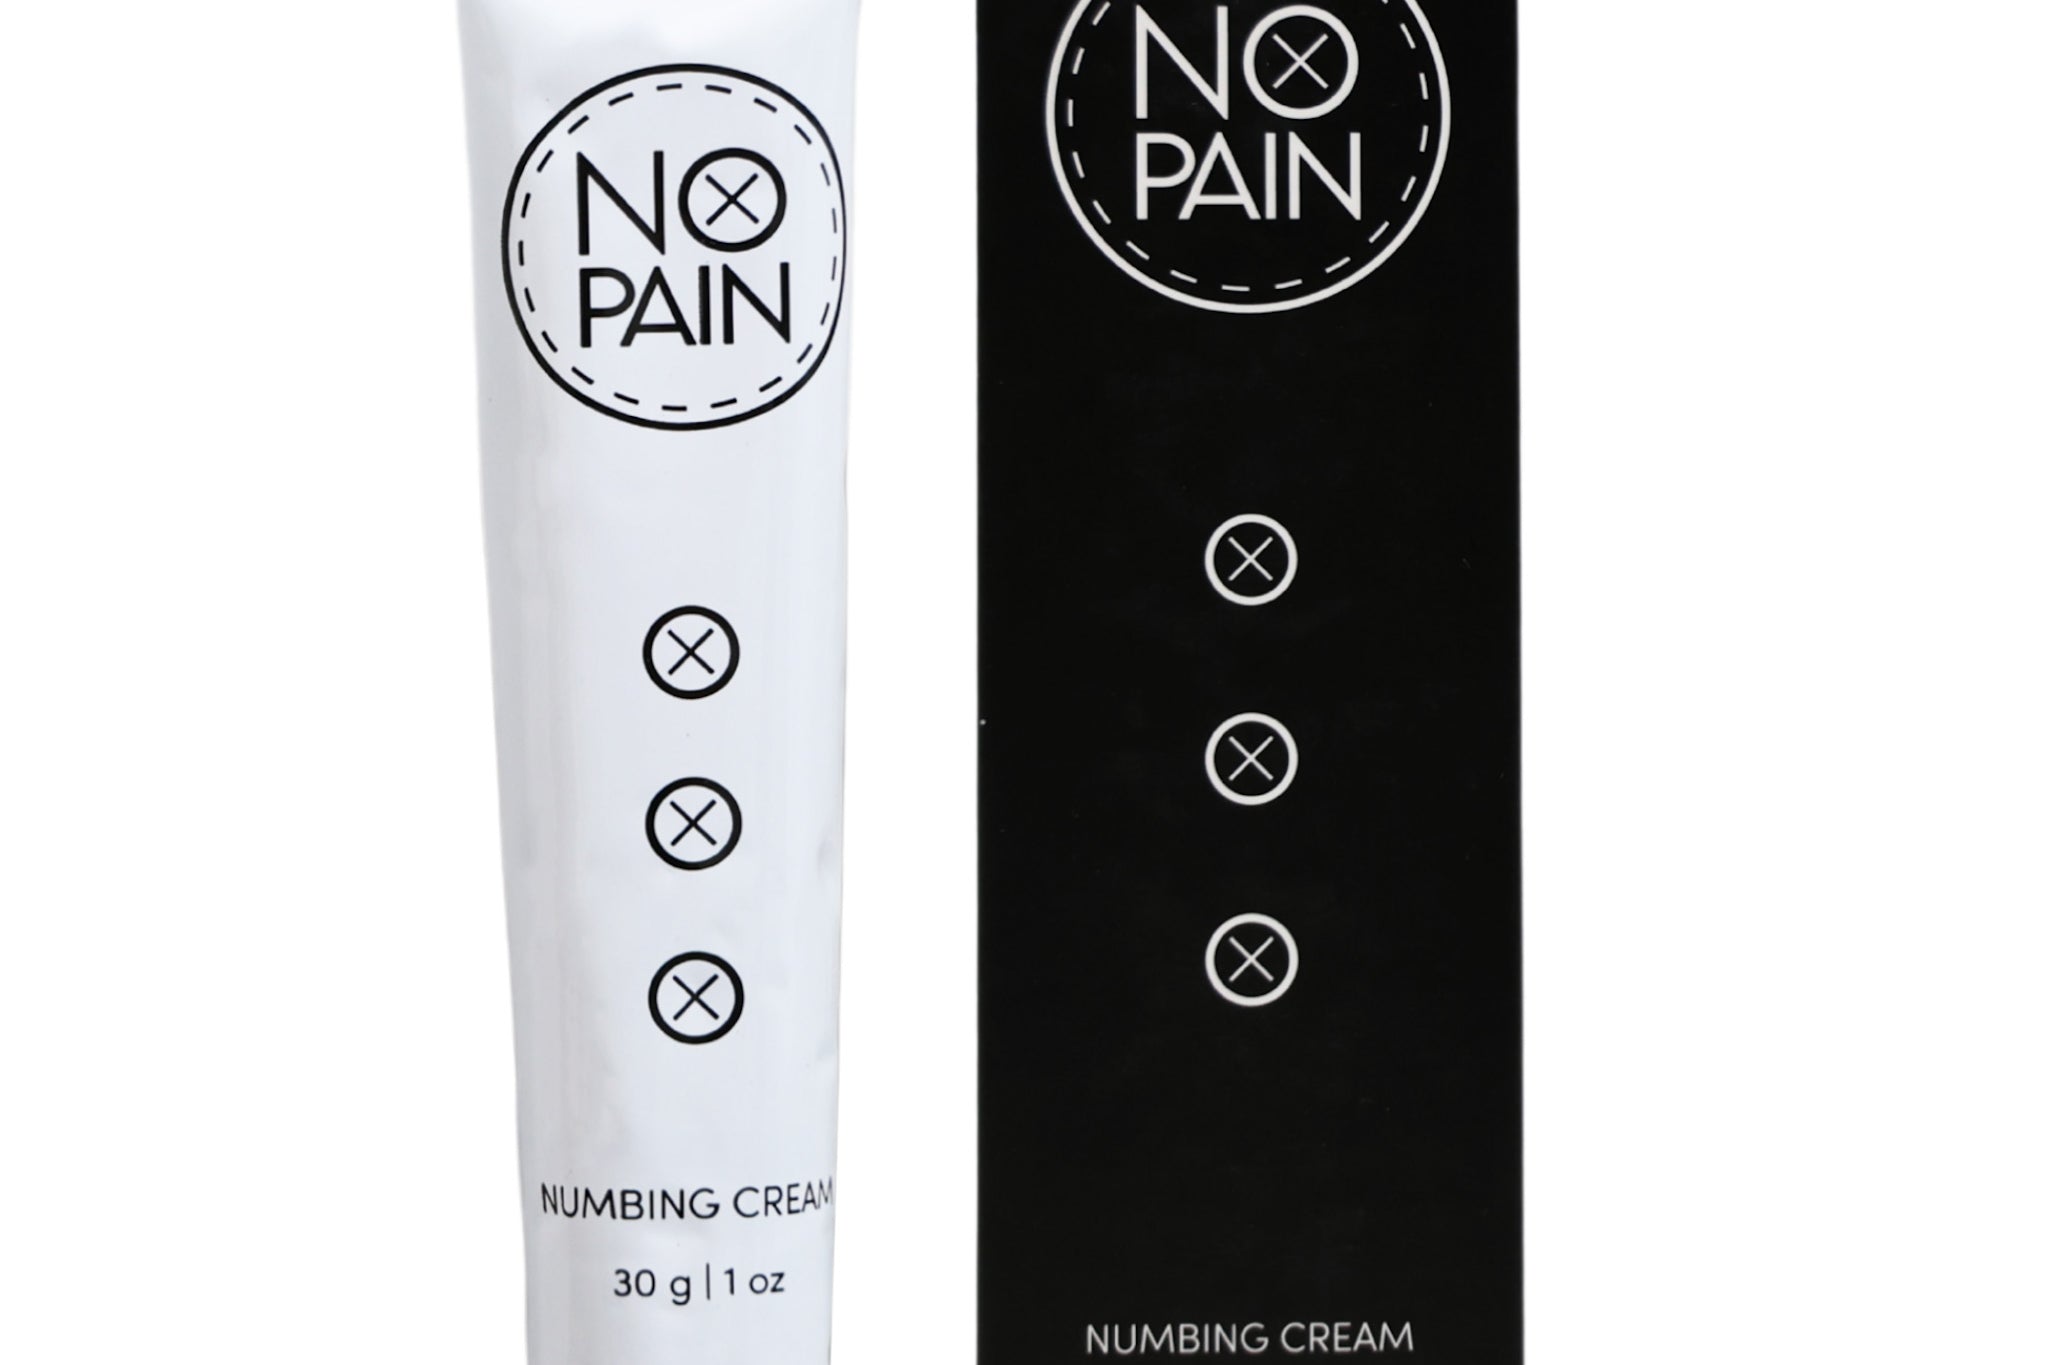
Maximum-strength numbing in a thick, slow-absorbing base. Apply 90 to 120 minutes before your session, cover with cling film, and arrive already numb. Evens out the pain across both the soft-tissue zones and the sensitive skin over the hip bone.
How to Prepare for a Hip or Pelvis Tattoo
The constant shift between manageable and intense pain as the needle moves from soft tissue to bone is one of the trickier aspects of this placement. It can cause involuntary flinching at the wrong moment, which is a problem for designs with fine lines or curves that need to be perfectly symmetrical. Good preparation changes the experience considerably.
Use numbing cream across the entire area
For a placement this variable, numbing cream is the most useful preparation you can do. Applied 90 to 120 minutes before your session and covered with cling film, No Pain Tattoo Numbing Cream numbs both the soft-tissue sections and the sensitive bony areas. This evens out the pain across the full placement, removes the jarring spike when the needle hits bone, and lets you stay relaxed and still for the entire session. Tell your artist at the consultation so they can factor it into the session plan.
Wear the right clothing
Think ahead about what you will wear to and from your appointment. Low-rise waistbands, loose-fitting shorts, or a wrap skirt avoid friction on a fresh hip or pelvis tattoo. Tight waistbands sitting directly on newly tattooed skin make the ride home uncomfortable and can irritate the work before it has started to close.
Eat before you go
High-pain placements like the hip bone and pelvic area are more likely to trigger light-headedness or a drop in blood sugar during the session. A solid meal one to two hours before your appointment is worth it.
Communicate with your artist
If the design tracks across the hip bone, your artist may choose to work the most painful sections first while you are freshest and save the softer areas for later in the session. Discussing the approach in advance is worthwhile.
How Hip and Pelvis Tattoos Heal
Hip and pelvis tattoos have a healing challenge most other placements do not: friction. The waistband of your pants, underwear elastic, and seatbelts all sit directly on this area and create constant movement against healing skin. That friction delays healing, increases the risk of irritation, and can pull on peeling skin if you are not careful.
For the first week, loose clothing is a must. Tight waistbands rubbing on a fresh tattoo cause the kind of repeated micro-trauma that slows healing. Switch to high-waisted or low-rise options that sit above or below the tattooed area, or use a soft bandage barrier between the skin and clothing during the day.
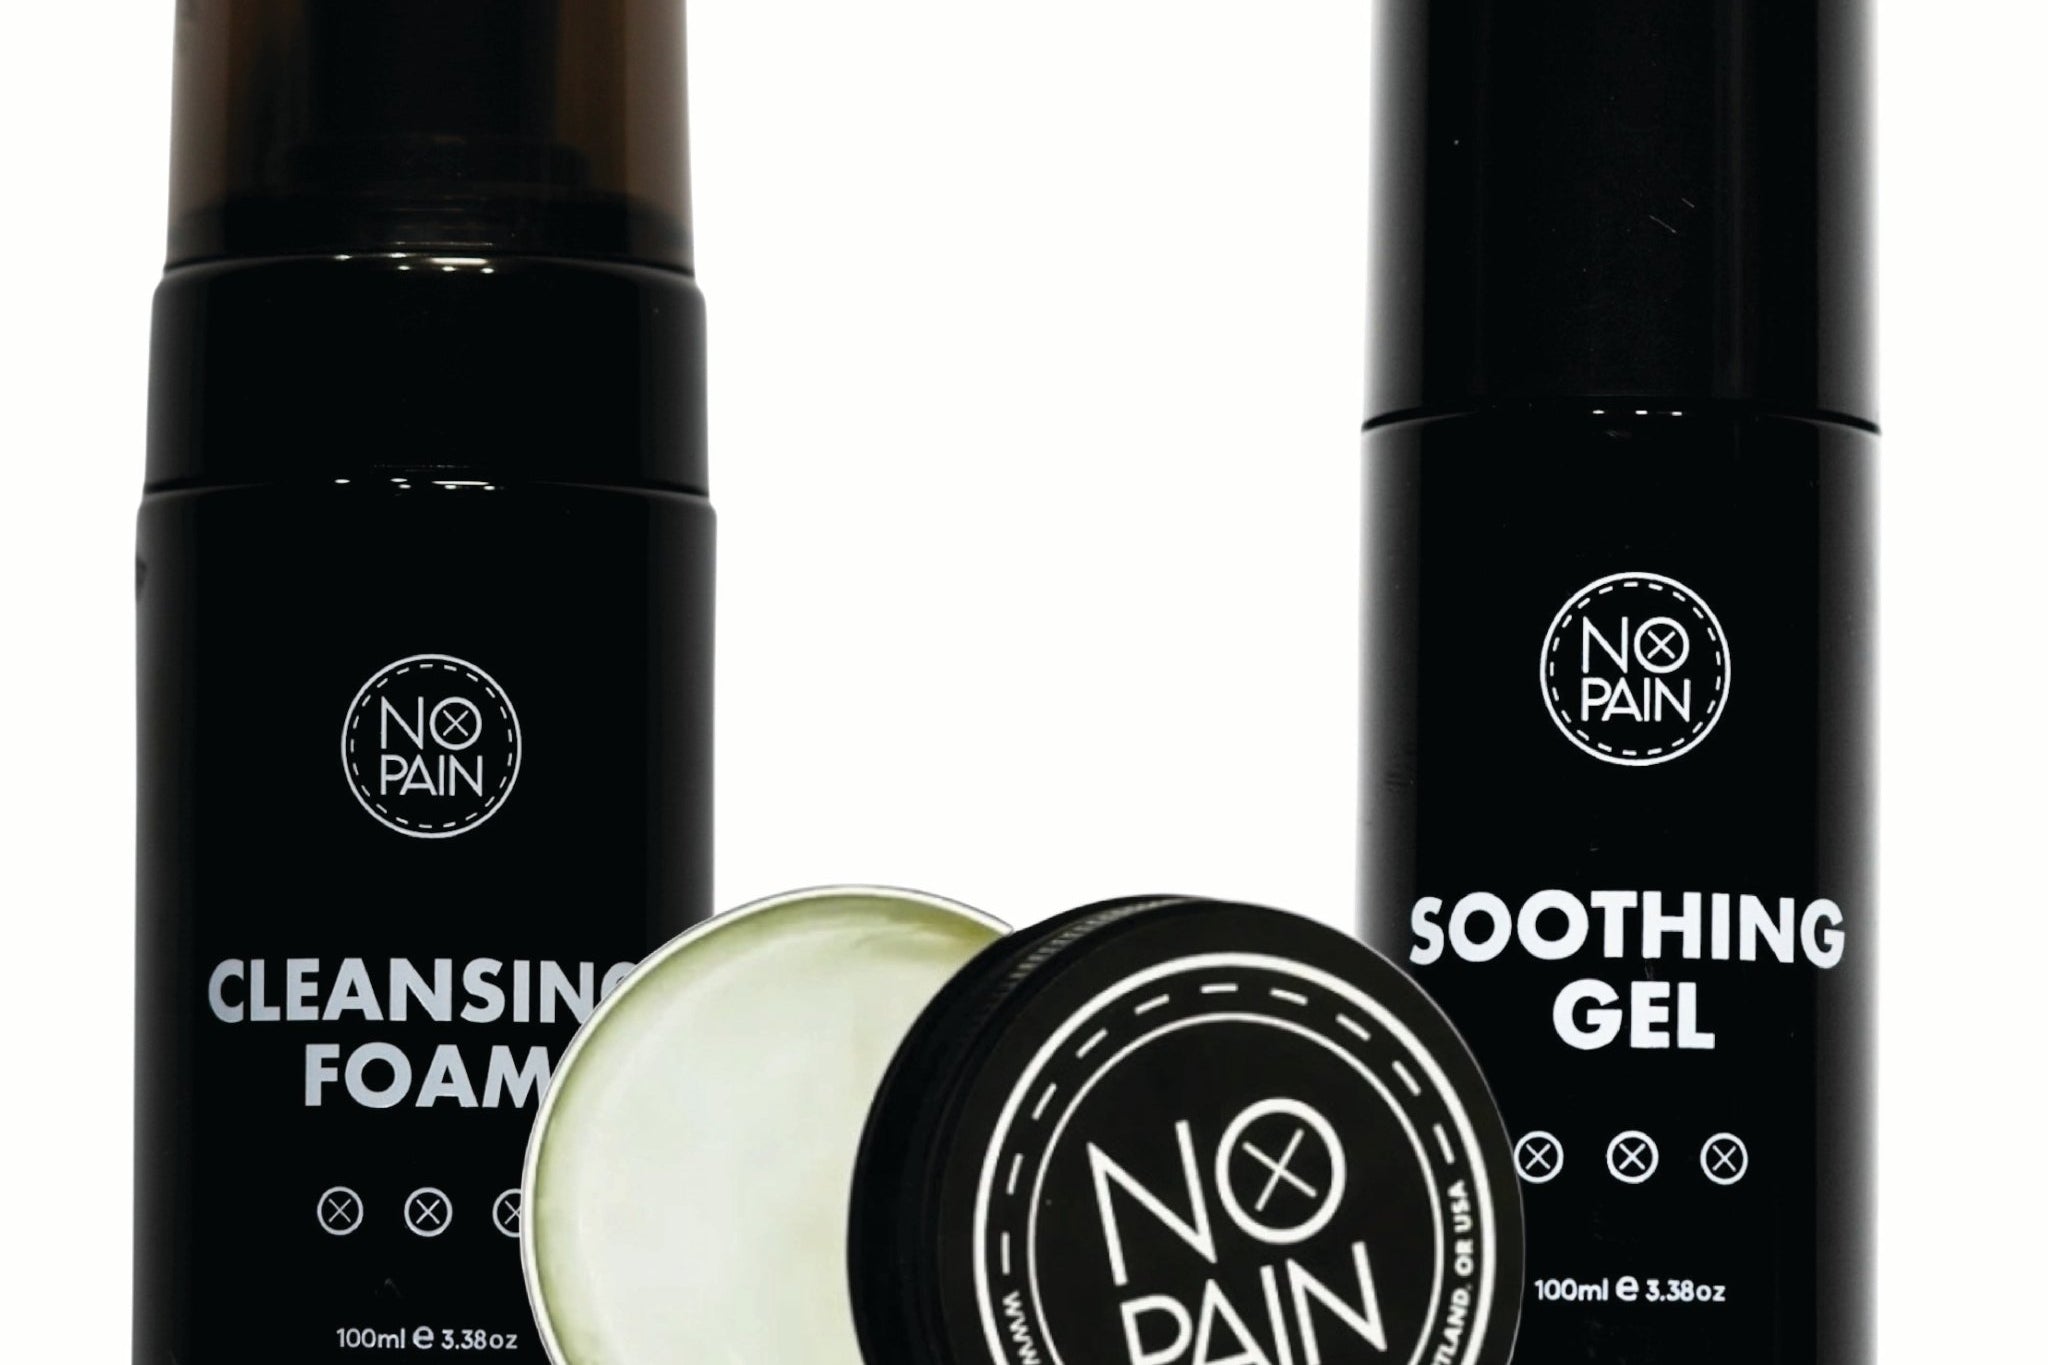
For the first three days, use a lightweight soothing gel in thin layers after washing. It calms the initial inflammation and keeps the surface from drying out. From day three onward, switch to an aftercare balm. The skin over the hip bone and lower abdomen tends to peel in a tighter, less forgiving way than more cushioned placements, and keeping it consistently hydrated helps the ink settle evenly and reduces the cracking that can disrupt the heal in this zone.

Shea butter-based balm that keeps healing skin hydrated and supple. Apply in thin layers from day three onward to prevent the dry, cracking peel that hip and pelvis tattoos are particularly prone to. Formulated at Historic Tattoo in Portland.
Frequently asked questions
How bad does a hip tattoo hurt?
The answer depends almost entirely on where the design sits. Fleshy parts of the hip, like the hip dip and the side toward the glute, are manageable at around 4 to 6 out of 10. Tattoos that track directly over the iliac crest jump to 8 to 10 out of 10, with a sharp, grinding, vibrating sensation. A design that spans both zones will move between the two as the session progresses.
Do hip dip tattoos hurt?
Less than most hip placements. The hip dip sits on the softer, fleshier part of the outer hip rather than over bone, which means the padding absorbs much of the needle's impact. Most people rate the hip dip at 4 to 6 out of 10. It is one of the more comfortable areas in the hip region, which is part of why it has become a popular placement for larger floral and flowing designs.
How painful are pelvic tattoos?
Pelvic tattoos, particularly those placed low on the abdomen near or below the hip bones, are among the more painful placements on the body. The skin in this area is thin, stretchy, and has a high concentration of nerve endings, producing a sharp, burning sensation. Most people rate the lower pelvic area at 7 to 9 out of 10. Numbing cream applied well before the session changes what this placement feels like.
Can you use numbing cream for a hip or pelvis tattoo?
Yes, and it is particularly useful for this placement. Because the pain shifts so much between the soft-tissue zones and the bony areas, numbing cream helps smooth out those spikes and keeps you relaxed for the full session. Apply No Pain Tattoo Numbing Cream to the full area 90 to 120 minutes before your appointment, cover with cling film, and have your artist wash it off with green soap before starting. Always give your artist a heads-up at the consultation.
Do hip tattoos hurt more for women?
The pain experience varies more by body composition and individual pain tolerance than by gender. People with less body fat over the iliac crest will feel the bony sections more intensely regardless of gender. Some women report the lower pelvic and lower abdominal zones as particularly sensitive, but this varies widely between individuals.
How long do hip and pelvis tattoos take to heal?
Surface healing typically takes three to four weeks. The main complication for this placement is friction from clothing, particularly waistbands and underwear elastic, which can slow the heal and cause irritation. Loose-fitting clothing for the first one to two weeks helps considerably. Keeping the area consistently moisturized from day one prevents the tight, cracking peel common in placements over bone.
Make Your Hip Session as Comfortable as Possible
Numbing cream applied 90 to 120 minutes before your session evens out the pain across every zone, from hip dip to hip bone. Apply two coats, cover with cling film, and arrive already numb. 100% money-back guarantee.
Shop Numbing Cream →Formulated at Historic Tattoo in Portland, Oregon. 100% money-back guarantee.