
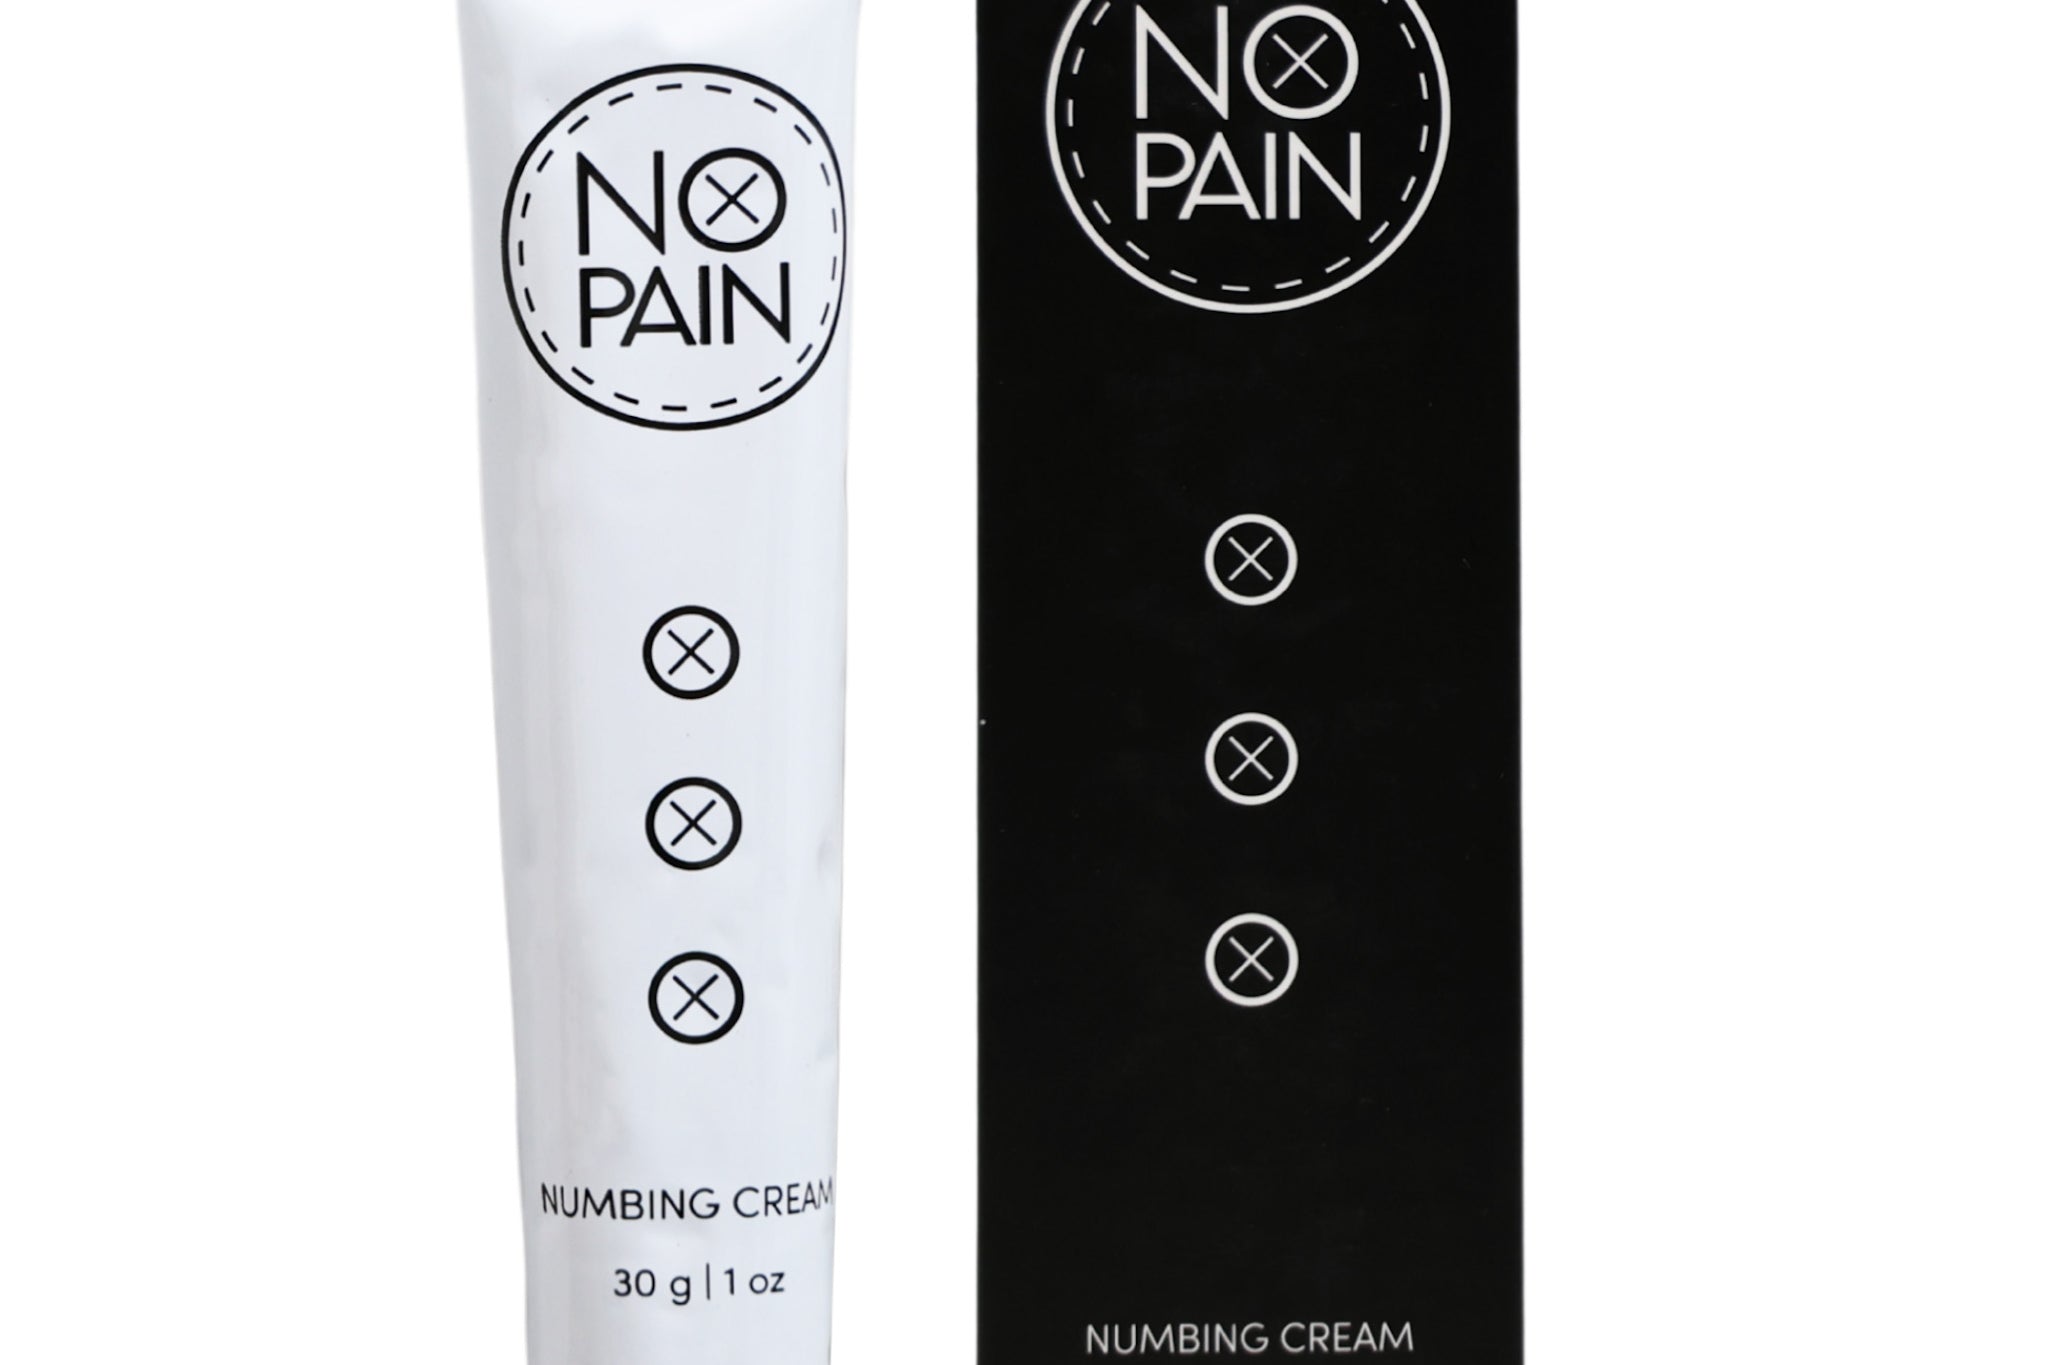


Yes. Numbing cream applied correctly before a tattoo is safe, works well, and is increasingly standard at studios that work with experienced clients. The short version: apply a maximum strength lidocaine cream 90 to 120 minutes before your session using the two-coat method, wrap with cling film, and let your artist clean it off before they start. The skin will be numb and completely workable.
The longer version - what artists actually think, what the myths get wrong, and how to apply it so it actually works - is below.
In this article
- What artists actually think about numbing cream
- Three myths, debunked
- How to apply it correctly
- When you should definitely use it
- Frequently asked questions
What Artists Actually Think About Numbing Cream
The "artists hate numbing cream" reputation is outdated and overstated. It comes from a real experience - older creams that were greasy, didn't absorb properly, and left a slick film on the skin surface that made stencil adhesion difficult and gave the skin an unusual texture to work on. Artists who dealt with those products in the early days had legitimate complaints, and the reputation stuck.
What most of them were reacting to was a formulation problem, not a numbing-as-concept problem. A cream that doesn't fully absorb and leaves residue is a problem. A properly formulated cream that absorbs during the 90 to 120-minute window and wipes off cleanly with green soap is not.
Most working artists today are comfortable with numbing cream as long as two things are true: they know in advance (not a surprise on the day), and the cream cleans off completely before work starts. Tell your artist at your consultation, not in the chair. That conversation almost always goes fine.

Maximum strength lidocaine in a thick, slow-absorbing base. Absorbs cleanly during the 90 to 120-minute window and wipes off completely before the session starts. Formulated at Historic Tattoo in Portland.
Three Myths, Debunked
"It ruins the ink or affects how the tattoo heals"
No. Lidocaine works at the nerve ending level - it temporarily blocks the sodium channels that pain signals travel through. It has no interaction with tattoo pigment, which is a large particle mechanically deposited into the dermis by the needle. These two things are operating in completely different layers on completely different timescales. Once your artist wipes the cream off and the session starts, the lidocaine that's been absorbed processes out naturally over the following hours. There's no trace of it by the time you're home doing aftercare.
For a full breakdown of this, see Does Tattoo Numbing Cream Affect the Ink or Healing?
"It makes skin rubbery and hard to tattoo"
This one comes from old products. Early tattoo numbing creams were petroleum-based, didn't absorb, and left a greasy film that disrupted stencil adhesion and changed the skin's working texture. Artists who used those products were dealing with a real problem - they just attributed it to numbing cream as a category rather than to a specific formulation failure.
A properly formulated cream absorbs into the skin across the 90 to 120-minute application window and cleans off completely when your artist wipes the area with green soap. The skin that's left is numb with completely normal texture. No film, no residue, no stencil issues.
"It's cheating"
This one doesn't hold up. Tattooing is a paid service that produces permanent art. A still, comfortable client is better for the outcome than a client who's flinching, tensing, and pulling away from every pass. Your artist gets cleaner lines, smoother shading, and more consistent color when they're not working against a moving canvas. Using numbing cream doesn't make you less committed to the tattoo. It makes the session better for everyone in the room.
How to Apply It Correctly
The application method is where most people go wrong. A thin smear applied 30 minutes before the session produces surface numbing that's gone before the outline is finished. Done correctly, numbing cream produces deep, consistent coverage that holds through two to four hours of work.
Start with clean, dry skin. Wash the area with mild soap, rinse, and pat completely dry 90 to 120 minutes before your appointment. Any lotion, oil, or residue on the surface slows absorption.
Apply a thin first coat and rub it in gently. This primes the skin and starts the absorption process. Think of it as the foundation layer - it doesn't need to be thick, it just needs full coverage.
Apply a thick second coat on top without rubbing it in. This is the frosting layer. It sits visibly on the surface and feeds the absorption process gradually across the full window. You should see a visible white coat when you're done - not skin peeking through.
Wrap the area tightly with cling film. The wrap seals in body heat, opens the skin slightly to absorption, and keeps the cream from drying out and losing contact with the surface. Secure it so it stays in place on the way to the studio.
Wait the full 90 to 120 minutes. Most of the numbing builds in the second half of the application window. Pulling the wrap at 45 minutes gives you a fraction of what's possible. Leave it until your artist removes it.
Let your artist clean the area. They'll remove the wrap and wipe the skin with green soap before starting. That's it. You'll feel numb. They'll work on normal skin texture. Session starts.
When You Should Definitely Use It
First tattoo
You don't know yet how you respond to tattoo pain, and you don't know how long the session will run. Starting numb removes the uncertainty and lets you focus on the experience rather than managing pain. A good first session makes you more likely to come back. A brutal first session on a painful placement without any preparation doesn't have to be the standard.
Painful placements
Ribs, spine, collarbone, elbow ditch, knee ditch, shin, ankle, inner arm - these are the placements where clients most often struggle. Thin skin directly over bone or nerve clusters means the pain hits harder and the numbing from a proper application is more noticeable. If you've chosen one of these spots, numbing cream is the move.
Sessions over two hours
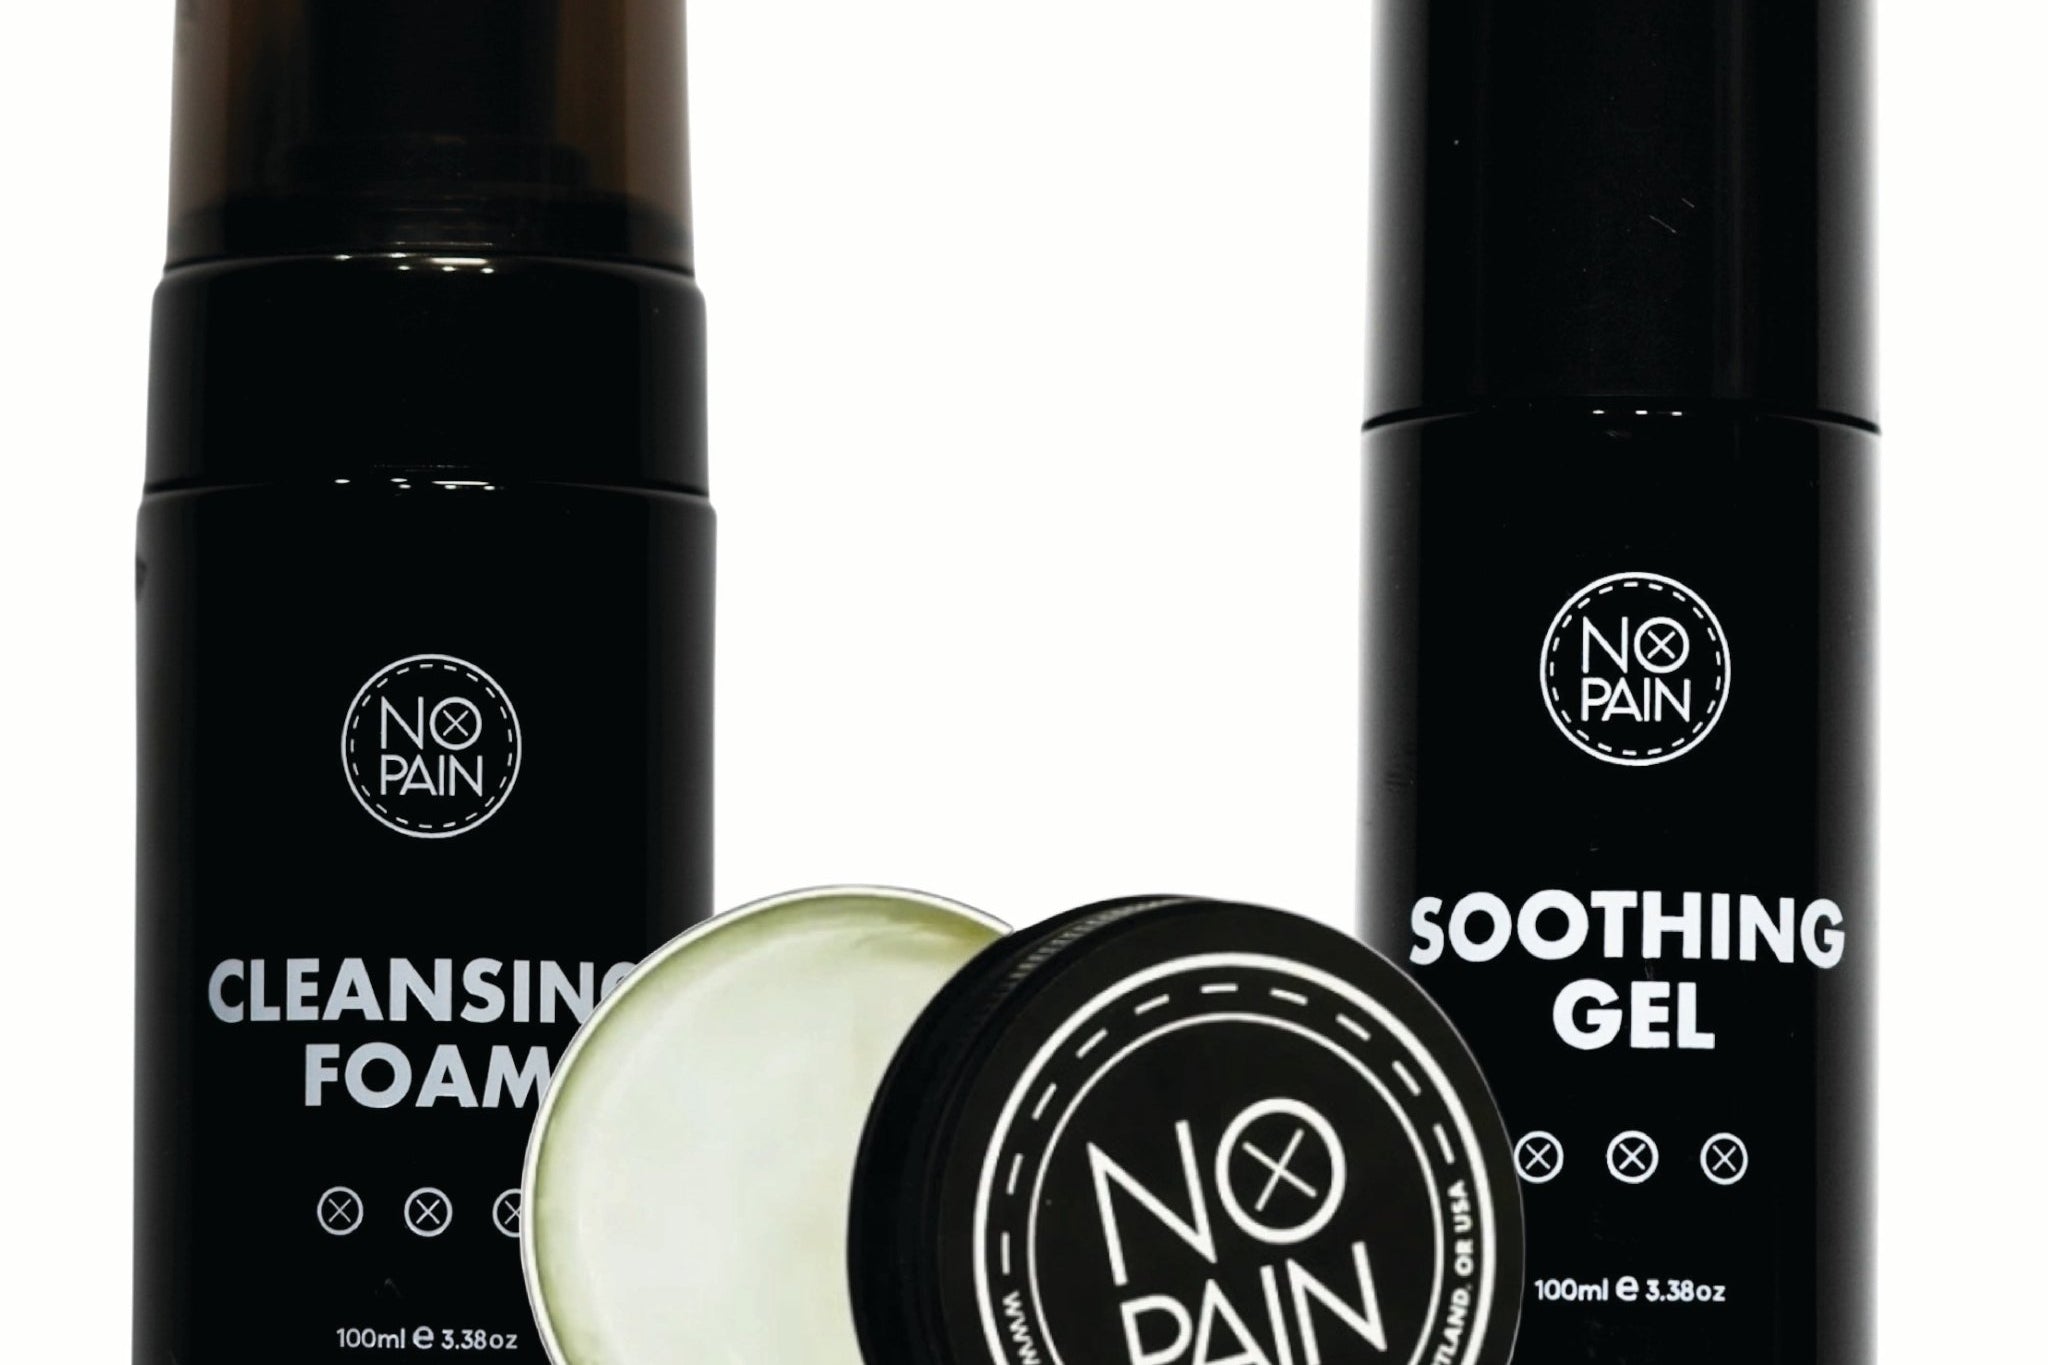
Pre-session cream covers two to four hours from the point the wrap comes off. For sessions running longer than that - full sleeves, back pieces, large multi-zone work - the Comfort Bundle pairs the cream with a mid-session numbing spray. You apply the cream at home, and your artist uses the spray mid-session on broken skin when coverage starts to thin. It's the complete setup for an all-day session.

Pre-session cream plus mid-session spray for broken skin. Covers the full session from first outline to final shading pass. Built for tattoos that run longer than two hours.
Frequently asked questions
Can you use numbing cream before a tattoo?
Yes. Numbing cream applied to clean, intact skin 90 to 120 minutes before a session - using the two-coat method under cling film - is safe, effective, and increasingly standard at professional studios. The cream absorbs during the application window, your artist cleans it off with green soap before starting, and the skin is numb with normal workable texture. Tell your artist at your consultation, not on the day, and the conversation almost always goes smoothly.
Will my tattoo artist be okay with me using numbing cream?
Most are fine with it, as long as you tell them in advance and the cream they're working with wipes off cleanly. The reputation for artists being against numbing cream comes from older products that left residue and disrupted the skin's texture. A properly formulated cream that absorbs and wipes clean doesn't cause those problems. Bring it up at your consultation, let your artist see what product you're using, and give them the chance to clean the area themselves before starting.
How long before a tattoo should I apply numbing cream?
90 to 120 minutes before your session starts. Apply it at home on clean, dry skin - thin first coat rubbed in gently, thick second coat left sitting on the surface - then wrap with cling film and leave it until your artist removes it. For particularly painful placements like ribs or the spine, going the full two hours gives the lidocaine more time to build to depth. Don't pull the wrap early to check - the coverage builds in the second half of the window.
Does numbing cream affect how the tattoo turns out?
No. The lidocaine works on nerve endings and has no interaction with tattoo ink or the healing process. Once your artist wipes the cream off before starting, it clears your skin naturally over the following hours. The final healed tattoo looks exactly the same as one done without numbing. If anything, less flinching during the session means your artist can work more consistently, which can only improve the result.
How long does numbing cream last during a tattoo session?
Two to four hours from the point the wrap comes off, for a properly applied maximum strength cream. The numbing builds across the 90 to 120-minute application window, holds steadily through the outline and early shading, and then fades gradually. Most people notice it starting to thin around the 90-minute to two-hour mark in the session. For sessions running longer than that, a mid-session spray applied by your artist on broken skin extends coverage through the later passes.
Is numbing cream safe to use for tattoos?
Yes, when using a compliant over-the-counter product at the correct dosage. OTC topical lidocaine concentrations are regulated by the FDA, and products within those limits applied to a standard tattoo area are well within established safety margins. The products to avoid are those claiming concentrations above the OTC maximum - those aren't compliant and carry real risks of systemic absorption at high concentrations. A compliant maximum-strength cream, applied as directed, is safe.
Yes, You Can. Here's Everything You Need.
Maximum strength numbing cream in a thick, slow-absorbing base. Two-coat method, 90 to 120 minutes, cling film. The result is a session that's 100% numb from the first pass.
Shop Numbing Cream →Formulated at Historic Tattoo in Portland, Oregon. 100% money-back guarantee.