



A biomechanical tattoo is a style of body art that creates the illusion of machinery, robotics, or organic alien structures beneath the skin, as if the surface has been peeled back to reveal what's underneath. It combines hyper-realistic shading, anatomical flow, and incredible detail to produce a genuine 3D effect. The result looks less like a tattoo and more like a window into a different version of your body.
This guide covers everything you need to know: where the style came from, how it works, the best placements, what to look for in an artist, how long sessions run, and how to prepare for one of the most demanding tattoos you can get.
In this guide
- What a biomechanical tattoo actually is
- Where the style came from
- Style variations
- Best placements
- How to find the right artist
- How long sessions take and what they cost
- Pain levels by placement
- How to prepare
- Healing a large piece
- FAQ
What a biomechanical tattoo actually is
The defining feature of a biomechanical tattoo is the illusion of depth. The design is built to look like the skin has split or been pulled aside, revealing a layer of machinery, pistons, cables, hydraulics, or alien organic structures underneath. Unlike most tattoo styles, which sit visually on top of the skin, biomechanical work is designed to appear to exist inside the body.
To pull this off, the artist relies on a specific set of techniques: precise shading that creates the impression of three-dimensional form, highlights that make metallic surfaces catch light, and careful attention to how the design interacts with the actual anatomy of the person wearing it. A biomechanical tattoo on an arm should look like it belongs to that arm: cables following the line of the bicep, plates wrapping around the elbow, pistons suggesting the movement of the forearm muscles underneath.
The style is almost always done in black and grey, because colour tends to flatten the 3D effect. The illusion depends on contrast: dark shadows and bright highlights working together to suggest depth and volume. Color elements occasionally appear (glowing wires, exposed circuitry), but they are usually accents rather than the main event.
Where the style came from
Biomechanical tattooing traces its origins directly to H.R. Giger, the Swiss artist who designed the alien creatures and environments in Ridley Scott's 1979 film Alien. Giger coined the term "biomechanical" to describe his own aesthetic: a fusion of biological and mechanical forms that was both organic and industrial, alien and disturbingly familiar.
His paintings, dense, grey, intricate, and deeply unsettling, showed bodies where the line between flesh and machine had been erased entirely. Early tattoo artists in the 1980s recognized that Giger's visual language translated naturally to skin. The three-dimensional quality of his work, the way his structures suggested depth and interior complexity, was exactly what hyperrealistic tattooing could replicate.
Artists like Guy Aitchison were central to developing biomechanical tattooing as a distinct style through the 1990s, experimenting with how to make organic and mechanical forms flow around the body in ways that looked anatomically correct rather than applied. The technique spread as the style gained a cult following, and it remains one of the most technically demanding and visually distinct genres in tattooing today.
Style variations
Classic biomechanical. The original Giger-influenced approach: exposed pistons, hydraulic tubes, metallic bone structures, and organic alien flesh merging together. Almost always black and grey. Dark, dense, and technically demanding.
Robotic / mechanical. A cleaner, harder-edged take that focuses on industrial machinery: gears, bolts, plates, circuitry, rather than the organic alien forms of classic biomech. The look is more sci-fi android than Alien creature.
Neo-biomechanical. A contemporary evolution that incorporates colour, geometric elements, and abstract forms alongside the traditional 3D machinery. More flexible visually, and sometimes combined with other styles like watercolour or geometric tattooing.
Cyberpunk / tech. Emphasizes exposed wiring, circuit boards, LED-style glowing elements, and hard technological surfaces. Heavier on colour, often paired with blue or green glowing components that suggest active electronics.
Most artists working in the style blend elements from across these categories rather than adhering strictly to one.
Best placements
Full sleeve (arm). The most common and arguably the ideal canvas for biomechanical work. The cylindrical shape of the arm gives the illusion of genuine depth: designs can appear to wrap around the arm and disappear behind it. A biomechanical sleeve gives the artist 30 to 50+ square inches to build a coherent, anatomically-integrated piece. This is where the style shows best.
Upper arm and bicep. A good entry point for biomechanical work if you're not ready for a full sleeve. The bicep's muscle mass gives the artist something to work with in terms of anatomical reference, and pieces here can be extended later.
Back. A full back piece in the biomechanical style is among the most ambitious tattoos a person can get. The large flat canvas allows for extraordinary detail and complexity, though the style works better when anchored to specific anatomical features rather than spread flatly across the back.
Leg sleeve / thigh. The leg offers a similar cylinder dynamic to the arm, making it a strong alternative canvas for the style. Upper thigh and calf pieces are both viable; the calf's muscle mass makes it particularly well suited.
Chest. Works well when designed to follow the pectoral muscle and flow around the shoulder, integrating with a sleeve. Chest pieces tend to be part of larger compositions rather than standalone biomechanical work.
What to avoid as a starting point. Small placements (hands, wrists, behind the ear) are poor choices for biomechanical work. The style requires scale to function. On a small area there isn't enough room to build the depth that makes the illusion work, and detail gets lost as the tattoo ages.
How to find the right artist
Biomechanical tattooing is a specialist discipline. A generalist artist, even a technically skilled one, is not the right choice for this style. You need someone whose portfolio shows that they live in this world.
What to look for in a portfolio. Healed work, not just fresh photos. The 3D illusion in a biomechanical tattoo depends on shading that holds over time, and a portfolio showing only fresh pieces doesn't tell you whether the work will last. Look for pieces that are two or more years old. Check whether the depth still reads. Check whether the highlights are still clean or whether they've blown out into grey.
Freehand vs. stencil. The best biomechanical work is usually designed to flow with your specific anatomy, which means a good artist will want to draw directly on you, or at least substantially adapt a reference design rather than applying a generic stencil. If an artist isn't asking questions about your body structure or isn't planning to customize the design to your specific arm or leg, that's a warning sign.
Expect a consultation. A reputable biomechanical artist will want to meet before booking a session. They need to understand what you're going for, assess the canvas, discuss how the design will flow, and plan the sessions. An artist who books you immediately without a consultation isn't approaching the project with the care it requires.
Size of waitlist. Sought-after biomechanical artists often have waitlists of six months to a year or more. If an artist specializing in this style has immediate availability, ask why. It doesn't always mean something is wrong, but it's worth being curious about.
Artists worth knowing
Guy Aitchison (@guyaitchisonart) is widely regarded as one of the founding figures of biomechanical tattooing as a fine art discipline. He began tattooing in Chicago in 1988 and spent the 1990s developing the organic, flowing approach to biomech that most artists working in the style today trace back to him. His work leans toward abstract psychedelic realism rather than strict machinery, and his book Reinventing The Tattoo remains one of the most comprehensive educational resources in the industry. He works out of Southern Illinois.
Eric De L'étoile (@ericdeletoile) is a Quebec-based artist who has built one of the most recognizable bodies of biomechanical work in contemporary tattooing. His pieces are almost exclusively black and grey, built around a philosophy that biomech represents what he describes as "the absolute failure of life on earth": dark, organic, and deliberately unsettling. He uses shadow with unusual precision to create the impression of depth and movement, and his work consistently reads as something beneath the skin rather than on top of it.
How long sessions take and what they cost
Biomechanical tattoos are among the most time-intensive work in tattooing. The layered shading, the intricate detail, and the need to build up depth gradually means sessions are long and the total investment is high.
A full sleeve: Expect eight to fifteen sessions of four to six hours each, depending on complexity, detail level, and how quickly you heal between appointments. Some sleeves take longer. A realistic total time investment for a completed biomechanical sleeve is 50 to 100+ hours of work.
A large standalone piece (thigh, back panel, chest): Four to eight sessions of similar length, again depending on complexity.
Cost. In-demand biomechanical artists typically charge $200 to $400+ per hour. A full sleeve will cost $5,000 to $15,000 or more before tip, spread across multiple sessions over months or years. You are paying for a specialist with an unusual skill set and a long booking list, and the price reflects that.
How sessions are structured. Artists typically start with the outline and foundational shading, then build depth in subsequent sessions as the skin has healed and settled. You will not be able to see the finished 3D effect until multiple sessions are complete: the depth emerges gradually as the shading layers are built up.
Pain levels by placement
Upper arm / bicep: Moderate. The muscle mass here absorbs the needle well. Most people find the outer arm manageable, with the inner arm and the ditch (inside of the elbow) being more intense.
Forearm: Generally lower pain. The forearm is one of the more forgiving placements for long sessions.
Elbow ditch (inner elbow): High. Thin skin over a joint with dense nerve concentration. Most people who've done biomechanical sleeves identify the ditch as the worst part of the arm.
Calf: Moderate to high. The calf muscle itself isn't bad, but work near the back of the knee or the shin can be intense.
Back: Variable. The upper back and shoulder area are generally manageable. The spine, lower back, and ribs are considerably more painful.
Chest: Moderate to high. The area near the sternum and collarbone is especially sensitive.
The larger reality with biomechanical work is that the sessions are long. Even a manageable pain level becomes wearing after three or four hours. By hour five or six, your body is tired, your skin is irritated, and the nervous system has been through a sustained amount of stimulation. This is where preparation and pain management matter.

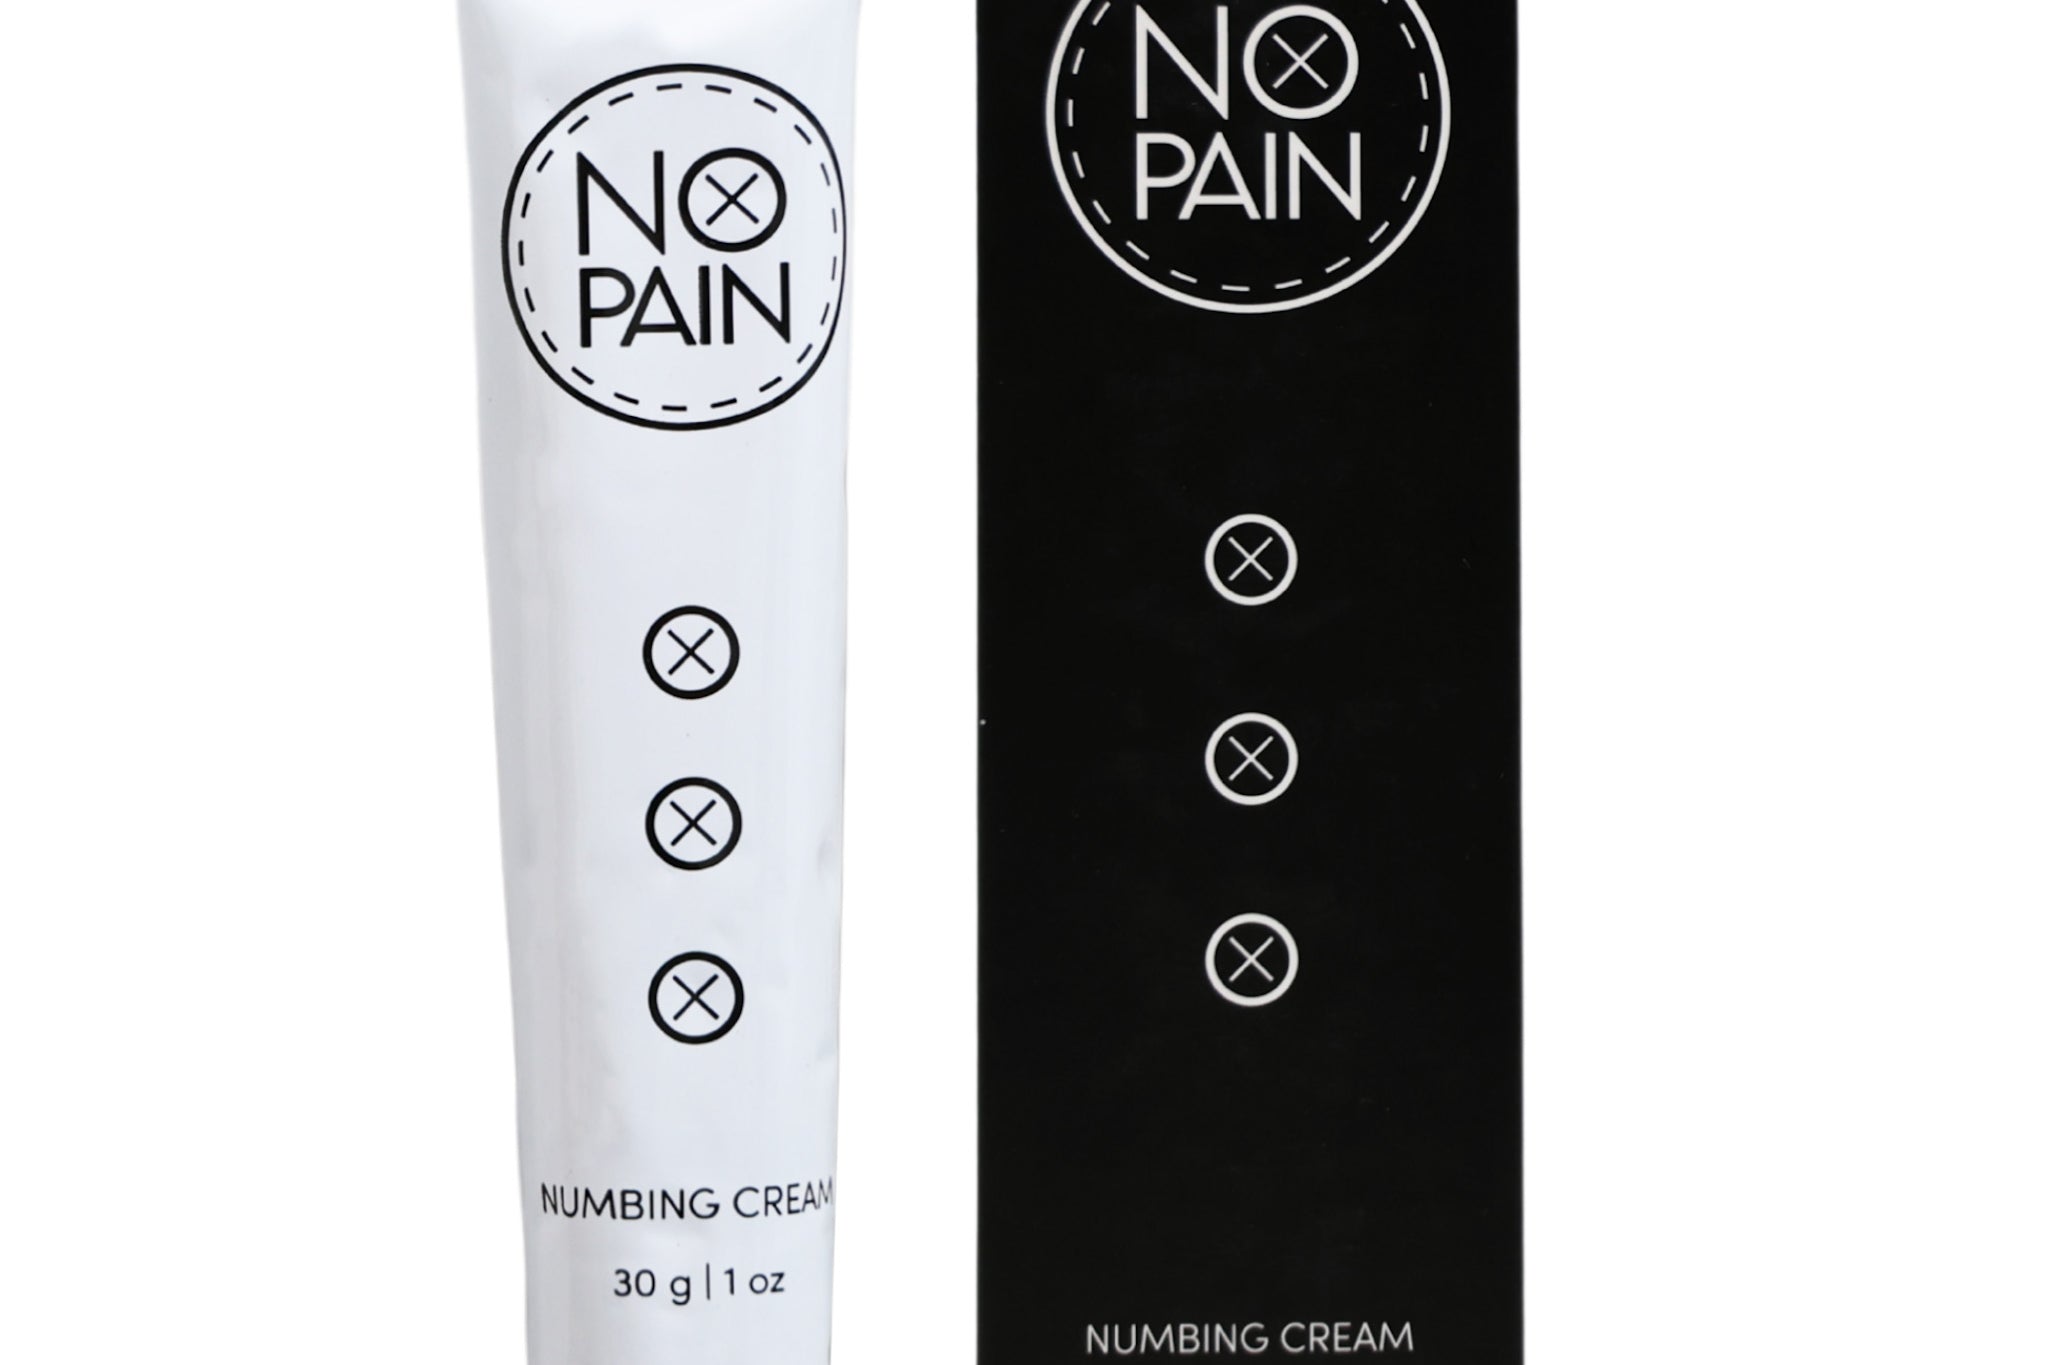
Biomechanical work means long sessions. The Comfort Bundle pairs maximum strength numbing cream for the first part of your session with numbing spray for top-ups on broken skin later on. Apply the cream in two coats under cling film 90 to 120 minutes before your appointment. Use the spray mid-session whenever the numbness starts to fade. Backed by a money-back guarantee.
Shop Comfort Bundle:
How to prepare
Eat a full meal beforehand. Long sessions deplete blood sugar. A substantial meal two to three hours before your appointment helps stabilize your energy and makes it easier to sit through extended work. Bring snacks for sessions over four hours.
Stay hydrated. Well-hydrated skin takes ink better and heals more cleanly. Drink water consistently in the days before your session, not just on the day.
Wear the right clothing. For arm work, sleeveless or easily removed layers. For leg work, shorts or loose trousers. You'll be in the same position for hours, so comfort matters.
Plan for numbing. If you're going into a long biomechanical session without a numbing strategy, you're making it harder than it needs to be. Maximum strength numbing cream applied 90 to 120 minutes before your appointment under cling film will sharply reduce what you feel for the first two to three hours. A numbing spray extends that coverage mid-session on broken skin: apply, hold for 30 to 60 seconds, blot dry, and the artist continues.
Discuss numbing with your artist in advance. Most biomechanical artists are comfortable with clients using numbing cream. Mention it at your consultation so they know to factor in the timing. The cream does not affect the ink, the skin's ability to hold the tattoo, or the artist's work.
Don't drink alcohol before your session. Alcohol thins the blood and increases bleeding, which affects how well the skin takes ink and makes the artist's job more difficult. Skip it the night before, not just the morning of.
Healing a large piece
Biomechanical tattoos, particularly large ones, require careful aftercare. The shading that creates the 3D effect is the hardest part of the tattoo to protect during healing: poor aftercare can flatten the contrast and compromise the depth effect you paid for.
First week. Keep the area clean and moisturized. Wash gently twice a day with a fragrance-free soap and apply a thin layer of aftercare gel. The tattoo will be red, slightly raised, and will begin to peel. Do not pick or scratch.
Days two to ten. As the outer layer of skin peels, the colours and contrast will look dull. This is normal. The ink is settling into the deeper layers of the dermis and will sharpen as the skin completes its healing cycle.
Avoid sun exposure. UV light is the single biggest enemy of biomechanical shading. The grey tones, the subtle gradients, and the fine highlight work are all vulnerable to fading under sun exposure. Keep the piece covered when outside, and use SPF 50+ once the skin is fully healed. This applies for the life of the tattoo, not just during healing.
Stay out of water. No swimming, hot tubs, or extended bathing until the tattoo is fully healed (typically three to four weeks). Prolonged water exposure softens the scabbing and can lift ink.
Be patient between sessions. Most artists want at least four to eight weeks between sessions to let the skin fully recover before adding more work. Rushing sessions compresses the healing timeline and can affect how the skin responds to subsequent shading.

No Pain Tattoo Aftercare Bundle
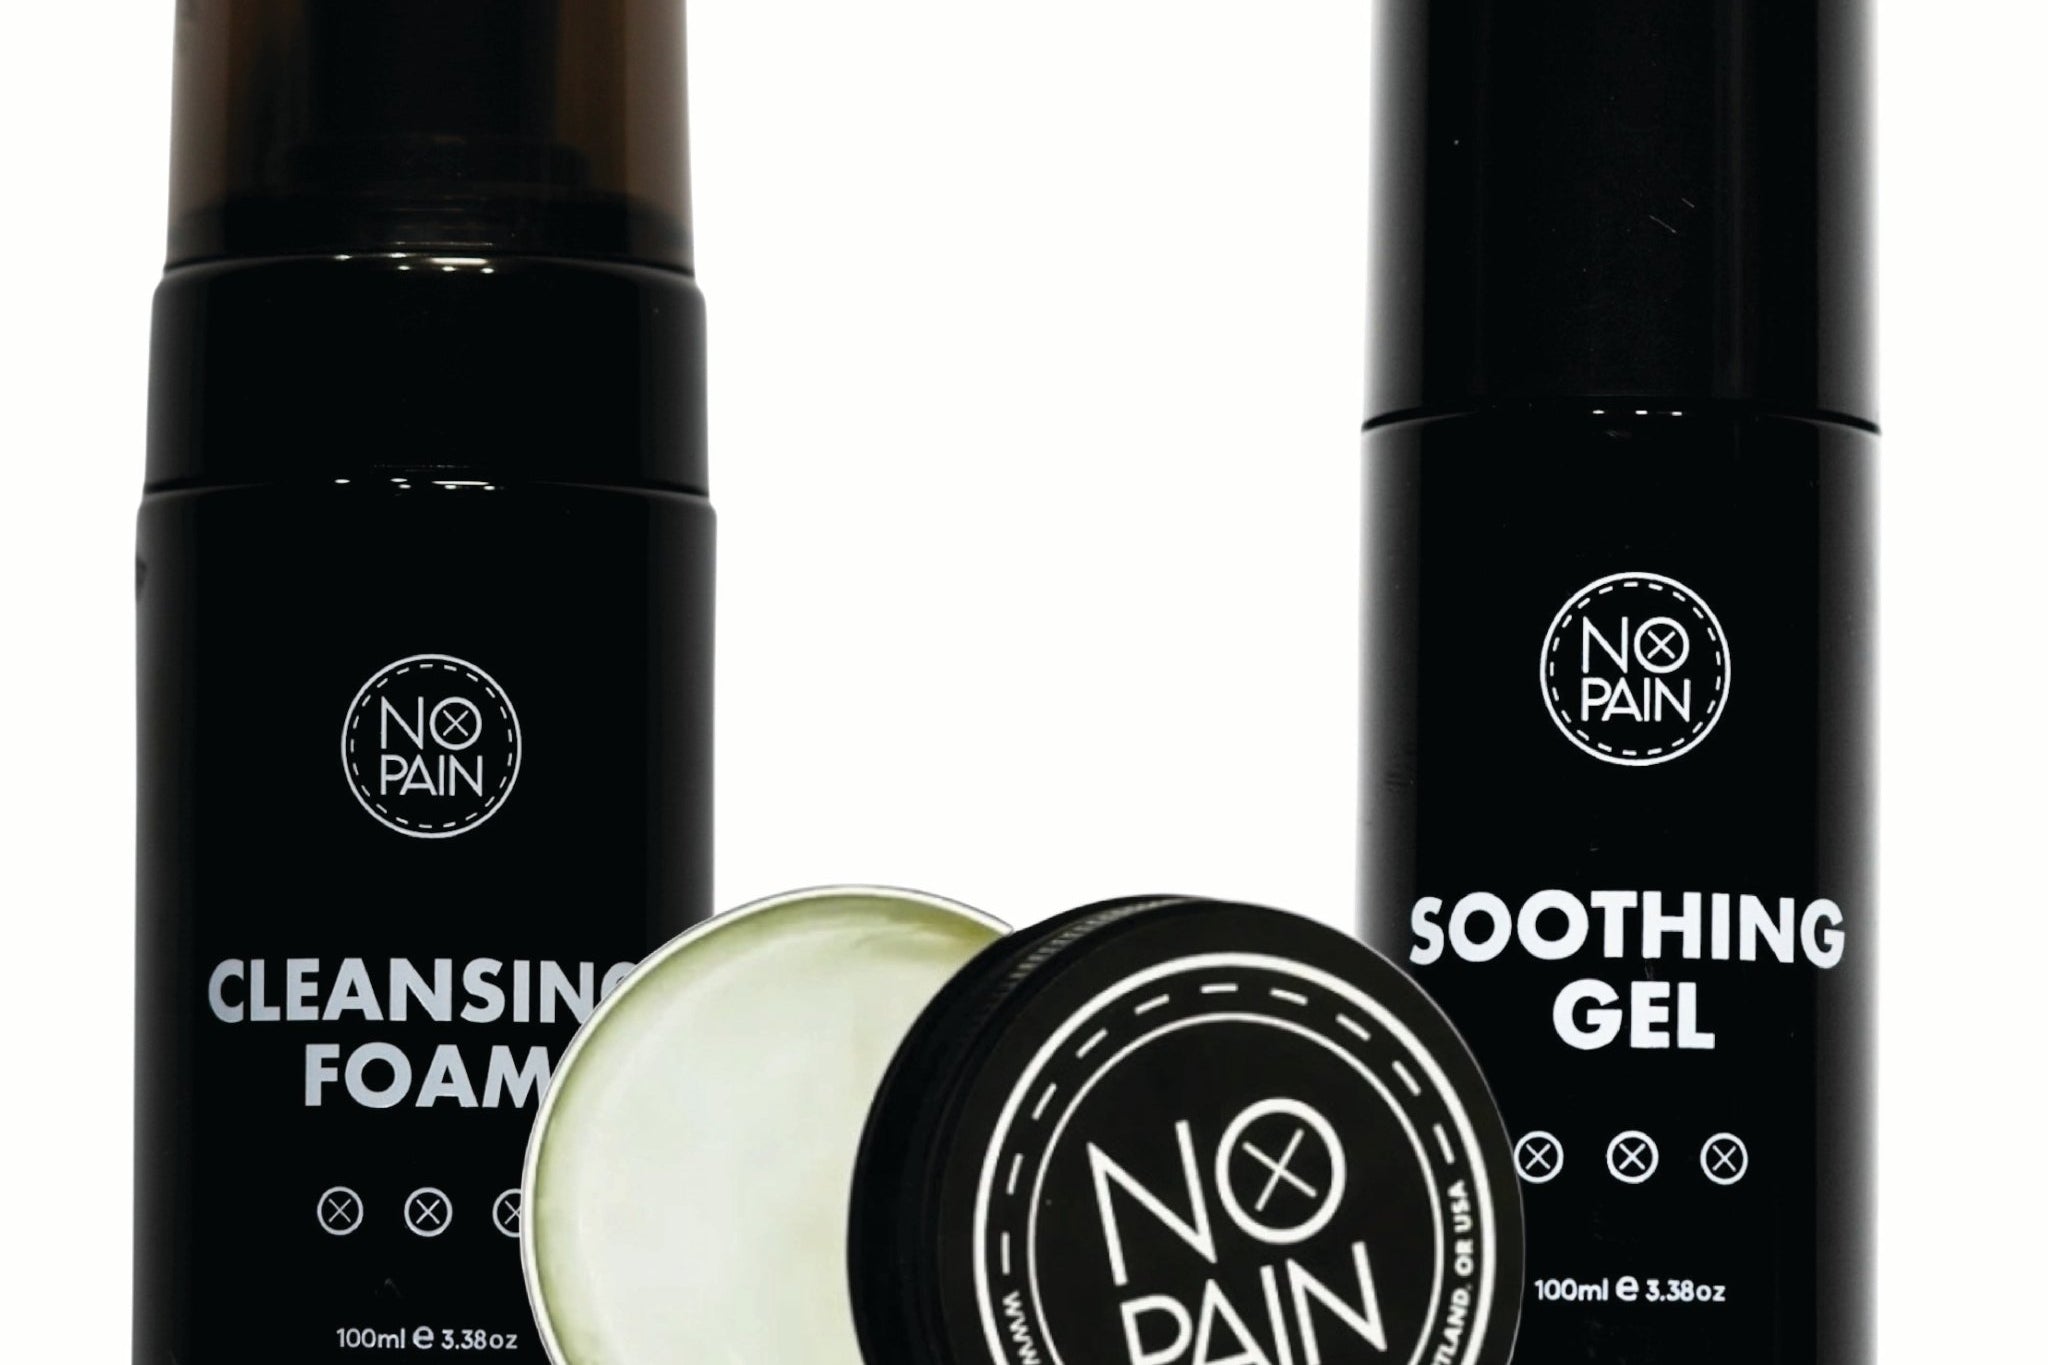
The shading in a biomechanical piece needs proper healing to hold. Soothing gel for the first days, aftercare balm from day two or three onward, and cleansing foam for daily washing. Everything your piece needs to heal right and keep the depth looking sharp. Backed by a money-back guarantee.
Shop Aftercare Bundle: $33.60FAQ
How much does a biomechanical tattoo cost?
The cost depends heavily on the artist and the size of the piece. Specialist biomechanical artists typically charge $200 to $400 per hour. A large standalone piece (upper arm, thigh, back panel) will run $1,500 to $5,000. A full sleeve with serious detail is a $5,000 to $15,000+ investment across multiple sessions. The price reflects the skill level required and the time involved: it is among the most technically demanding styles in tattooing.
Does a biomechanical tattoo have to be a sleeve?
No, but the style works best with sufficient scale. A biomechanical piece needs room to build depth: the 3D illusion depends on having enough canvas to shade from dark to light to dark across a form that reads as three-dimensional. Upper arm pieces, thigh pieces, and back panels all work well. Very small placements (wrist, hand, behind the ear) don't give the style room to breathe and tend to produce compressed, muddy results over time.
Are biomechanical tattoos always black and grey?
Predominantly, yes, but not exclusively. The depth effect that defines the style depends on high contrast shading, and black and grey is the most reliable medium for that. Colour can be incorporated effectively as accents (glowing wires, exposed circuitry elements), but full-colour biomechanical work tends to lose some of the three-dimensional quality that makes the style distinctive. Talk to your artist about what they recommend based on their experience with the style.
How long does a biomechanical tattoo take to complete?
For a large piece like a full sleeve, expect multiple sessions spread over six months to a couple of years. Total time in the chair often runs 50 to 100+ hours depending on complexity and detail level. Individual sessions typically run four to six hours. The depth effect builds gradually across sessions, and you won't see the finished result until the shading has been fully layered in.
Can I use numbing cream for a biomechanical tattoo session?
Yes, and for a session of four to six hours or more, it's worth planning for it. Apply maximum strength numbing cream in two coats under cling film 90 to 120 minutes before your appointment. For mid-session coverage on skin the artist has already worked, a numbing spray can be applied quickly and reactivates numbness within a few minutes. Discuss the plan with your artist at your consultation so they can factor it into the session timeline.
How do I find a good biomechanical tattoo artist?
Search specifically for artists who list biomechanical or realism tattooing as their speciality. Look at healed portfolio work, not just fresh photos: you want to see how the depth and contrast hold up after two or more years. Plan for a consultation before any booking. A serious biomechanical artist will want to understand your anatomy, discuss how the design will flow, and plan the sessions before committing to the project. Waitlists of six months or more are common among the best in the style.