

Yes, rib tattoos hurt. A lot. The reputation is accurate, and anyone who tells you otherwise is either exceptionally built or being generous with the truth. On a pain scale of 1 to 10, the ribs sit at 8 to 9 for most people - not the worst spot on the body, but close, and unique in a way that catches people off guard.
What makes ribs different isn't just the intensity. It's the character of the pain. There's a sharp, scraping quality to the needle working directly over bone, combined with a deep bone-conducted buzz that travels through your whole torso. And unlike fleshy placements that tend to numb out after the first hour, the ribs keep demanding your attention - partly because every breath you take moves the skin against the needle.
This guide covers the anatomy, what the session actually feels like from start to finish, what helps, and what to realistically expect if you're planning a rib piece.
In this article
- Why rib tattoos hurt so much
- Which rib zone hurts most
- What the session feels like
- The breathing problem
- How to manage the pain
- Healing a rib tattoo
- Frequently asked questions
Why Rib Tattoos Hurt So Much
Three things converge at the ribs that don't converge anywhere else on the body, and each one makes the pain worse independently. Together they create what is genuinely one of the harder placements to sit.
No padding. The dermis over the rib cage is thin, and there's almost no subcutaneous fat layer between the skin and the bone below. On the outer arm or thigh, you have centimeters of tissue buffering the needle from deeper structures. On the ribs, particularly the lower cage and floating ribs, there's almost nothing. The needle is effectively working one layer above bone.
Intercostal nerves. Between each pair of ribs runs an intercostal nerve - a nerve bundle that carries sensation across your entire side and trunk. The needle passes directly through the skin that sits on top of these nerves with no cushioning to absorb or redirect the signal. This is why rib pain tends to feel sharp and radiating rather than contained. It doesn't stay where the needle is.
Bone conduction. With so little tissue between the needle and the rib bones themselves, the vibration of the machine transmits directly into the bone and travels. People describe feeling it in their sternum, their back, sometimes up into their shoulder. It's not just a surface sensation - it's structural, and it's constant.
Which Rib Zone Hurts Most
The rib cage isn't uniform in how it feels. Where on your side the work lands makes a real difference.
Lower ribs and floating ribs are the worst. The floating ribs (the bottom two, which don't connect to the sternum) have no structural support on one end, which means they move more with every breath. The tissue here is also the thinnest. Side pieces that extend down toward the hip and waist are hitting this zone, and it's where most people struggle most.
Side ribs - the classic rib placement, running from roughly the armpit down to the waist - are what most people picture when they think "rib tattoo." This zone is the hardest to generalize because it spans more of the rib cage. The upper portion, closer to the armpit, tends to have slightly more tissue cover on people with more natural build. The lower portion trends toward the floating rib zone and intensifies accordingly.
Upper ribs near the armpit can overlap with brachial nerve territory, adding a different kind of radiating sensation. Pieces that bleed into the armpit area introduce that nerve cluster to the mix, which is its own category of uncomfortable.
As a rough guide: lower cage and floating ribs are 9/10. Classic side rib placement is 8 to 9/10. Upper cage with more natural padding may come in slightly lower - 7 to 8/10 - depending on the person.
What the Session Feels Like
Most people are surprised that the first pass isn't the worst part. The needle going in for outline work is sharp and immediate, but it's manageable - especially if you've been tattooed before. What catches people off guard is what happens after.
The shading pass is where rib tattoos earn their reputation. Shading requires the needle to move over skin that has already been worked, repeatedly, across the same area. On fleshy placements, the skin tends to dull out after continuous stimulation. The ribs don't cooperate with that. The intercostal nerves don't adapt the way surface nerve endings do. The second and third hour often hit harder than the first.
The position compounds it. Most rib work is done with the client lying on their side or sitting up slightly twisted, arm raised. Neither position is easy to hold for two or three hours. By the midpoint of a session, you're managing both the needle pain and the muscle fatigue from holding still in an awkward position - both at the same time.
Pieces that require long, flowing lines - script, botanical work, large florals - are particularly demanding because the artist needs you completely still for each stroke. Any movement from breathing, flinching, or muscle fatigue means interrupted lines.
The Breathing Problem
This is the piece of the rib experience that is genuinely unlike other placements. When you breathe, your rib cage expands. When it expands, the skin over it stretches. When the skin stretches, the freshly worked area pulls against the needle.
It doesn't matter how still you hold the rest of your body - you can't stop breathing, and every breath re-engages the sensation. Shallow breathing reduces the movement, which is why many people naturally shift to short, controlled breaths during a rib session. The problem is that an hour of shallow breathing on a table is its own source of fatigue and low-level anxiety.
Good artists know this and will often time their stroke to your exhale, working on the breath out when the tissue is most relaxed and least mobile. Learning to sync your breathing to the artist's rhythm helps more than most pain management advice for this specific placement. Slow exhale, hold briefly, let them work, inhale during the pause.
How to Manage the Pain
Numbing cream is more effective on the ribs than on most other high-pain placements, for an ironic reason: the skin is so thin. Lidocaine penetrates dermis, and thinner dermis means faster, deeper absorption. Applied correctly - 60 to 90 minutes before your session, wrapped in plastic to prevent evaporation - you can take that 9/10 rating down several points.
The formula matters here. Thin creams absorb quickly and peak early, which means they can wear off before you're even through the outline. A thick, slow-absorbing base is what you want for rib work specifically: it builds deep numbness across the full application window rather than front-loading and fading. Apply generously, wrap the area, and arrive already numbed - don't wait to apply at the shop.
For sessions running two hours or longer, a secondary numbing gel your artist applies mid-session on broken skin extends the window into the second half of the appointment. The ribs are a classic case where the second hour is worse than the first, and having something that re-numbs between outline and shading passes makes the back half of the session a completely different experience.

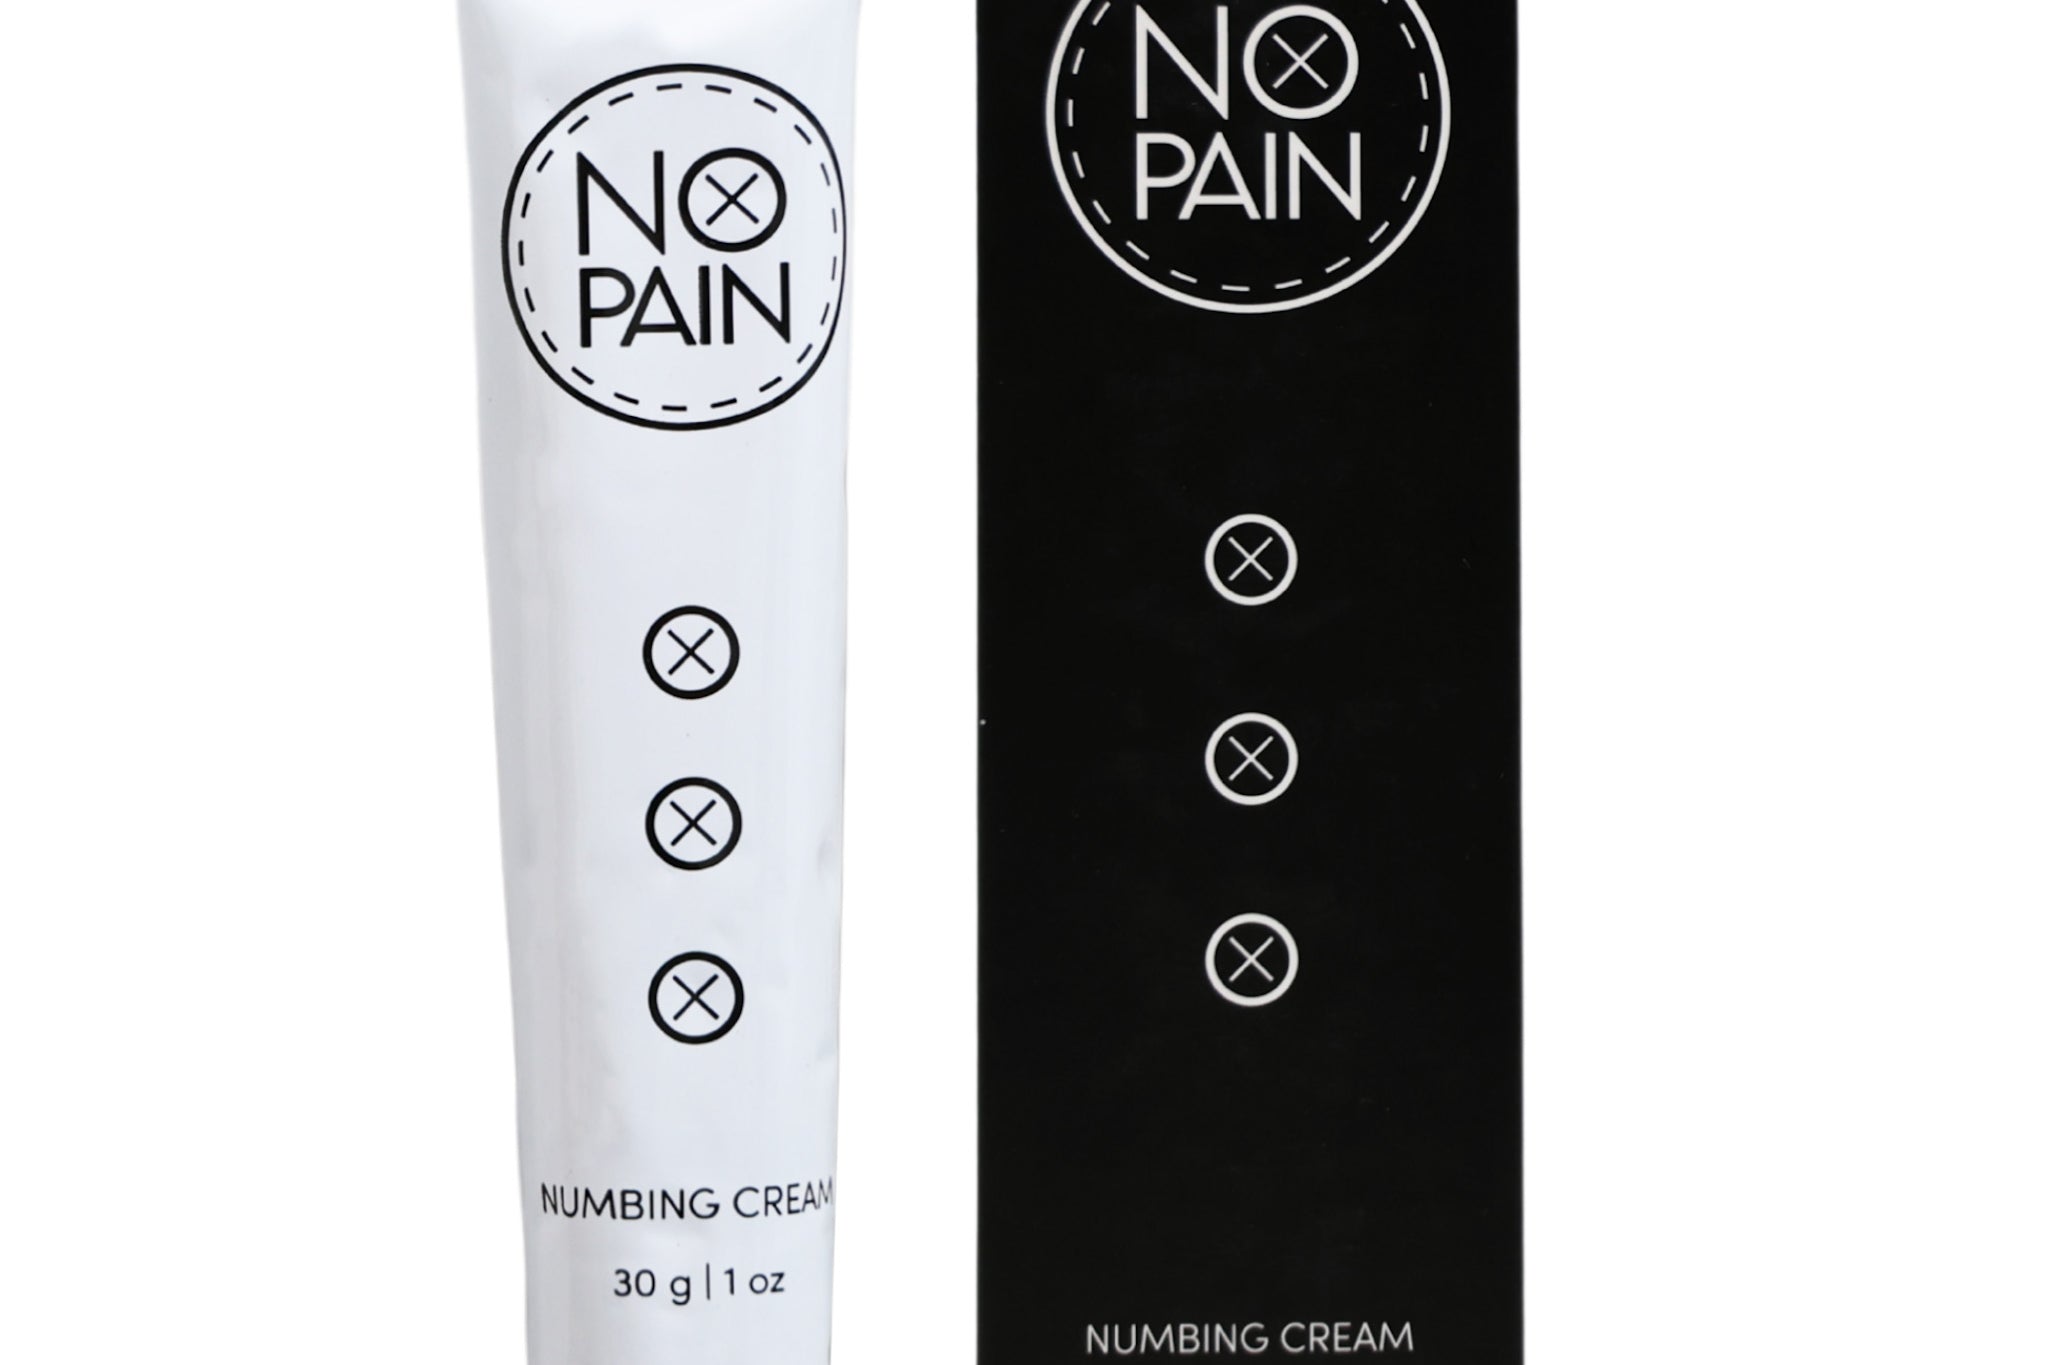
Maximum strength formula in a thick, slow-absorbing base - exactly what you want for rib work, where thin creams wear off before you're through the outline. Apply 60 to 90 minutes before your session, wrap with plastic, and arrive already numbed. The thin skin over your ribs actually works in your favor here: lidocaine absorbs faster and deeper with less tissue to penetrate. Formulated at Historic Tattoo in Portland.

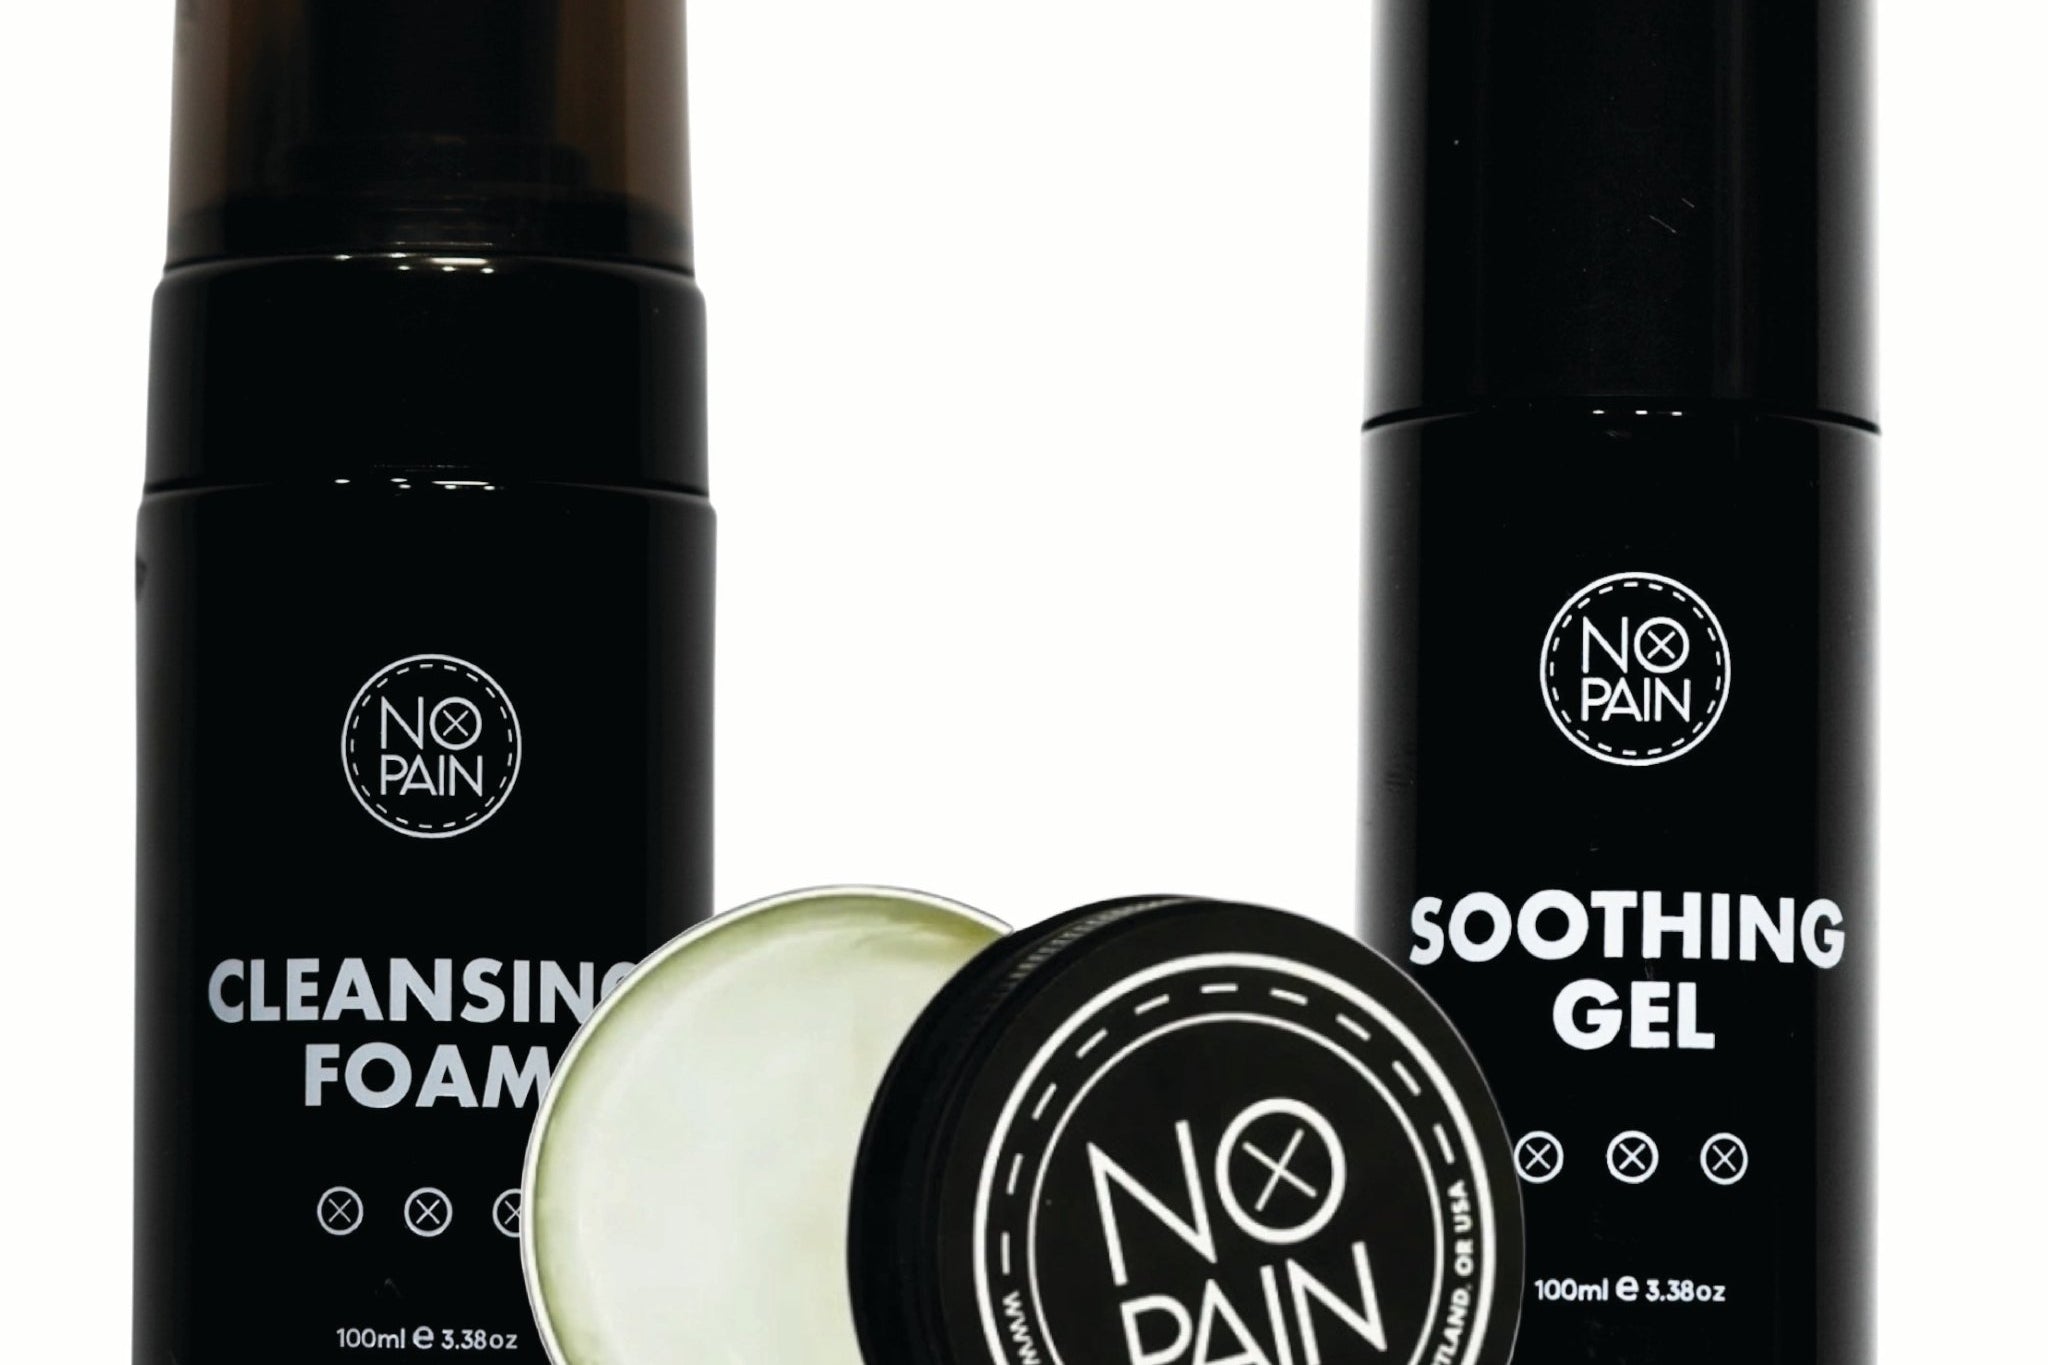
Pre-session numbing cream plus secondary numbing gel your artist applies to broken skin mid-session to re-numb and keep working. For rib pieces specifically, having something that carries you through the shading pass - which is where ribs get brutal - changes the back half of the session completely. Covers the full sitting from first pass to last. Formulated at Historic Tattoo in Portland.
Healing a Rib Tattoo
The healing process for rib work has one challenge the anatomy section already hints at: your rib cage moves constantly. Every breath, every stretch, every time you sit up from lying down - the skin over your ribs is in motion. Healing tattoos prefer stillness, and ribs don't offer it.
The first few days tend to feel tight and tender, with that movement amplifying the soreness. Sleeping on the tattooed side is uncomfortable for most of the first week. If your piece extends toward the lower cage, bending at the waist to pick things up or tie shoes will pull the skin in ways that are noticeable.
Clothing is the other factor. Anything with a tight waistband, a bra band that crosses the lower rib area, or compression fabric sitting against a fresh rib piece is going to irritate it. Loose-fitting clothing for the first two weeks matters more here than on most other placements - the rib cage has no good way to avoid contact with what you're wearing.
Peeling and the milky stage follow the same general timeline as other placements: most visible peeling happens in days 5 to 10, the milky/cloudy phase follows, and the tattoo settles fully around the 4 to 6 week mark. Keeping the area moisturized without over-saturating it is standard - don't let it dry out and crack, but don't suffocate it either.
For a detailed walkthrough of what to expect week by week, the rib and side tattoo healing guide covers the specific challenges of this placement. The general tattoo placement and healing guide covers the broader healing arc if you want more context.
Frequently asked questions
Do rib tattoos hurt more than spine tattoos?
They're comparable, but different. Spine tattoos deliver a deep bone vibration along a long, continuous surface, which is relentless in its own way. Rib tattoos combine that bone contact with the intercostal nerve network and the breathing movement - which is unique to this placement. Most people who have had both describe spine as more grinding and ribs as sharper and more reactive. Which is "worse" depends on what kind of pain you find harder to manage. If breathing-amplified sensation sounds harder to deal with than sustained vibration, ribs will be the tougher sit for you.
Does having more body fat or weight make rib tattoos less painful?
To a small degree, yes. More subcutaneous fat over the rib cage means marginally more cushioning between the skin surface and the bone below, which softens the bone conduction sensation somewhat. But the intercostal nerves are still there regardless, and the breathing movement doesn't change with body composition. People across a wide range of builds still rate rib tattoos as some of the most painful they've sat for. More body fat helps at the margin - it doesn't transform the experience.
Does breathing make rib tattoo pain worse?
Yes, and it's one of the defining features of this placement. Every inhale expands the rib cage and stretches the freshly worked skin. Most people naturally shift to shallow breathing during a rib session, which reduces the movement but creates its own fatigue over a long sit. Artists who do a lot of rib work often time their strokes to the exhale, when the tissue is most relaxed and stable. Learning to control your breath and exhale slowly during each pass is one of the most practical things you can do to make the session more manageable.
Can numbing cream actually help with rib tattoo pain?
Yes, and ribs are one of the placements where it works particularly well. The thin skin over the rib cage absorbs lidocaine faster and more deeply than thicker, padded areas. Applied 60 to 90 minutes before your session with plastic wrap to prevent evaporation, a maximum strength formula can take a 9/10 experience down to something that feels more like pressure and mild scraping than sharp pain. The key is using a thick, slow-absorbing base rather than a thin cream that peaks and wears off before you're through the outline. For longer sessions, a secondary gel your artist applies mid-session extends the window into the shading pass, which is where rib work gets hardest.
How long does a rib tattoo session take?
It depends entirely on the size and complexity of the design. A small to medium piece - a bird, a quote, a simple floral - might take two to three hours. A large botanical piece, a full side panel, or anything that extends from armpit to hip could run five to eight hours and require multiple sessions. Most artists doing large rib work will recommend breaking it into two or three sessions rather than one marathon sit, both for your comfort and for the quality of the work. Fatigued, inflamed skin in the back half of a very long session doesn't take ink as cleanly.
How long does a rib tattoo take to heal?
Surface healing - when the peeling is done and the skin looks normal again - takes about three to four weeks. Full dermis-level healing, where the ink has settled completely and the skin has returned to normal texture and sensitivity, takes closer to four to six weeks. The constant movement of the rib cage means the area gets more mechanical stress than a tattoo on your outer arm or thigh, which can slow the surface healing slightly. Avoid tight-fitting clothing over the area, keep it moisturized, and don't submerge it in water until the surface is fully closed and the peeling is complete.
The Ribs Are Hard. The Prep Doesn't Have to Be.
Maximum strength numbing cream in a thick, slow-absorbing base. Apply 60 to 90 minutes before your session and arrive already numbed. For longer pieces, add the secondary gel to carry you through the shading pass.
Shop the Comfort Bundle →Formulated at Historic Tattoo in Portland, Oregon.