


The final result of a microblading session depends as much on what you do beforehand as it does on your artist's technique. Prep your skin correctly and the strokes come out crisp, the color holds, and the heal is smooth. Skip the prep and you risk poor pigment retention, excess bleeding during the procedure, and a result that needs more correction at the touch-up.
Here is what to do, and when.
In this article
- 4 weeks before: calm the skin
- 1 week before: protect the skin
- 24 to 48 hours before: protect the blood
- The day of: managing discomfort
- Aftercare: where 50% of the result is decided
- Frequently asked questions
4 Weeks Before: Calm the Skin
The goal in the weeks leading up to your appointment is to get your skin as calm, healthy, and untreated as possible.
Stop retinoids and exfoliants. Discontinue retinol, Retin-A, vitamin A derivatives, AHAs, and BHAs on and around the brow area. These products increase skin cell turnover, which thins the skin and makes it fragile. On treated skin, pigment retention drops significantly — the blade cannot implant color into skin that is shedding faster than normal.
Avoid intense skin procedures. No chemical peels, laser treatments, microdermabrasion, or botox in the forehead or brow area. Your skin needs to be fully settled before the appointment. Any active inflammation or treatment residue in the area can compromise the results.
Let your brows grow in. Put the tweezers down. Your artist needs to see your natural hair growth pattern to design a shape that fits your face. Over-tweezed or heavily shaped brows give the artist nothing to work with — and the more natural hair you have showing, the more the finished microblading will blend in.
1 Week Before: Protect the Skin
Avoid tanning and sunburn. Sunburned skin cannot be microbladed — it is inflamed and will reject pigment. Even a significant base tan is a problem: when the tan fades, the settled pigment can appear ashy or off-tone against your natural complexion. Stay out of tanning beds and minimize direct sun exposure to the face in the week before your session.
Stop brow tinting. Do not tint or dye your brows in the week before your appointment. Tint residue on the skin interferes with your artist's ability to select and match the right pigment to your natural hair color.
24 to 48 Hours Before: Protect the Blood
This is the most important pre-care window. The goal is to prevent blood thinning. Even minor excess bleeding during microblading pushes pigment back out of the tiny strokes the artist just placed, leading to poor color retention and blurry, faded lines in the healed result.
Avoid all of the following for at least 24 hours before your appointment:
- Alcohol — wine, beer, and spirits all thin the blood
- Caffeine — skip coffee, black tea, and energy drinks on the day of your appointment
- Aspirin and ibuprofen (Advil, Motrin) — both are anticoagulants
- Fish oil and vitamin E supplements — both have mild blood-thinning effects
Eat a full meal before you go. Low blood sugar makes discomfort feel worse and can cause lightheadedness during the procedure. A proper meal beforehand costs you nothing and makes the whole experience better.
The Day Of: Managing Discomfort
Microblading involves a fine blade making shallow, repeated passes across the brow area. Most people find it less intense than a traditional tattoo — the strokes are shallower, there is no machine vibration, and sessions typically run two to three hours. But the brow bone is sensitive, and for first-timers the sensation can catch them off guard.
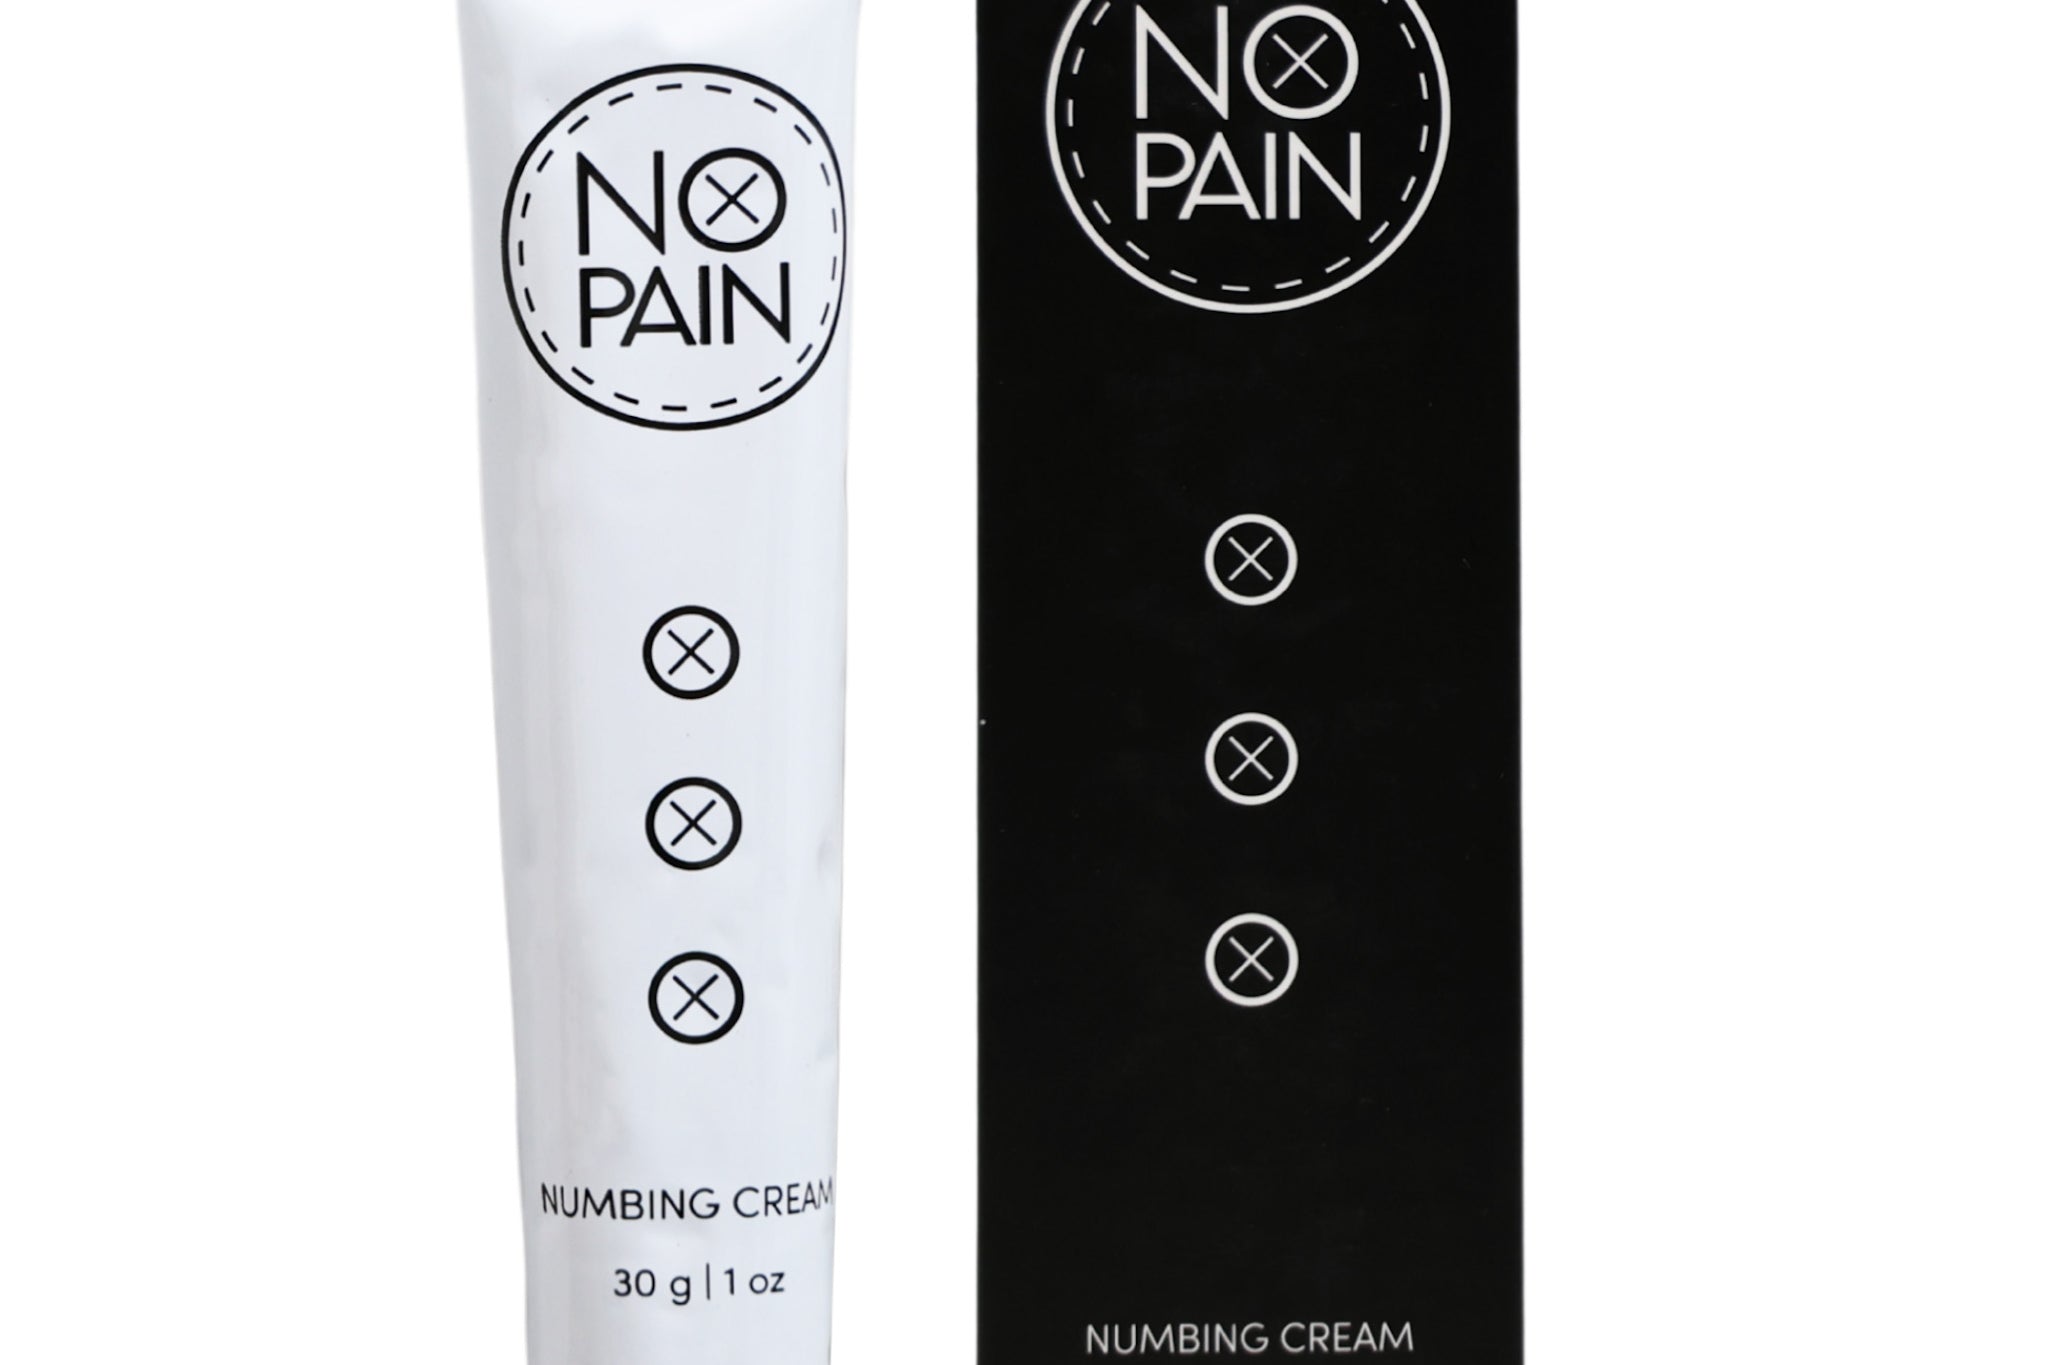
A topical numbing cream applied before you arrive is the most effective way to get ahead of it. No Pain Tattoo Numbing Cream is a maximum-strength lidocaine cream that penetrates deeply and blocks nerve signals before the first stroke is made. Apply it to clean, dry skin and cover with plastic wrap to activate it properly.
Note: we are developing a microblading-specific numbing formulation. Until it launches, this cream works well for the brow area. Always check with your artist before applying — most are fine with client-applied numbing, though some have their own protocol. Do a patch test on your inner arm at least 24 hours ahead to rule out any sensitivity.

Maximum-strength lidocaine cream that deeply numbs skin before procedures. Apply 90 to 120 minutes before your appointment for full coverage through the session.
Arrive with clean skin and no makeup on the brow area. Wear something you do not mind getting a small amount of pigment on, just in case.
Aftercare: Where 50% of the Result Is Decided
The prep is done and the strokes are in. What happens over the next 10 to 14 days determines how the final result looks once the skin settles. Your artist will give you specific aftercare instructions — follow them exactly. Their protocol is tailored to their technique and the depth they work at. The general pattern for microblading aftercare follows two phases.
Days 1 to 3: the weeping and tender phase
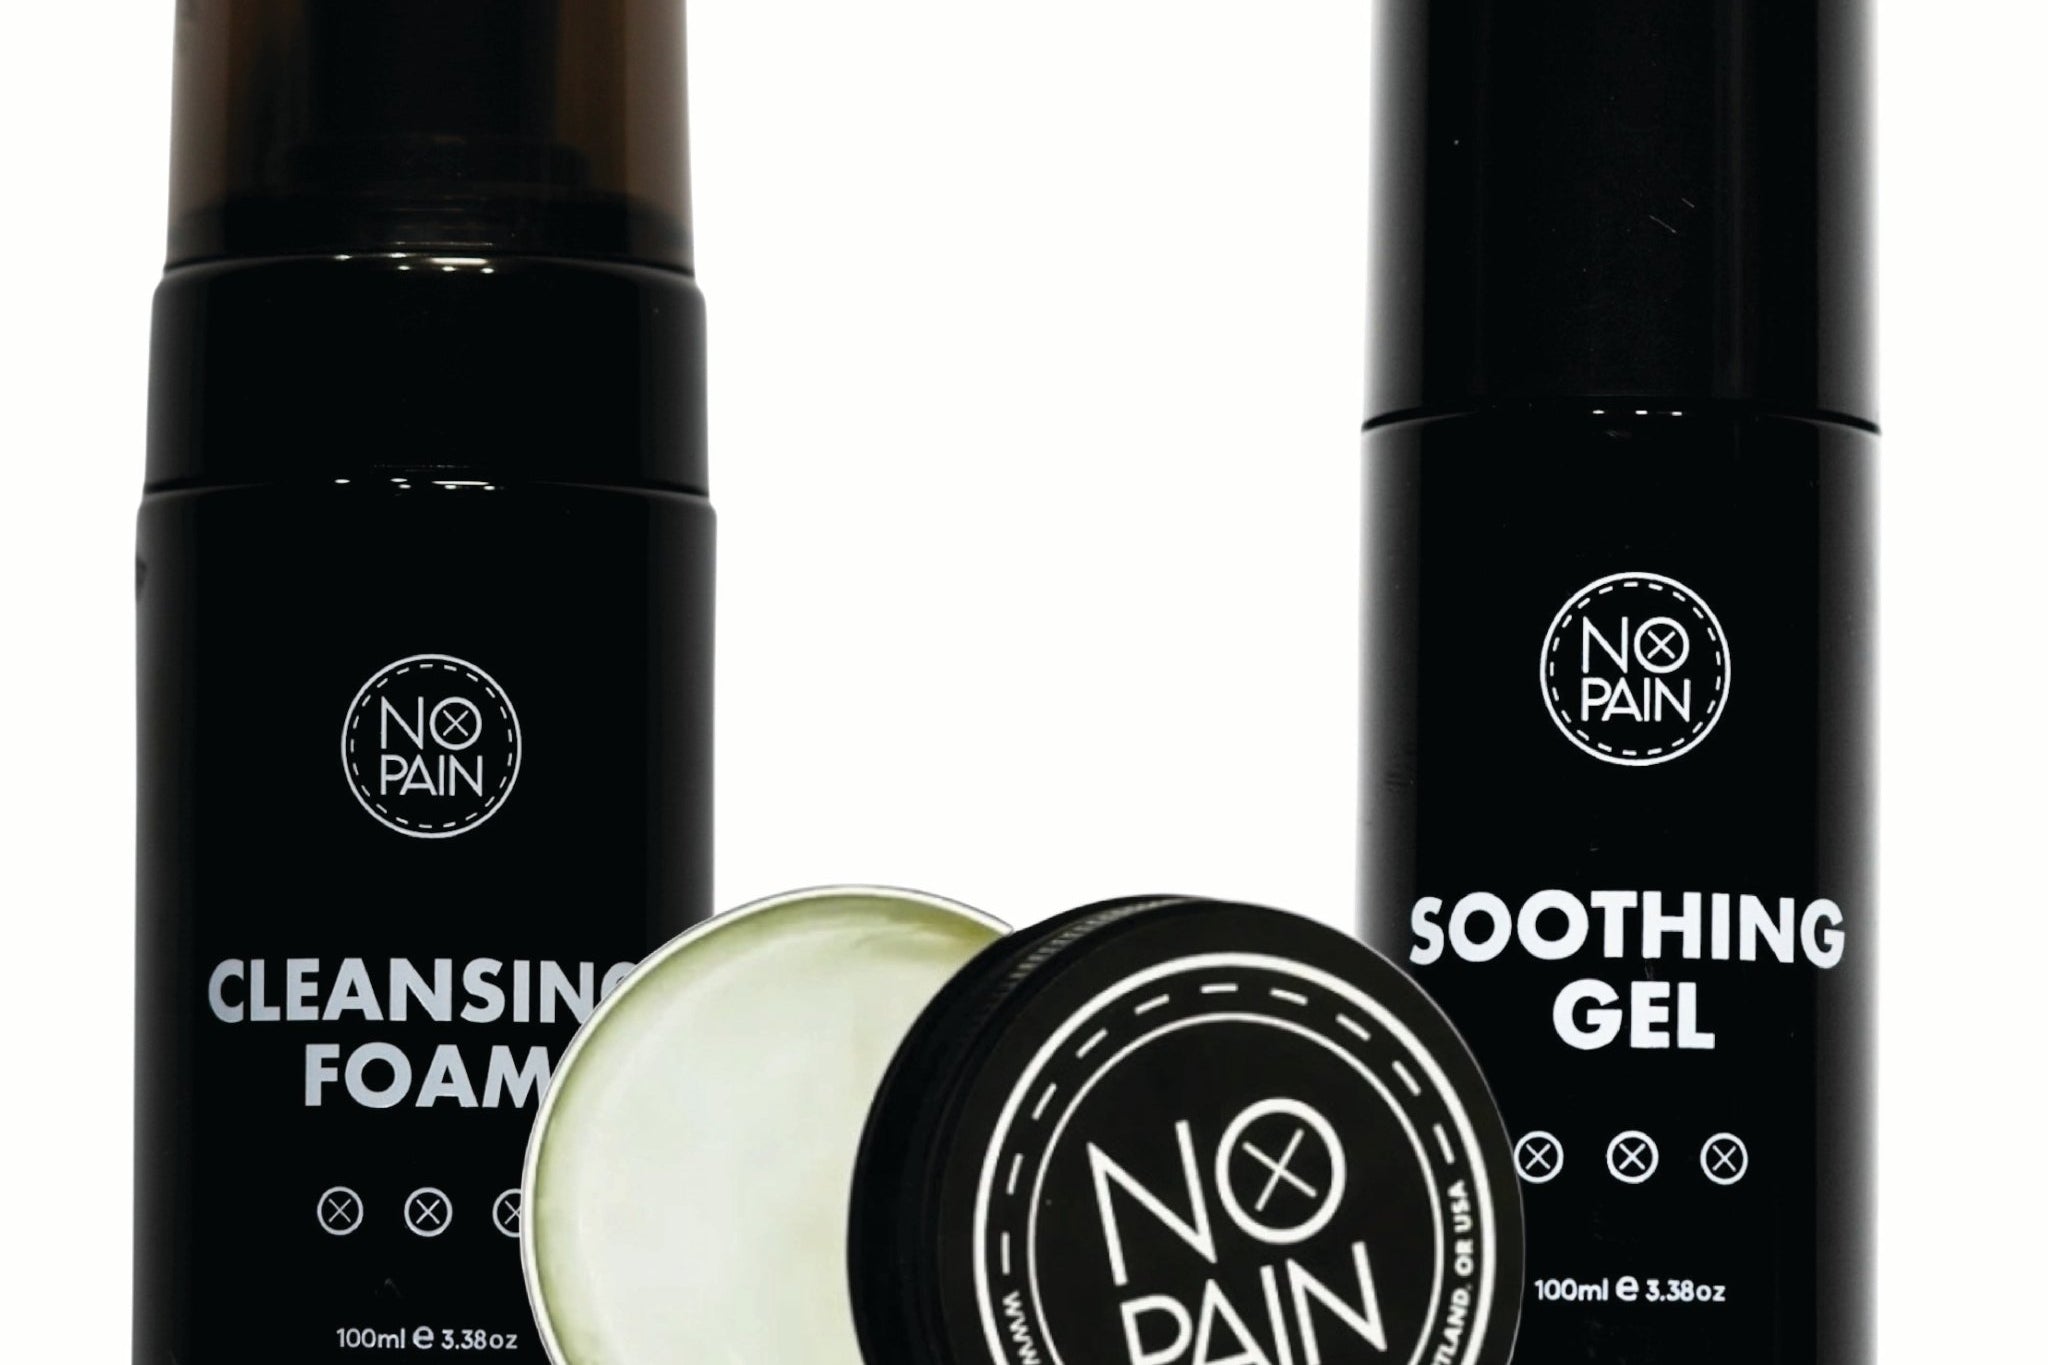
The area may feel tender and weep a small amount of clear fluid (lymph) in the first day or two. This is normal. Keep it clean with a gentle, fragrance-free soap twice daily. After each wash, apply a thin layer of a lightweight, fast-absorbing gel to keep the skin hydrated without trapping heat or clogging the healing strokes. Avoid submerging the area in water, sweating heavily, or touching the brows with unwashed hands.

A lightweight, fast-absorbing gel that cools on contact and reduces redness and irritation in the first few days of healing. Does not seal or trap heat.
Day 3 onward: the peeling phase
The skin will begin to flake and the color will appear much lighter — often 30 to 40% lighter than it did on day one. This is completely normal. Switch to a richer balm during this phase to support the skin through the shed. Do not pick the flakes. Each one pulled early takes pigment with it and creates patchy gaps in the final result.

A rich, breathable balm that supports skin through the peeling phase and long-term healing. Keeps the skin supple without clogging pores or pulling color out.
The true result only shows once the skin finishes shedding and resettles — usually between weeks four and six. Most microblading artists schedule a follow-up touch-up at the six to eight week mark. This is standard practice, not a sign that anything went wrong. Following aftercare correctly minimizes how much correction is needed at that appointment.
Everything You Need for the Heal
The Aftercare Bundle includes the Soothing Gel for days 1 to 3 and the Aftercare Balm for day 3 onward — the complete two-phase system in one kit.
Shop the Aftercare Bundle →Formulated at Historic Tattoo in Portland, Oregon. 100% money-back guarantee.
Frequently asked questions
Do I need to tell my artist I used numbing cream?
Yes, always. Most artists are fine with client-applied numbing — some may even recommend it. A small number of studios prefer to apply their own topical at the start of the session. Let your artist know when you book so there are no surprises on the day.
Does microblading hurt more than a tattoo?
For most people, it hurts less. Microblading uses a manual blade rather than a machine, and the strokes are shallower than those made by a tattoo needle. The sensation is more of a fine scratching or drawing pressure than the buzzing vibration of a tattoo machine. Sessions are also shorter — typically two to three hours including prep and consultation time.
What if I forgot to stop retinol, or had a drink the night before?
Tell your artist before the session starts. If you had alcohol the night before or forgot to stop retinol, they need to know so they can adjust their approach or, in some cases, reschedule. Trying to hide it only increases the chance of a result you are unhappy with.
When can I go back to my normal skincare routine?
Wait until the skin is fully healed — at least four to six weeks. That means no retinol, AHAs, or active exfoliants on the brow area until healing is confirmed. Even after healing, be careful about heavy chemical exfoliation directly over the brows, as it can gradually fade the pigment over time.
Can I exercise before my appointment?
Avoid intense exercise on the morning of your appointment. Hard exercise raises your heart rate and increases blood flow to the skin, which can cause more bleeding during the procedure and push pigment out of the freshly placed strokes.
Will I definitely need a touch-up?
Almost certainly yes, and that is by design. The initial session lays the foundation. The follow-up at six to eight weeks fills in any strokes that healed lighter or patchy and refines the shape now that the artist can see how your skin responded. Following aftercare correctly minimizes how much work needs to be done at that appointment.