You’ve done your research, found the perfect artist, and booked the appointment that promises to deliver the effortless, natural-looking brows of your dreams. The excitement is real. But did you know that the final result of your microblading procedure isn't just up to your artist?
How you prepare your skin in the days and weeks leading up to your appointment is a huge factor in achieving crisp strokes, great color retention, and a smooth healing process.
This is your ultimate checklist for what to do (and what not to do) before your microblading appointment to ensure you get the stunning results you're paying for.
The Long Game: 4 Weeks Before Your Appointment
Proper prep starts about a month out. During this time, the goal is to get your skin as calm, healthy, and natural as possible.
-
Stop Retinoids and Exfoliants: Discontinue the use of Retinol, Retin-A, Vitamin A, and other potent anti-aging or acne treatments on and around the brow area. These products work by increasing skin cell turnover, which can make your skin too thin and fragile for the procedure, leading to poor pigment retention.
-
Avoid Intense Skin Procedures: Do not get any chemical peels, laser treatments, microdermabrasion, or Botox in the forehead or brow area. Your skin needs to be fully settled and non-irritated.
-
Let Your Brows Grow: This is the time to hide the tweezers! Stop waxing, threading, or tweezing your brows. Your artist needs to see your natural hair growth pattern to design the most flattering and realistic shape for your face.
The Final Stretch: 1 Week Before Your Appointment
As you get closer, the focus shifts to protecting your skin from the elements.
-
No Tanning or Sunburn: Avoid any direct tanning or significant sun exposure. Sunburned skin absolutely cannot be microbladed, as it is damaged and inflamed. Furthermore, tattooing on tanned skin can be problematic; when your tan fades, the pigment color may look ashy or off-tone.
-
Pause on Brow Tinting: Do not tint or dye your eyebrows in the week leading up to your session. This can interfere with your artist’s ability to select the perfect pigment color to match your natural hair.
The Day Before: 24-48 Hours to Go
This is the most critical pre-care phase. The goal here is to prevent your blood from thinning, which is essential for crisp results.
Avoid ALL Blood Thinners, including:
-
Alcohol: No wine, beer, or spirits for at least 24 hours.
-
Caffeine: Avoid coffee, black tea, and energy drinks on the day of your appointment.
-
Certain Medications: Do not take Aspirin, Ibuprofen (Advil, Motrin), or Niacin.
-
Supplements: Pause on taking fish oil and Vitamin E supplements.
Why is this so important? Blood thinners increase bleeding during the procedure. Even a small amount of excess bleeding can push the carefully implanted pigment right back out of the tiny strokes, leading to poor color retention and blurry, faded results.
The Day Of: Arriving Prepared and Comfortable
One of the biggest concerns for clients is the discomfort of the procedure. While microblading is generally less intense than a traditional tattoo, the area is sensitive. You can take control of your comfort to ensure a relaxing experience.
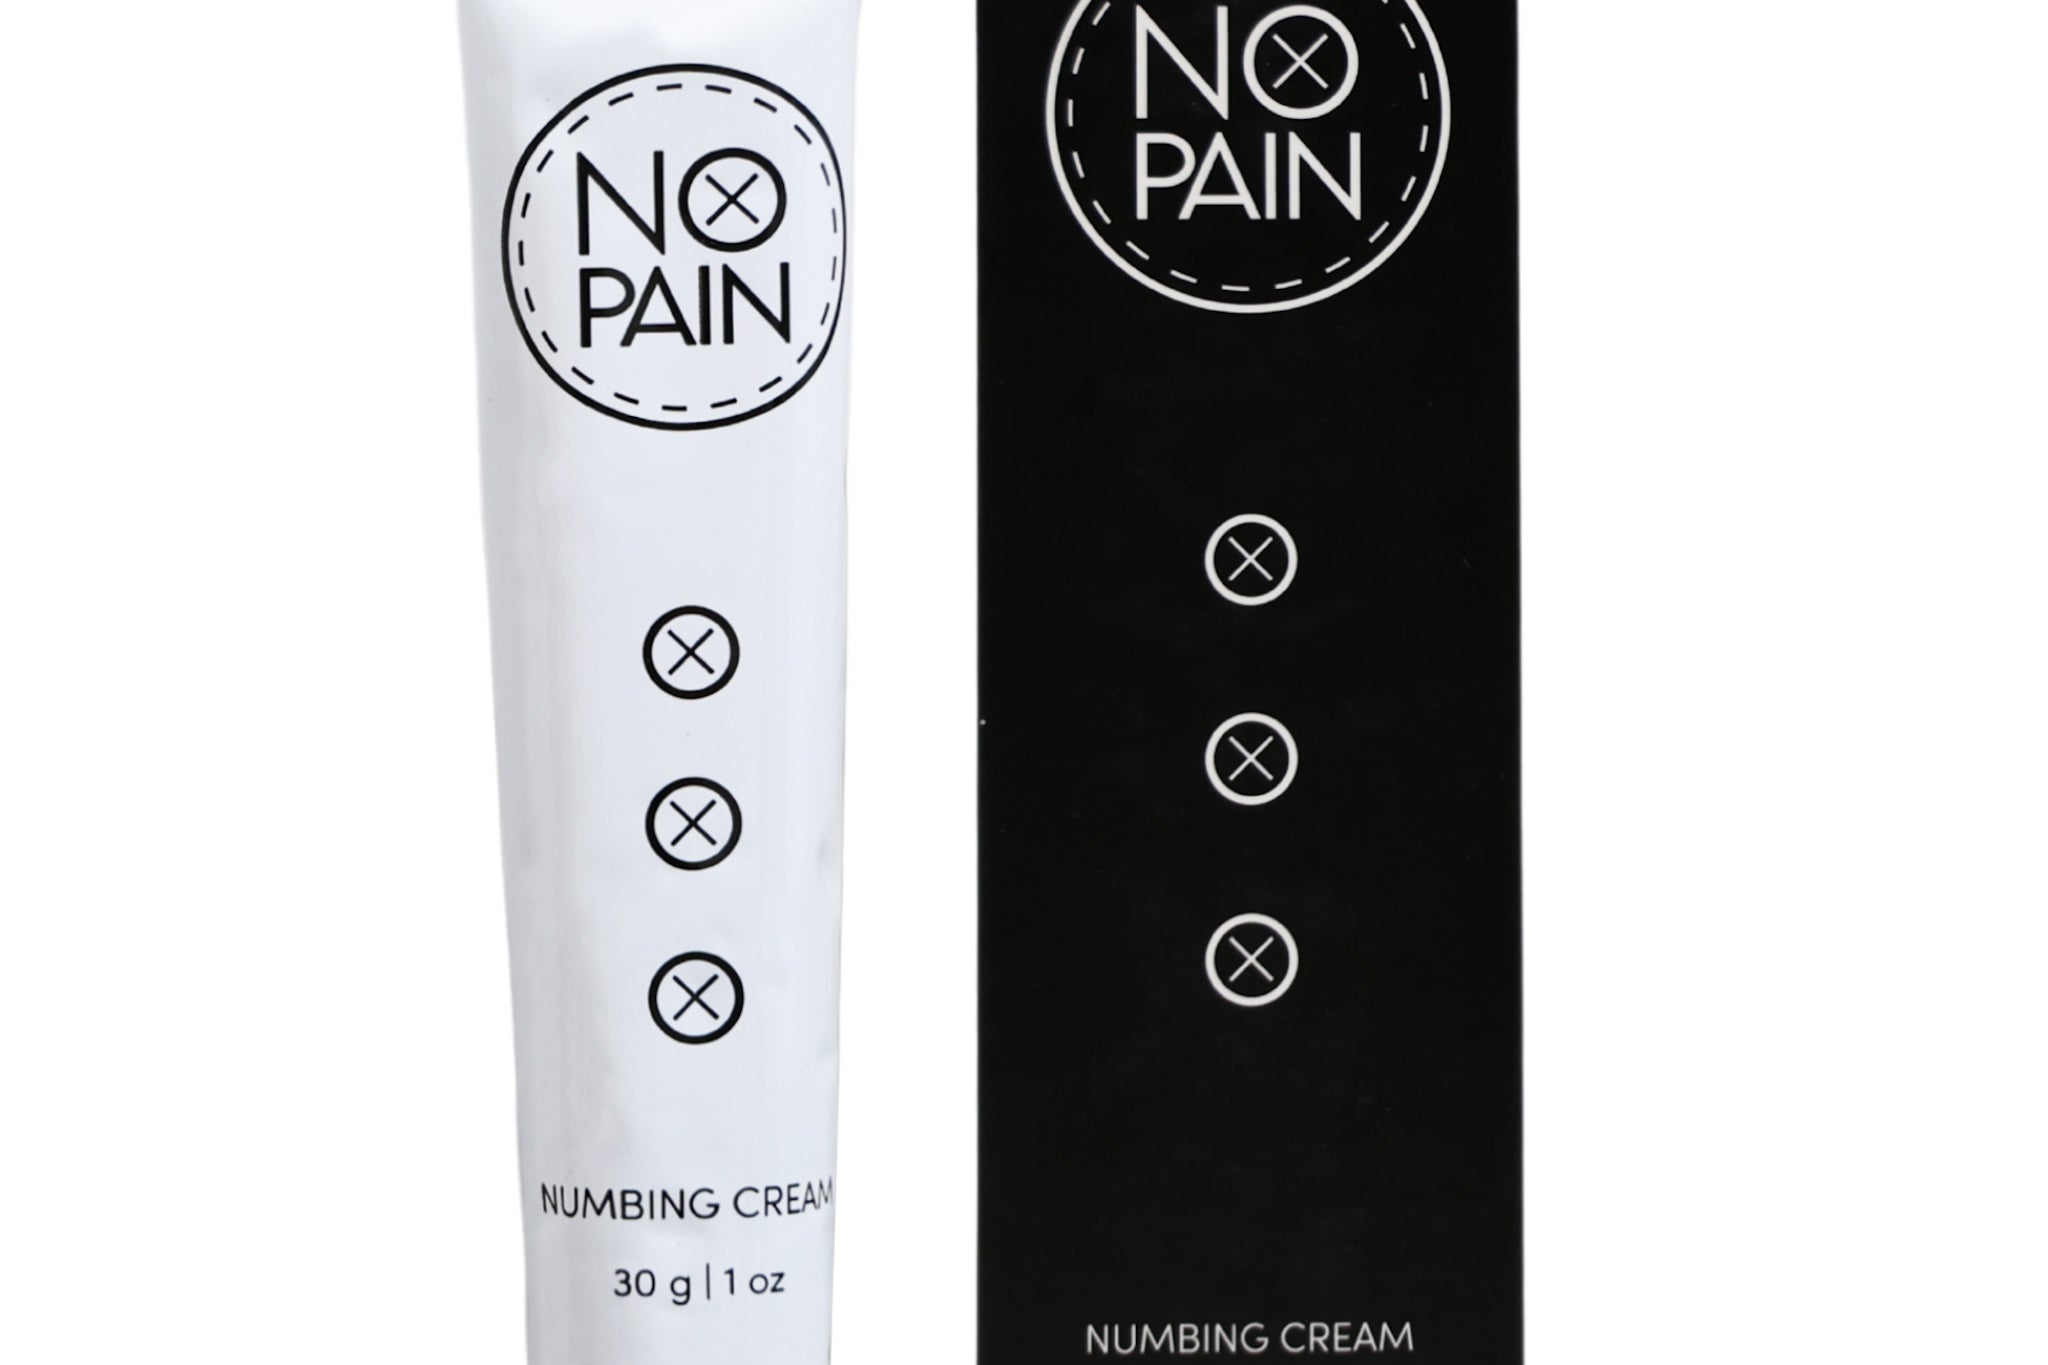
Our No Pain Tattoo Numbing Cream is a perfect preparatory step. It’s a powerful topical anesthetic designed to deeply numb the skin before a procedure. Applying it as directed before you arrive can make the entire process significantly more comfortable, allowing you to relax while your artist focuses on creating perfect, precise strokes.
Pro-Tip: Always check with your artist before your appointment about their studio policy on clients applying their own numbing cream. And ALWAYS do a patch test on your inner bicep or upper thigh.
After Your Appointment: Setting the Stage for a Perfect Heal
The preparation is done and your brows look amazing! Now, your focus must shift to aftercare, which accounts for at least 50% of your final results. Your artist will provide specific instructions, which almost always involve gentle cleansing and moisturizing.
Our No Pain Tattoo Aftercare Bundle has the ideal products for this delicate healing process. The No Pain Tattoo Cleansing Foam is perfect for gently washing the area without irritation, while the No Pain Tattoo Soothing Gel and No Pain Tattoo Aftercare Balm provide the gentle moisture needed to prevent heavy scabbing and ensure your crisp new strokes heal perfectly.
By following this checklist, you’re not just preparing your skin; you’re setting the stage for incredible, long-lasting results. Now you can go into your appointment with total confidence, knowing you’ve done everything you can to get the beautiful brows you deserve.