A full tattoo sleeve is more than just a collection of tattoos; it's a statement piece, a personal tapestry that wraps your arm in a cohesive work of art. It’s one of the most impressive commitments you can make in the world of body art. But for that very reason, the process can feel daunting. Where do you even begin?
Don't worry. We've broken down the entire journey into five manageable steps. This is your guide to planning that dream sleeve, from the first spark of an idea to a fully healed masterpiece.
Step 1: Choose Your Core Theme and Style
Before you can pick an artist or even a single image, you need a unifying concept. A great sleeve has a consistent theme that ties everything together. This could be:
-
A Narrative: A specific myth, story, or historical event.
-
A Concept: Abstract ideas like life and death, nature vs. industry, or chaos and order.
-
A Collection: A group of related images, such as ocean life, celestial bodies, Norse mythology, or a specific floral family.
Once you have a theme, you need to choose the artistic style that will bring it to life. Different styles will approach your theme in dramatically different ways.
-
Japanese Traditional (Irezumi): This style is built for sleeves. It uses powerful, singular subjects (dragons, koi, tigers, gods) and connects them with iconic background elements like wind bars, water, and clouds. An Irezumi sleeve is planned as one single, flowing piece from the very beginning.
-
American Traditional: Known for its bold black lines, limited color palette (red, green, yellow, black), and iconic imagery like eagles, skulls, and roses. A traditional sleeve can be built "piece by piece" like a collection of stickers, with filler like stars and dots added later, or planned as a more cohesive piece.
-
Neo-Traditional: This style takes the principles of American Traditional and adds more depth, detail, and a much wider color palette. It's more illustrative and allows for complex, vibrant themes to be woven together seamlessly.
-
Fine Line & Black and Grey Realism: These styles focus on incredible detail, soft shading, and lifelike imagery. A realistic sleeve requires meticulous planning to ensure the composition flows and doesn't become a "muddy" mess of grey. An artist skilled in this style will use contrast and negative space to create a stunning, cohesive work of art.
Step 2: Find the Right Artist (This is Crucial)
This is the most important step. The artist is more important than your idea. You must find an artist who specializes in the style you've chosen. A world-class Japanese artist is not the right person for your fine-line realism sleeve.
Use Instagram hashtags like #[inertyourcity]tattoo, #japanesetattooartist, or #finelinetattoo to search for specialists. Look at local shop websites and, most importantly, review their portfolios for healed photos of sleeves. Fresh tattoos always look great; healed work shows the artist's true skill.
If you don't find an artist you like locally, you may have to travel. This happens a lot and many people travel to their artist for long sessions every few months. We know of quite a few people that travel from all over the country to see the artists at Heart In Hand Arlington. It really is worth the extra effort to go to the right shop.
Step 3: The Consultation and Design Process
Once you've chosen your artist, you'll book a consultation. Come prepared with your theme, reference images, and a clear budget.
This is where the collaboration begins. Your artist's job is to translate your theme into a design that flows with the anatomy of your arm. They will consider how the design wraps around your muscles, navigates the tricky elbow ditch, and terminates at the wrist. They will likely map out the placement of the main "hero" images and then design the background and filler to create a sense of movement. Trust their expertise—they know how to make a collection of images feel like a true sleeve.
Step 4: The Commitment: Sessions and Comfort
Be prepared: a full sleeve is a marathon. It can easily take 40+ hours of tattoo time, broken up into multiple 4-6 hour sessions over several months or even a year.
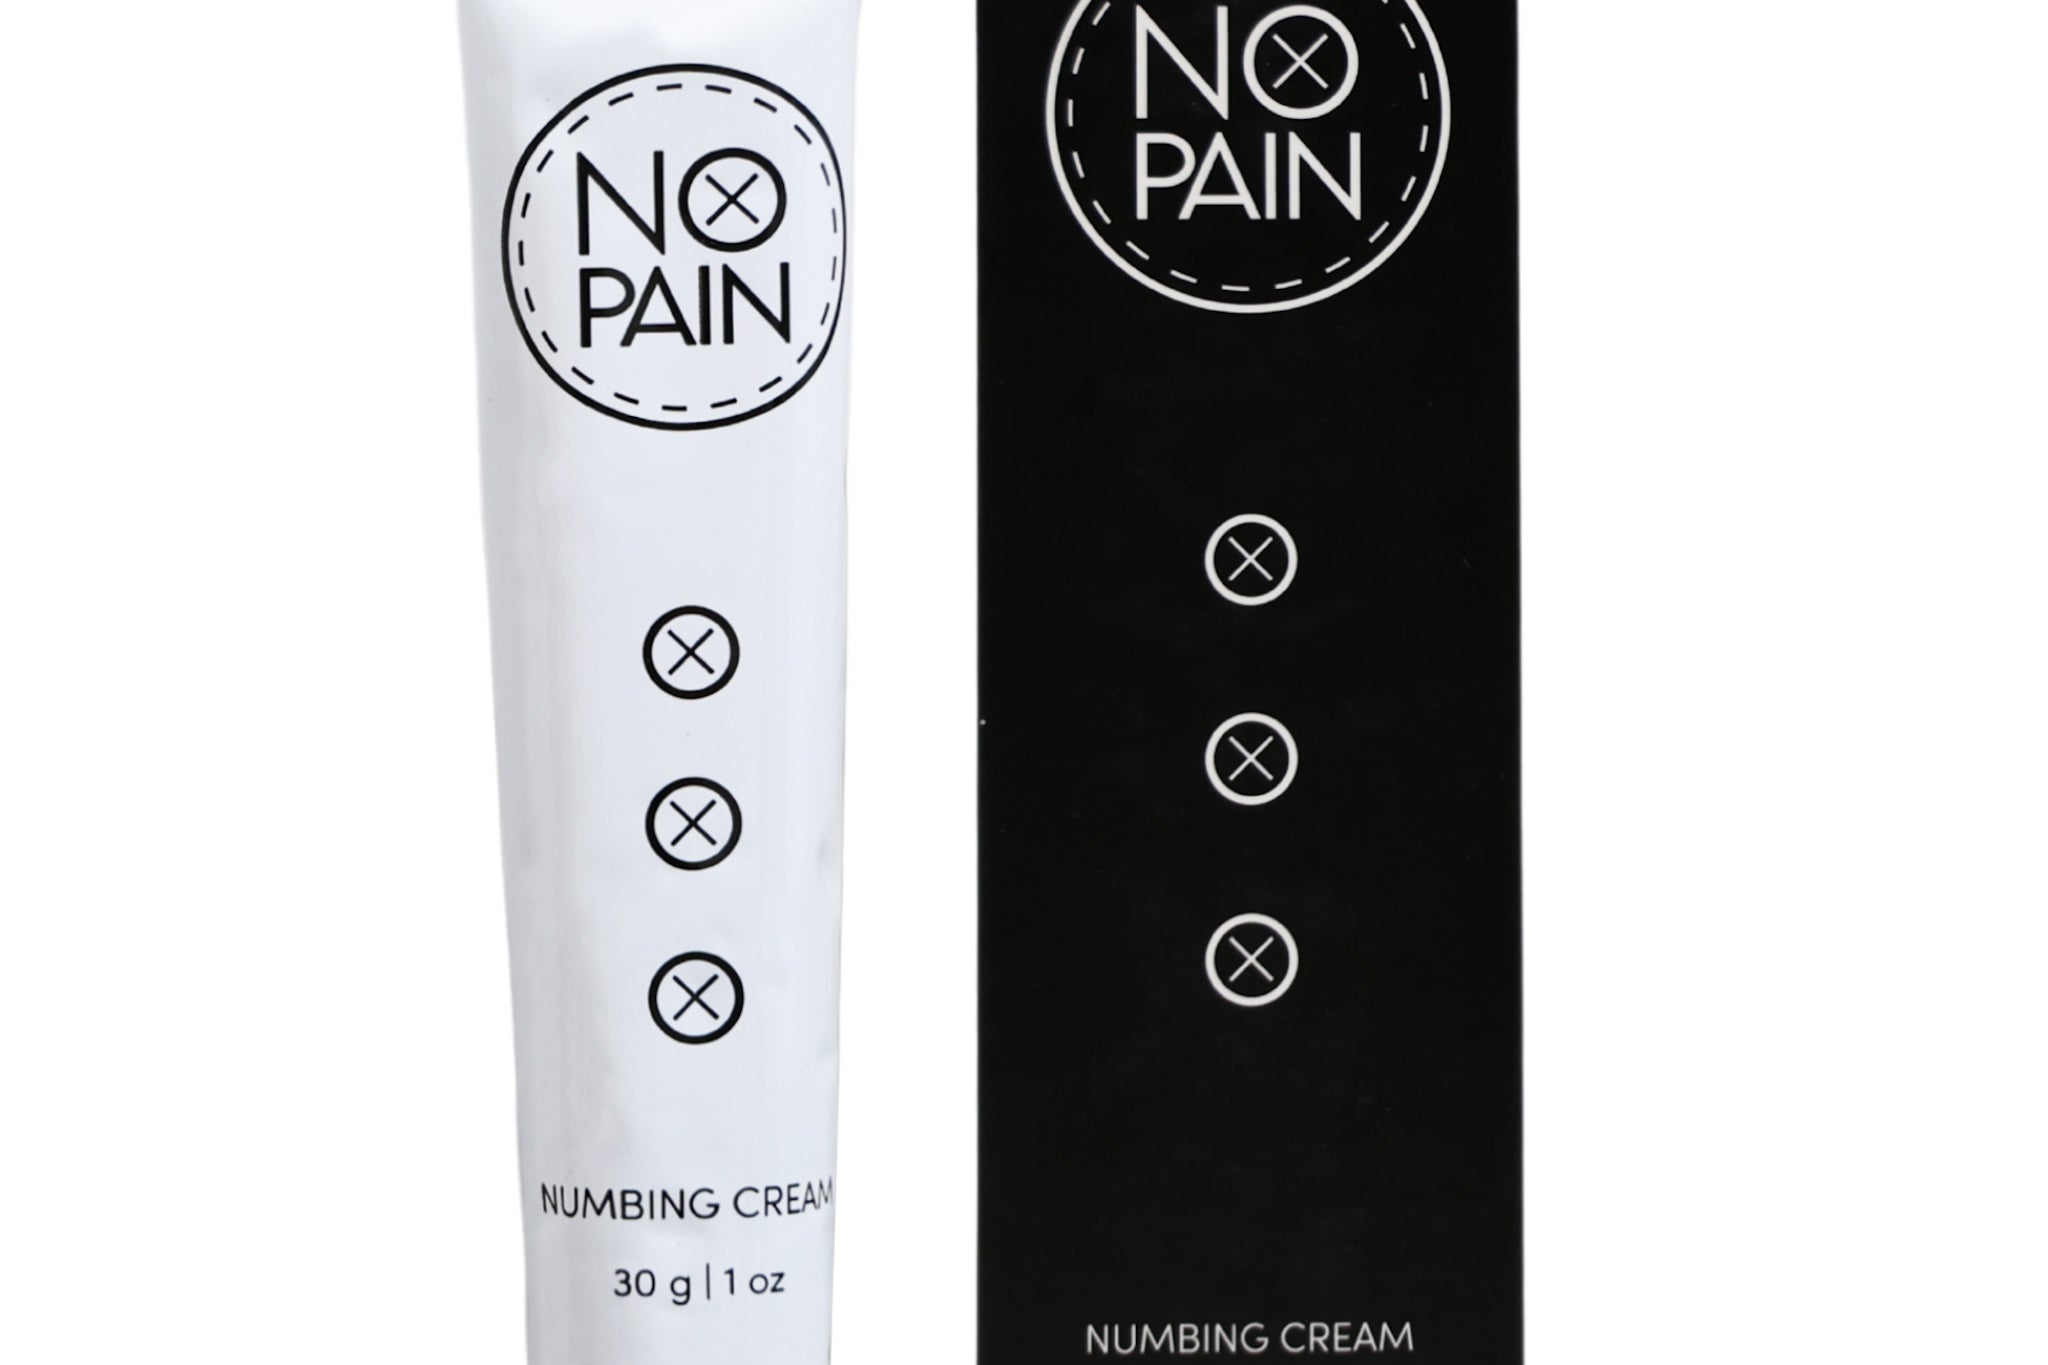
Full sleeve sessions can be long and grueling, especially around the elbow and inner bicep. To make these marathon sessions more manageable, proper preparation is key. A high-quality topical anesthetic like our No Pain Tattoo Numbing Cream, applied before your session, can take the edge off and allow your artist to work more efficiently. For tattoos that go late into the day and pain starts to creep back in, our No Pain Tattoo Final Mile Gel™ is designed for use on broken skin to extend your comfort.
For a large project like a sleeve, our No Pain Tattoo Numbing Products Bundle (Comfort Bundle) is the perfect toolkit.
Step 5: Aftercare for a Wearable Masterpiece
You've invested a significant amount of time, money, and pain into your sleeve; now you have to protect that investment. The healing process for a sleeve is a marathon, not a sprint. After each session, you'll have a new, large tattoo that needs perfect care to heal vibrantly.
Our No Pain Tattoo Aftercare Bundle is designed for exactly this.
-
Use the No Pain Tattoo Cleansing Foam to gently wash the area.
-
Use the No Pain Tattoo Soothing Gel to calm the initial irritation after each session.
-
Use the No Pain Tattoo Aftercare Balm to keep it moisturized through the healing process and beyond, ensuring your colors stay brilliant and your blacks stay rich.
Designing a full sleeve is a unique artistic collaboration between you and your artist. It's a journey, but with careful planning and commitment, you'll end up with a wearable masterpiece that tells your story for a lifetime.