The tattoo session is over, the artist wipes down your incredible new art, and the very last thing they do is apply a clean bandage. You walk out of the studio feeling amazing, but a crucial question is already on your mind: "When am I supposed to take this thing off?"
This isn't a minor detail—it's one of the most critical steps in the entire aftercare process. Getting the timing right for removing that initial bandage sets the stage for a smooth, clean, and infection-free heal.
The answer to this question depends entirely on the type of bandage your artist used. Let's break down the two main types and the rules for each.
Bandage Type 1: Traditional Plastic Wrap (Cling Film)
This is the classic, old-school method. The thin, clear plastic wrap is used as a temporary, protective barrier. Its only job is to shield your fresh, open wound from airborne bacteria, dust, and friction from your clothes on your journey home.
The Rule: This type of bandage should be removed within 2 to 4 hours.
Why? Standard plastic wrap is non-breathable. While it’s protective for a short period, leaving it on for too long traps heat, moisture, and weeping plasma against your skin. This creates a warm, humid environment that is a perfect breeding ground for bacteria, which can lead to infection. Do not leave it on overnight.
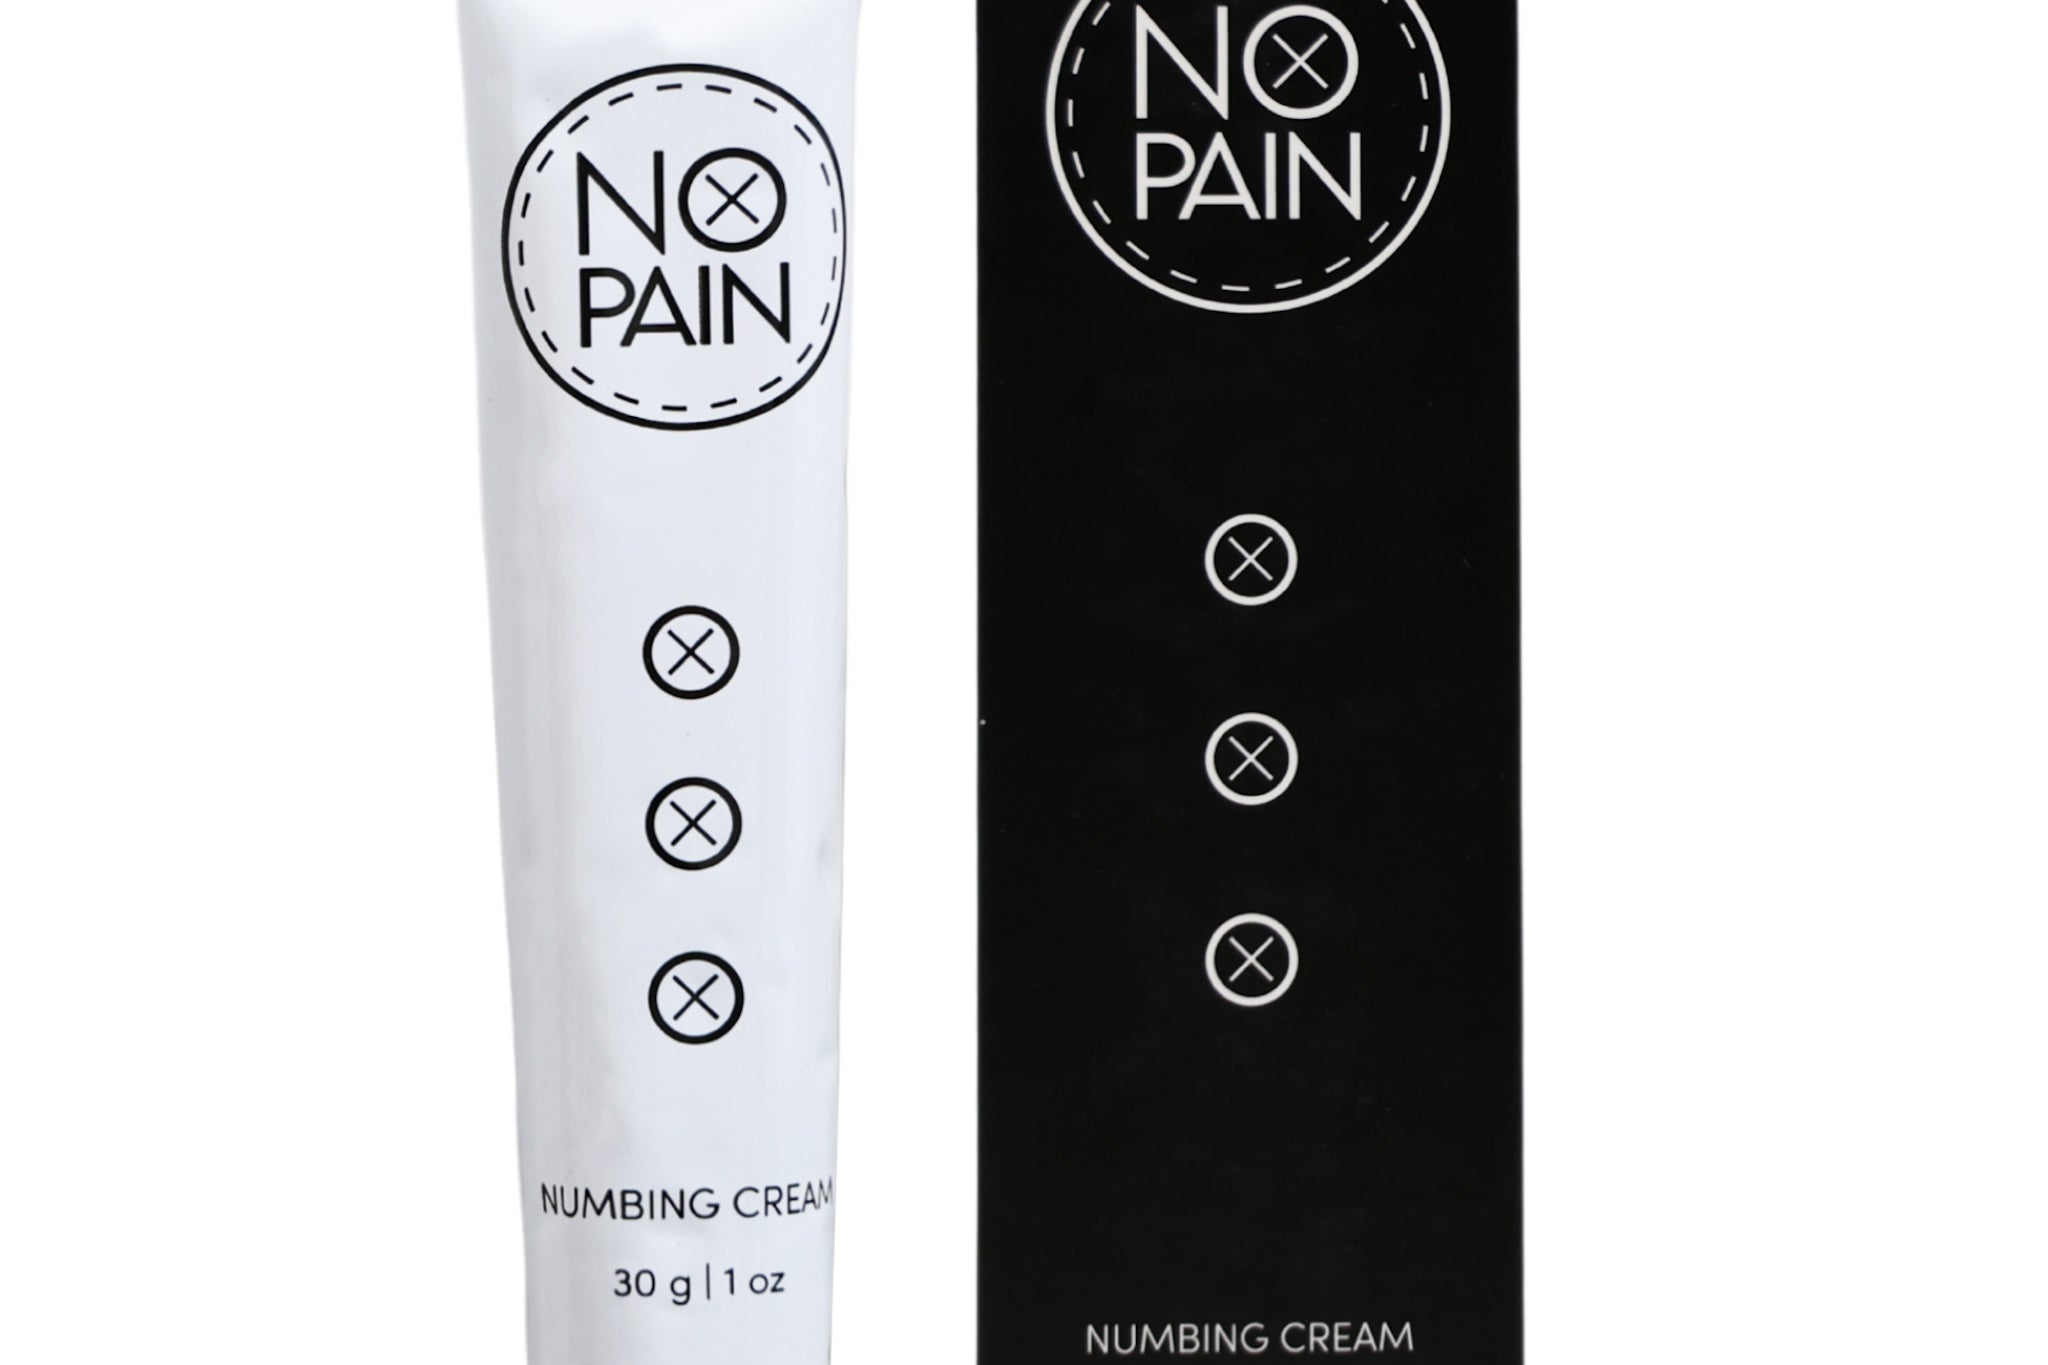
As soon as that 2-4 hour window is up, it’s time for the most important wash your tattoo will ever get. Gently remove the wrap and immediately wash the area with lukewarm water and a dedicated tattoo cleanser. Our No Pain Tattoo Cleansing Foam is specifically designed for this moment. It’s a gentle, antimicrobial foam that cleans away the weeping plasma and excess ink without irritating your tender skin.
Bandage Type 2: Modern Adhesive Medical Bandages (aka "Second Skin")
Many artists now use medical-grade, breathable, and waterproof adhesive films (popularly known by brand names like Saniderm). These act as a second skin, protecting your tattoo while allowing it to breathe. They are designed for extended wear.
The Rule: The initial piece of this bandage is typically left on for 24 hours.
Why? The first 24 hours are when your tattoo weeps the most. This bandage is designed to contain this mixture of plasma and excess ink (it will look like a dark, inky "soup" under the film—this is normal!), protecting the tattoo while it's in its most vulnerable stage.
After 24 hours, you will remove this first bandage (ideally in a warm shower), wash the area thoroughly with your No Pain Tattoo Cleansing Foam, and pat it dry. Many artists will then instruct you to apply a second piece of the adhesive film, which can then be left on for an additional 4-6 days.
After the Initial Bandage Comes Off: Your Healing Journey Begins
Regardless of which type of bandage you had, the moment it comes off for good, your long-term aftercare routine begins. This is where you take over to guide your tattoo to a perfect heal.
-
For the First Few Days: Your skin will be sensitive and prone to itching. This is the perfect time for our No Pain Tattoo Soothing Gel. Its cooling formula calms irritation and redness, providing relief during the itchiest phase of healing.
-
For Ongoing Moisture: As your tattoo moves into the peeling stage, you need to keep the skin nourished. Our No Pain Tattoo Aftercare Balm is designed to deeply moisturize, prevent heavy scabbing, and ensure your ink heals vibrantly.
To take the guesswork out of the entire process, our No Pain Tattoo Aftercare Bundle has everything you need, from that first crucial wash to the final stages of healing.
The Most Important Rule: Always listen to the specific instructions given to you by your tattoo artist. They know their process and what works best for their style of work.
Getting the timing of that first bandage removal right is the first and most important step in a successful aftercare journey, setting the stage for a beautifully healed tattoo you'll love for a lifetime.